All seemed well with this cassette deck after I changed the belts and calibrated speed.
Then, without notice after about an hour of use, it just stopped dead. Chic denied!
Opening it up again I discovered that the motor had seized up. I could just about turn it by hand. Application of WD-40, followed by light lubrication helped a little. I was able to persuade the motor to start turning if I gave it a push. However, there was negligible power and there were “dead spots” where it was clearly receiving no power at all.
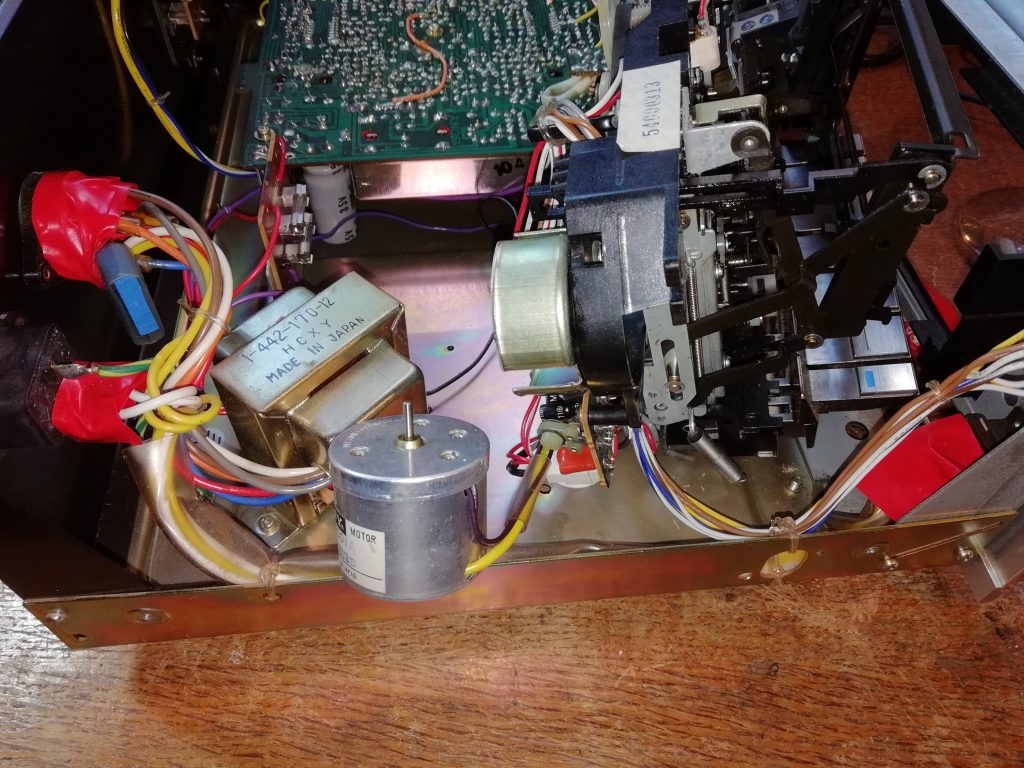
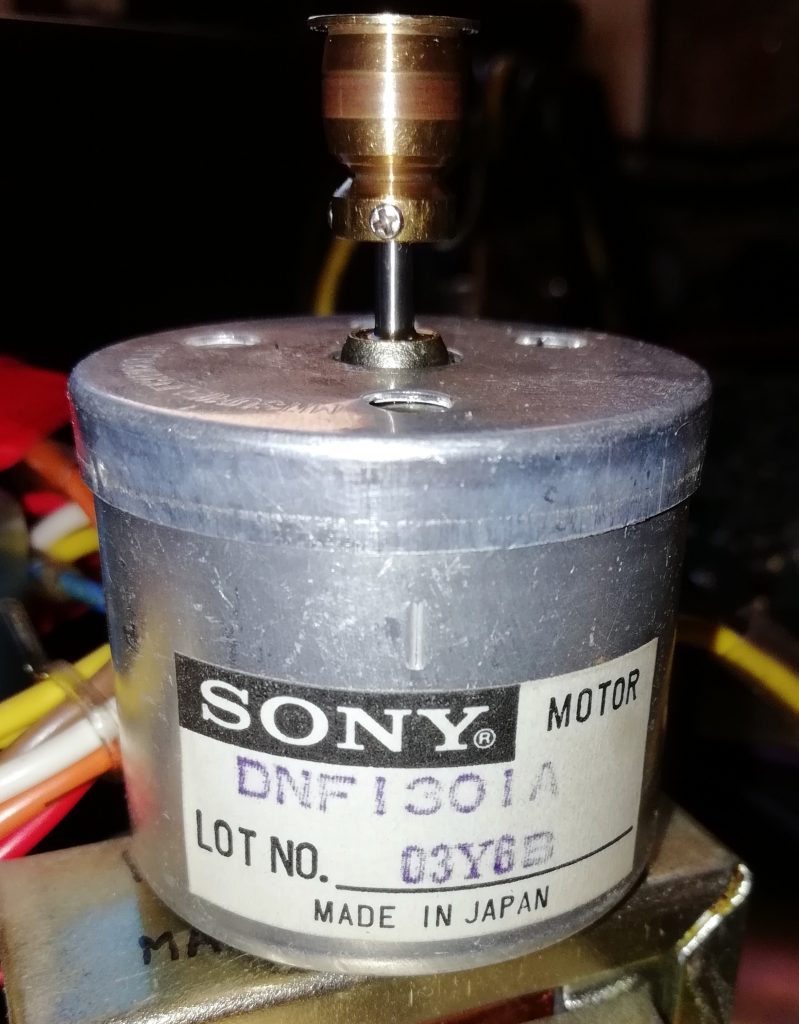
This motor is controlled by an external control board. Studying the service manual confirmed that it was a pretty standard servo motor control circuit. Further research indicated that I would be able to get a replacement motor with built in speed control and replace the motor and circuit board with one of these.
I had a fall back position if all else failed, however there were two problems with this approach. The first was cost. Looking at about £50 for a replacement motor, unless I went down the risky “used” route.
The second was the shaft diameter. 2 mm is common. 2.5 mm less so. I was going to be in for some extra expense or precision bodging to use a 2 mm motor with the 2.5 mm pulley. Changing the pulley as well is not an option because it is a two step pulley which accommodates both a square section belt and a flat one.
I’ve got nothing to lose by having a go at fixing the existing motor. The first problem is getting inside it. A noisy electric motor and sensitive tape heads are not good bed fellows, so the motor is enclosed in a metal can to suppress electrical interference.
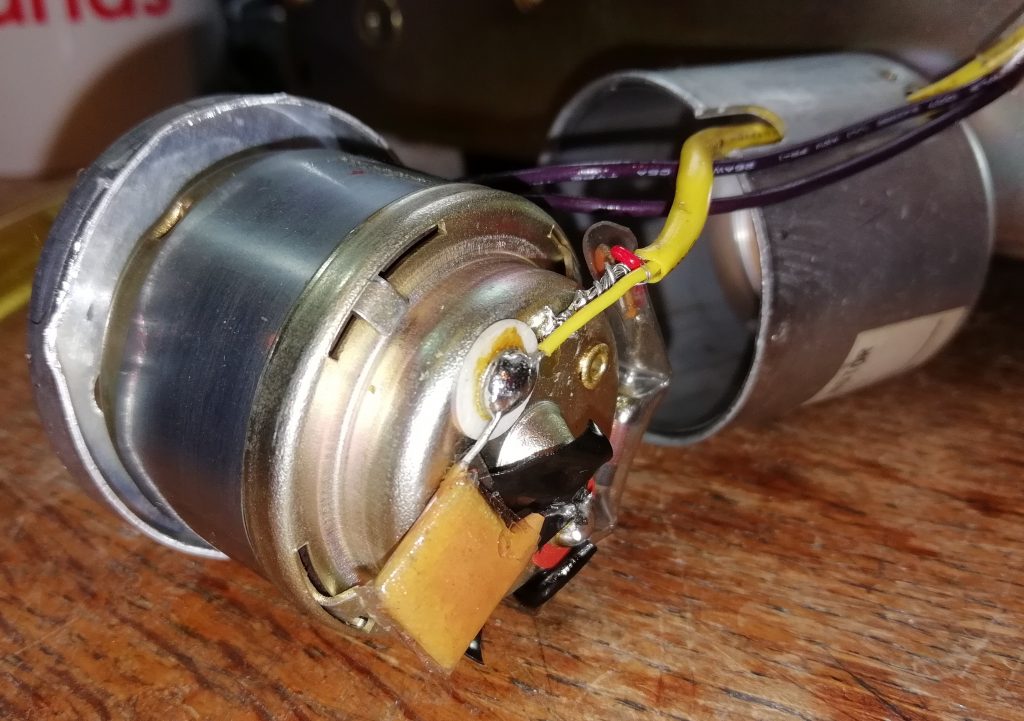
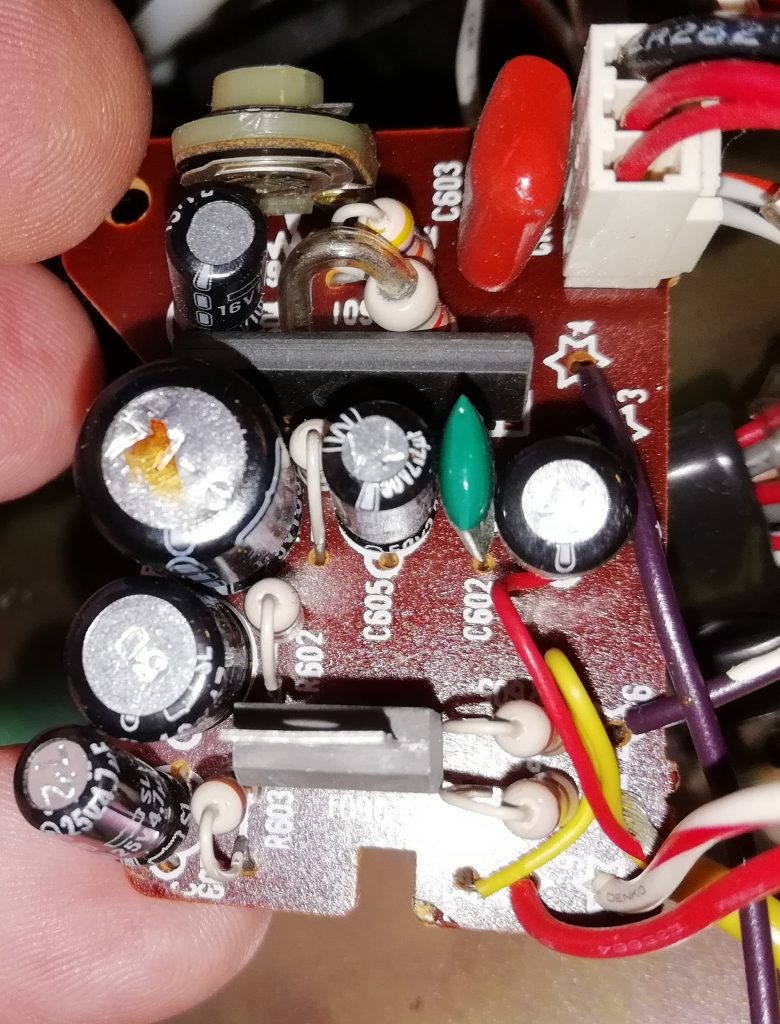
Careful examination revealed no obvious way in, so I resorted to attacking it with a blunt screwdriver and a hammer. To my delight the shielding can came apart quite cleanly. It was just a friction fit. The first reassuring sign is the interference suppression capacitor across the motor terminals. Standard stuff. However there is also a suppression choke, which is beneficial, but often omitted to save cost.
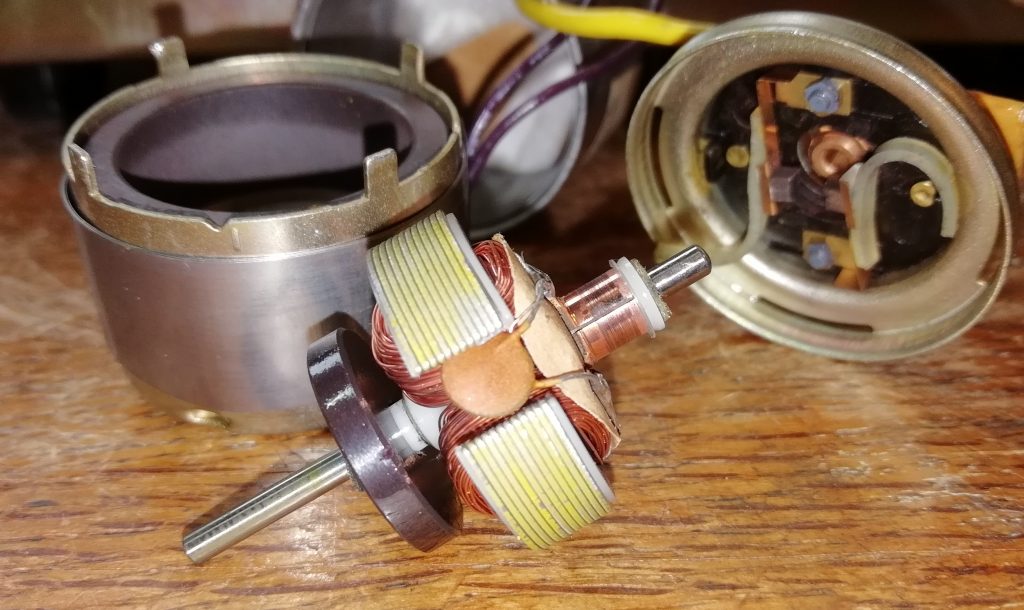
I’m on familiar territory now. I am armed with a University education which included everything you want to know about electric motors and, more importantly, decades of experience taking model trains apart. Looking inside we have a standard 3 pole DC motor. The black disc is a magnet which sends speed information back to the control board.
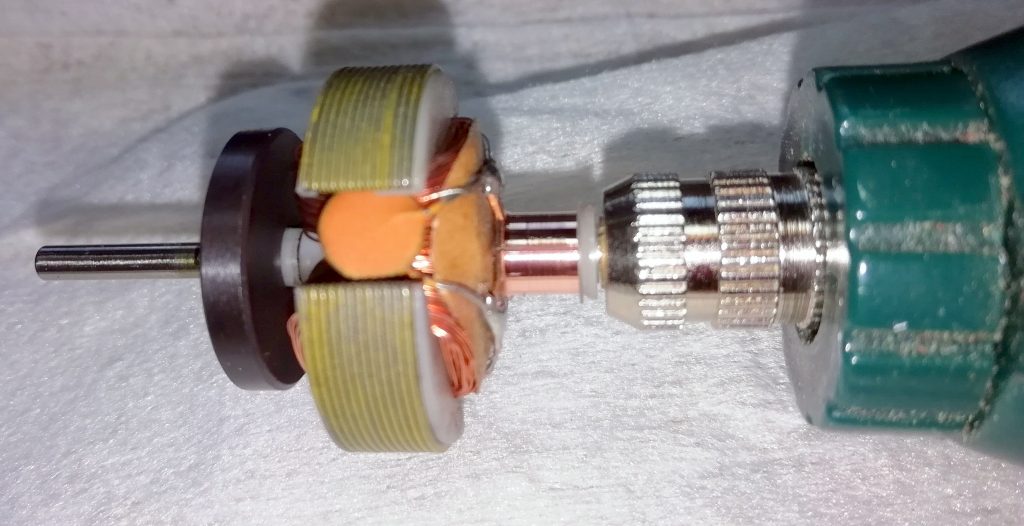
The problem is the commutator. The rings are dirty, pitted and burnt. My tool of choice for fixing this is a glass fibre brush. I chucked the rotor in a Dremel to turn it while I applied gentle pressure with the fibre brush. A couple of minutes of this got rid of the worst damage.
Clean everything and re lubricate the bearings before re assembling the motor and all is now well. Let’s hope it stays that way.
P.S. for the belt change, see here.