As a school boy I made my own electric guitar. The “Rod Special”.
After lying unused for several years, it’s come out of the cupboard. A bit of TLC is in order.
The hardware is a mix and match of colours and styles. I’m going to address that. Part of the change is the control knobs, so I’ll also update some of the electrics. I’ll give it a good clean and polish but I won’t be re finishing the whole guitar, so it will wear it’s repairs as “history”.

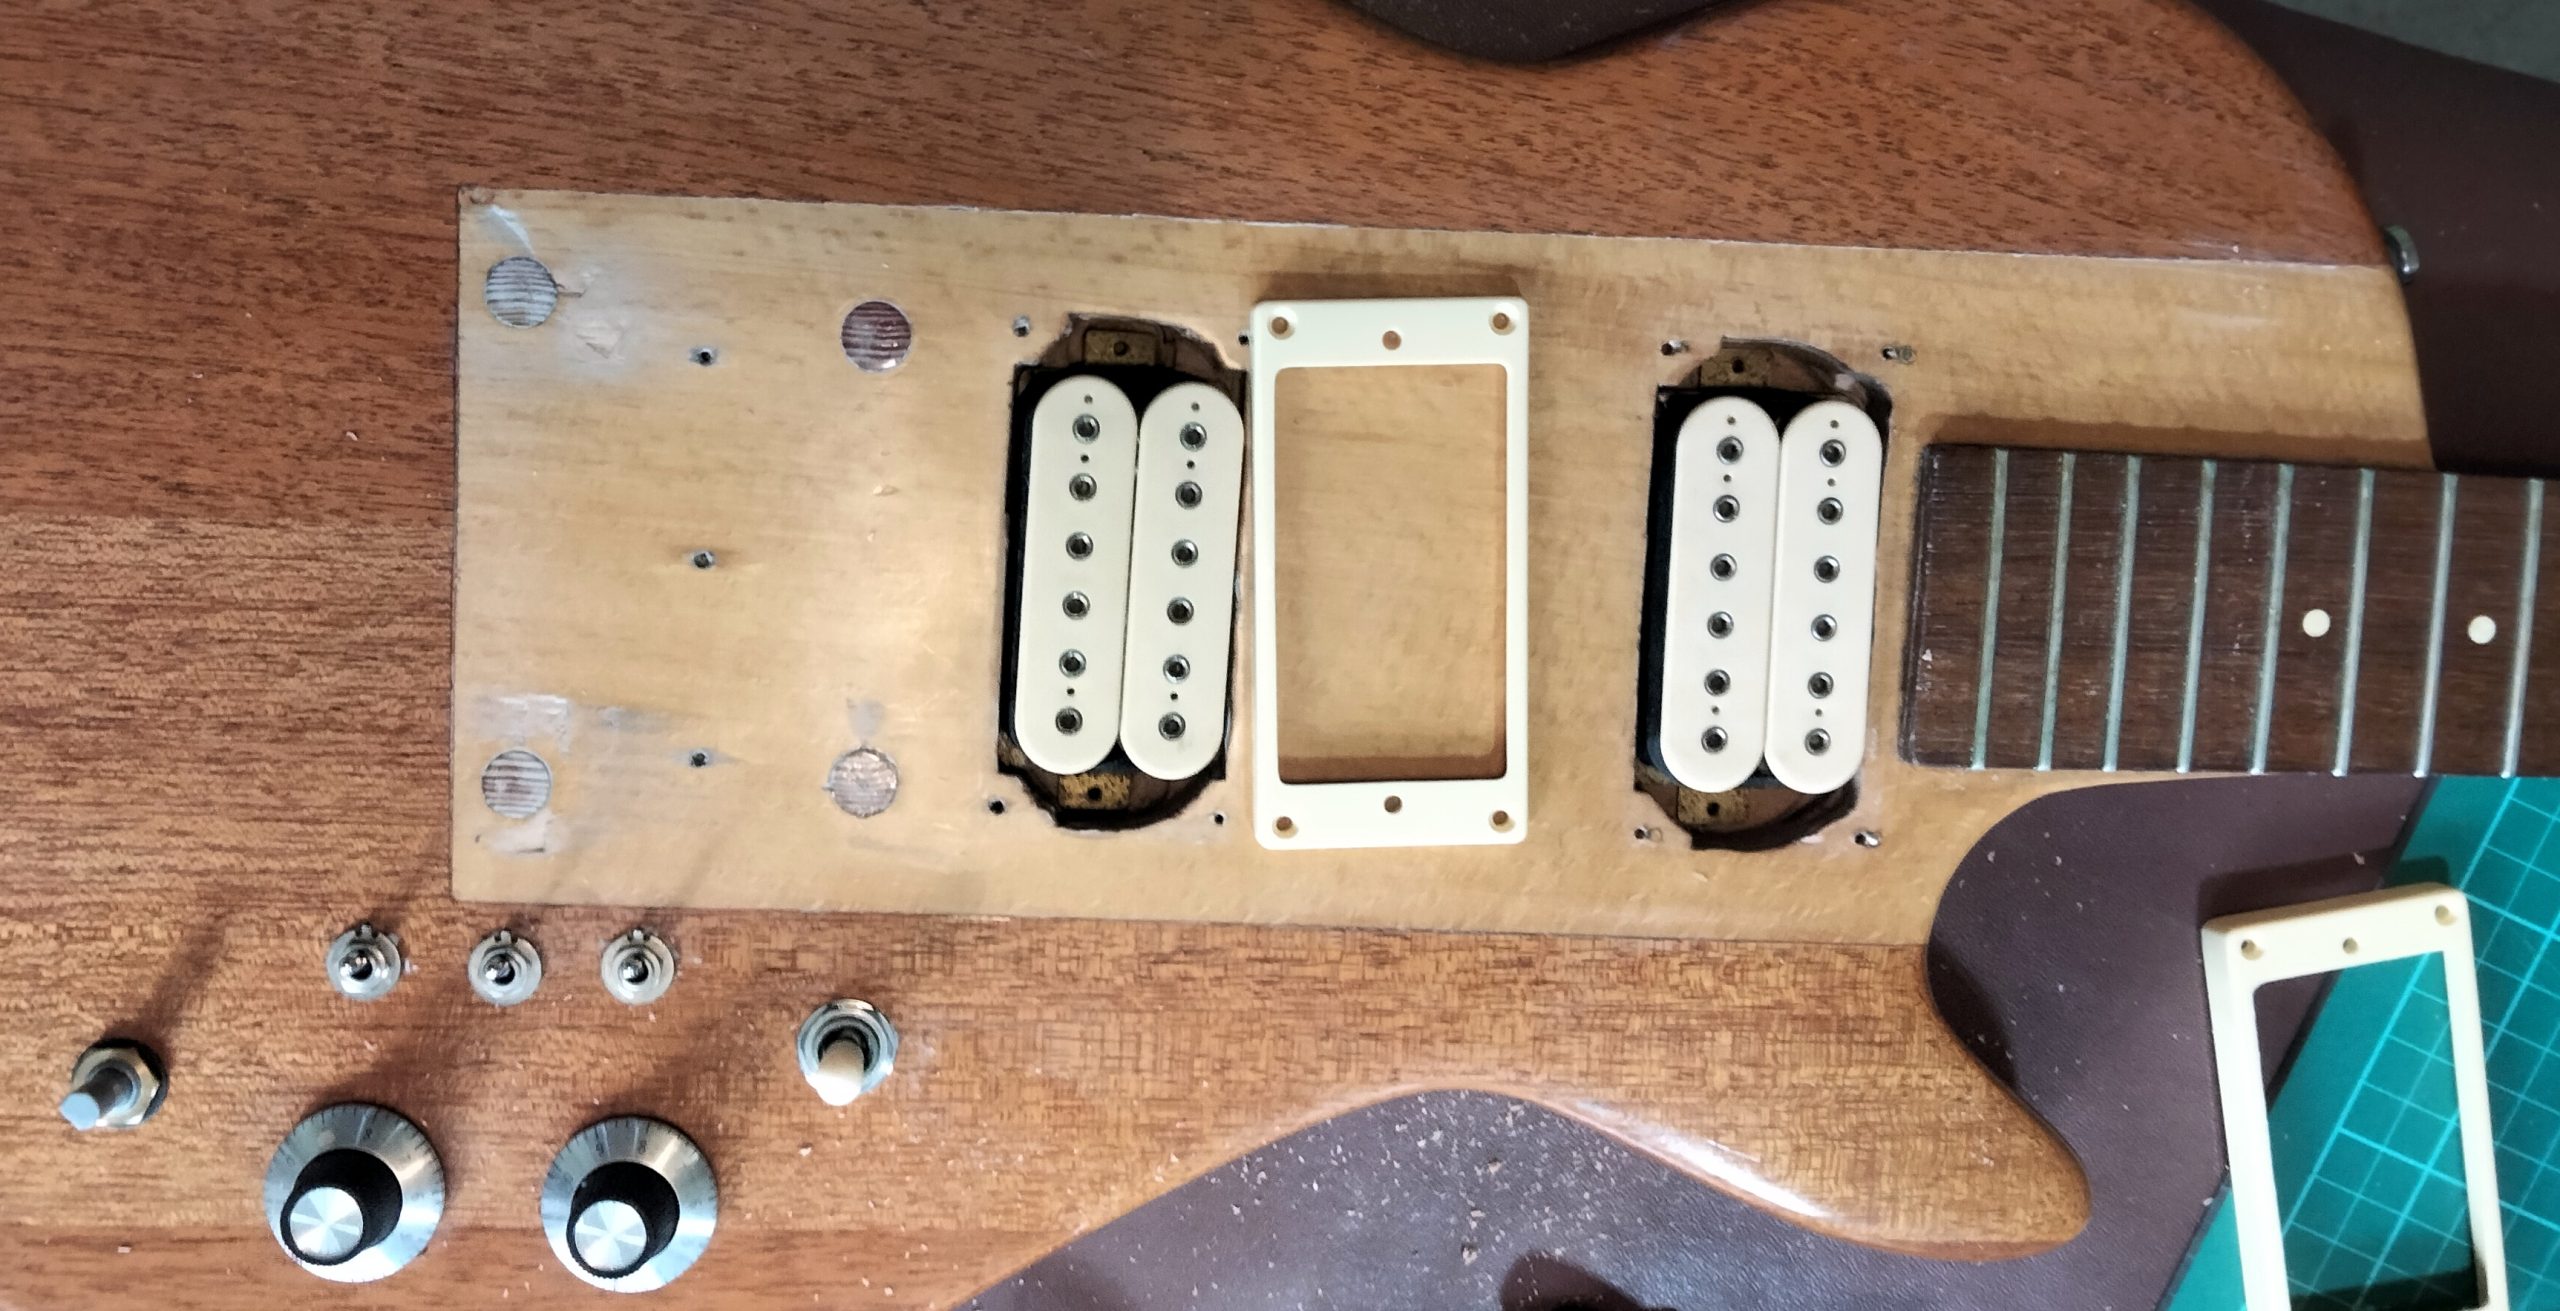
The first job is a result of a recent bridge replacement. It got the guitar playing well but left some gaping holes in the front of the body which need filling.
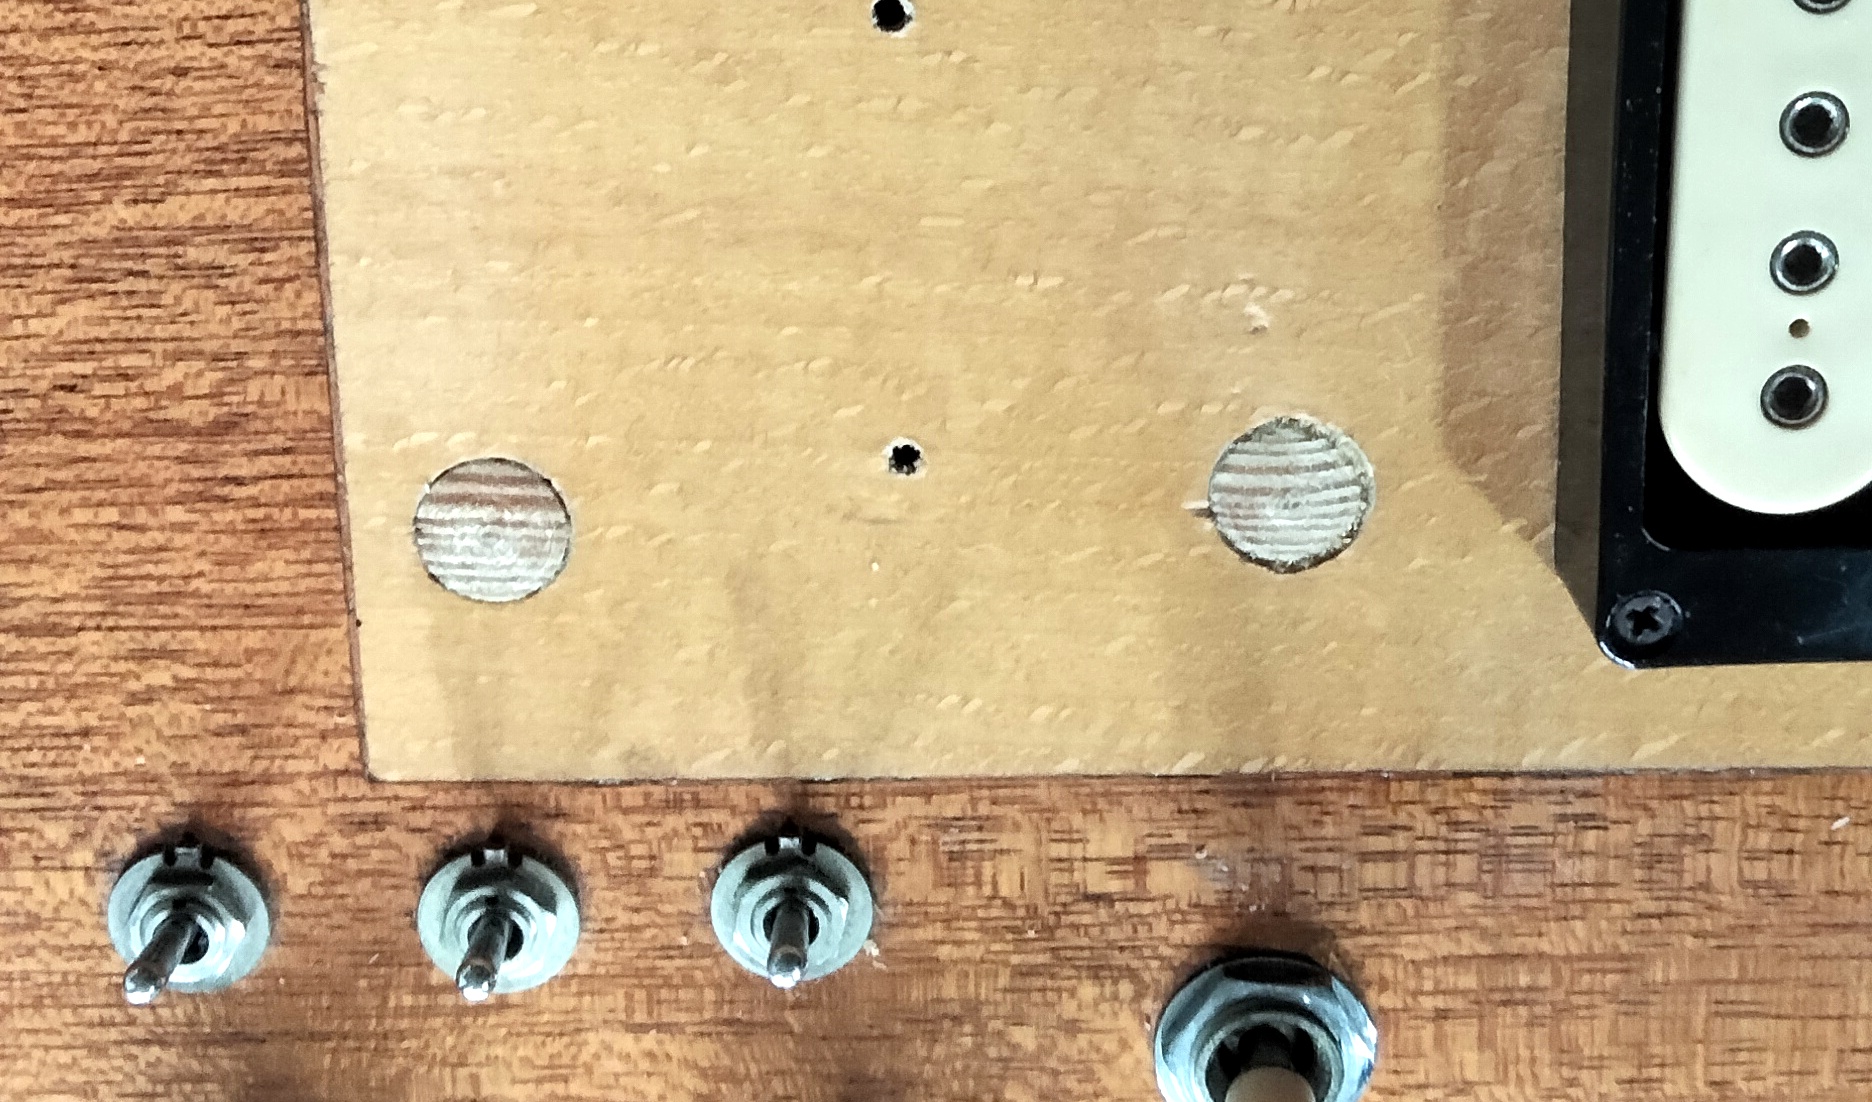
The holes were 11mm diameter. That’s a problem because standard dowel only comes in 10mm or 12mm diameter. It was actually easy to reduce some 12mm dowel to fit by running it in the chuck of a power drill and applying coarse sandpaper. The glue was given a day to set rock hard then I trimmed the dowels level with a very sharp chisel. A touch of clear nail varnish protects the exposed dowel ends. Until now the new bridge was held on by just three screws but with wood in the holes I was able to drill for the last two screws and complete the bridge installation.
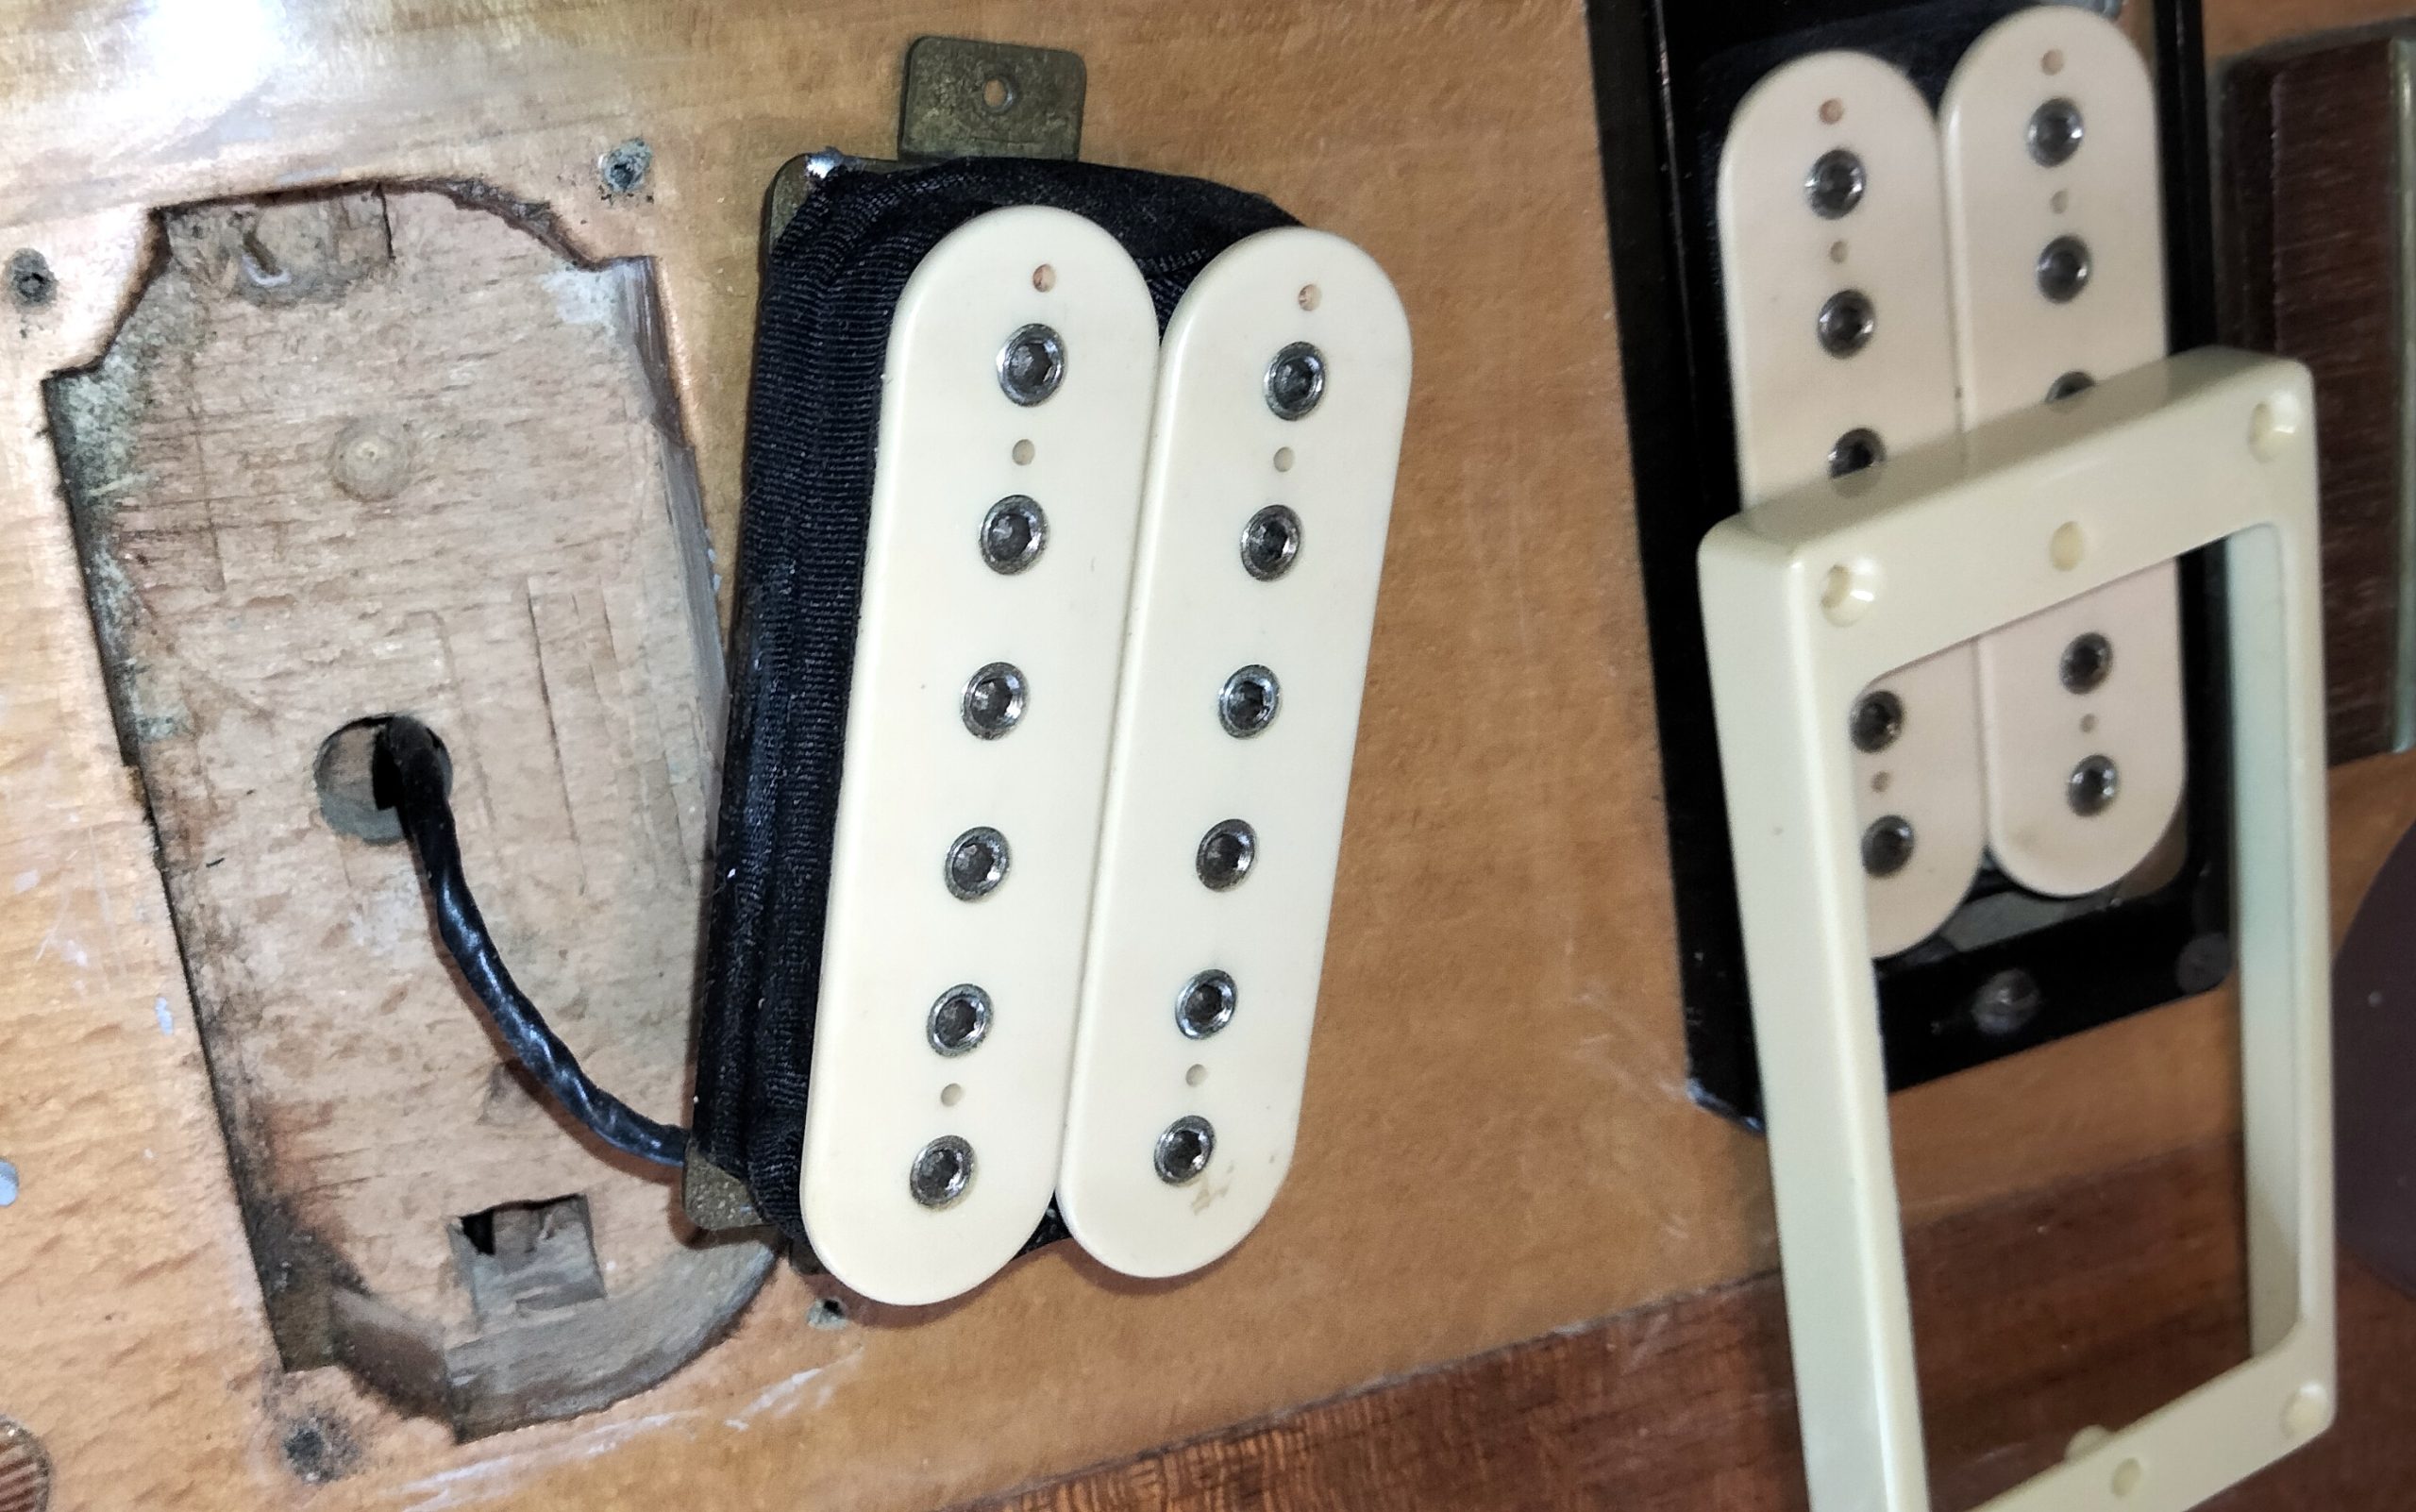
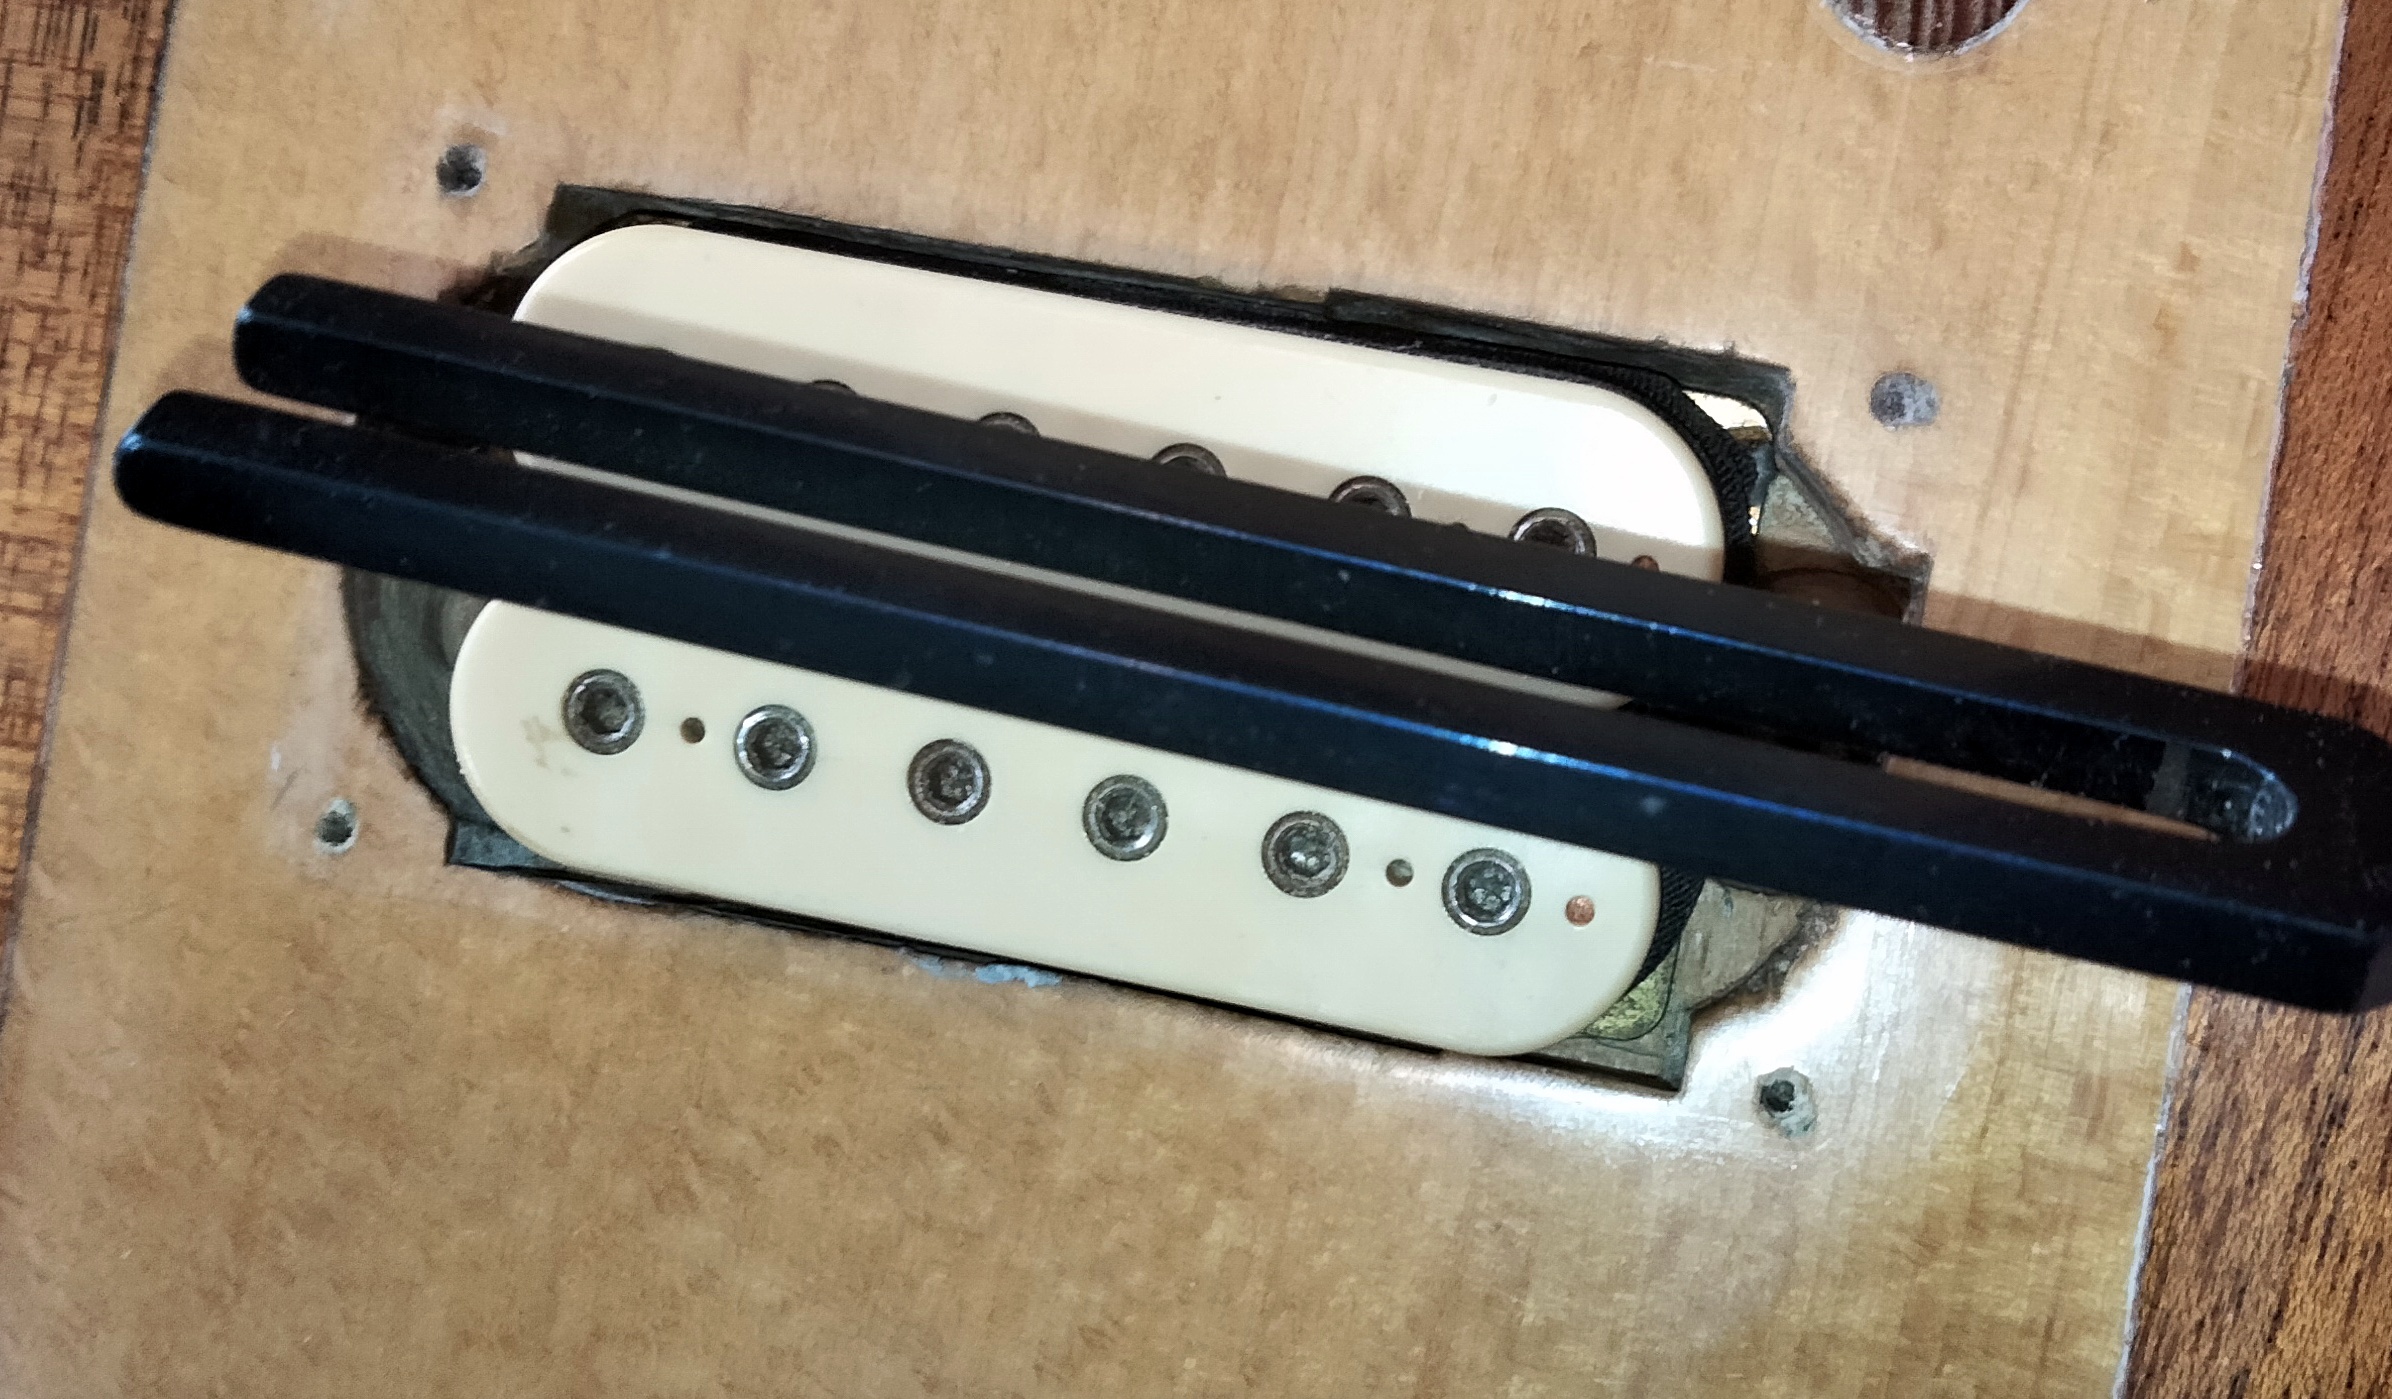
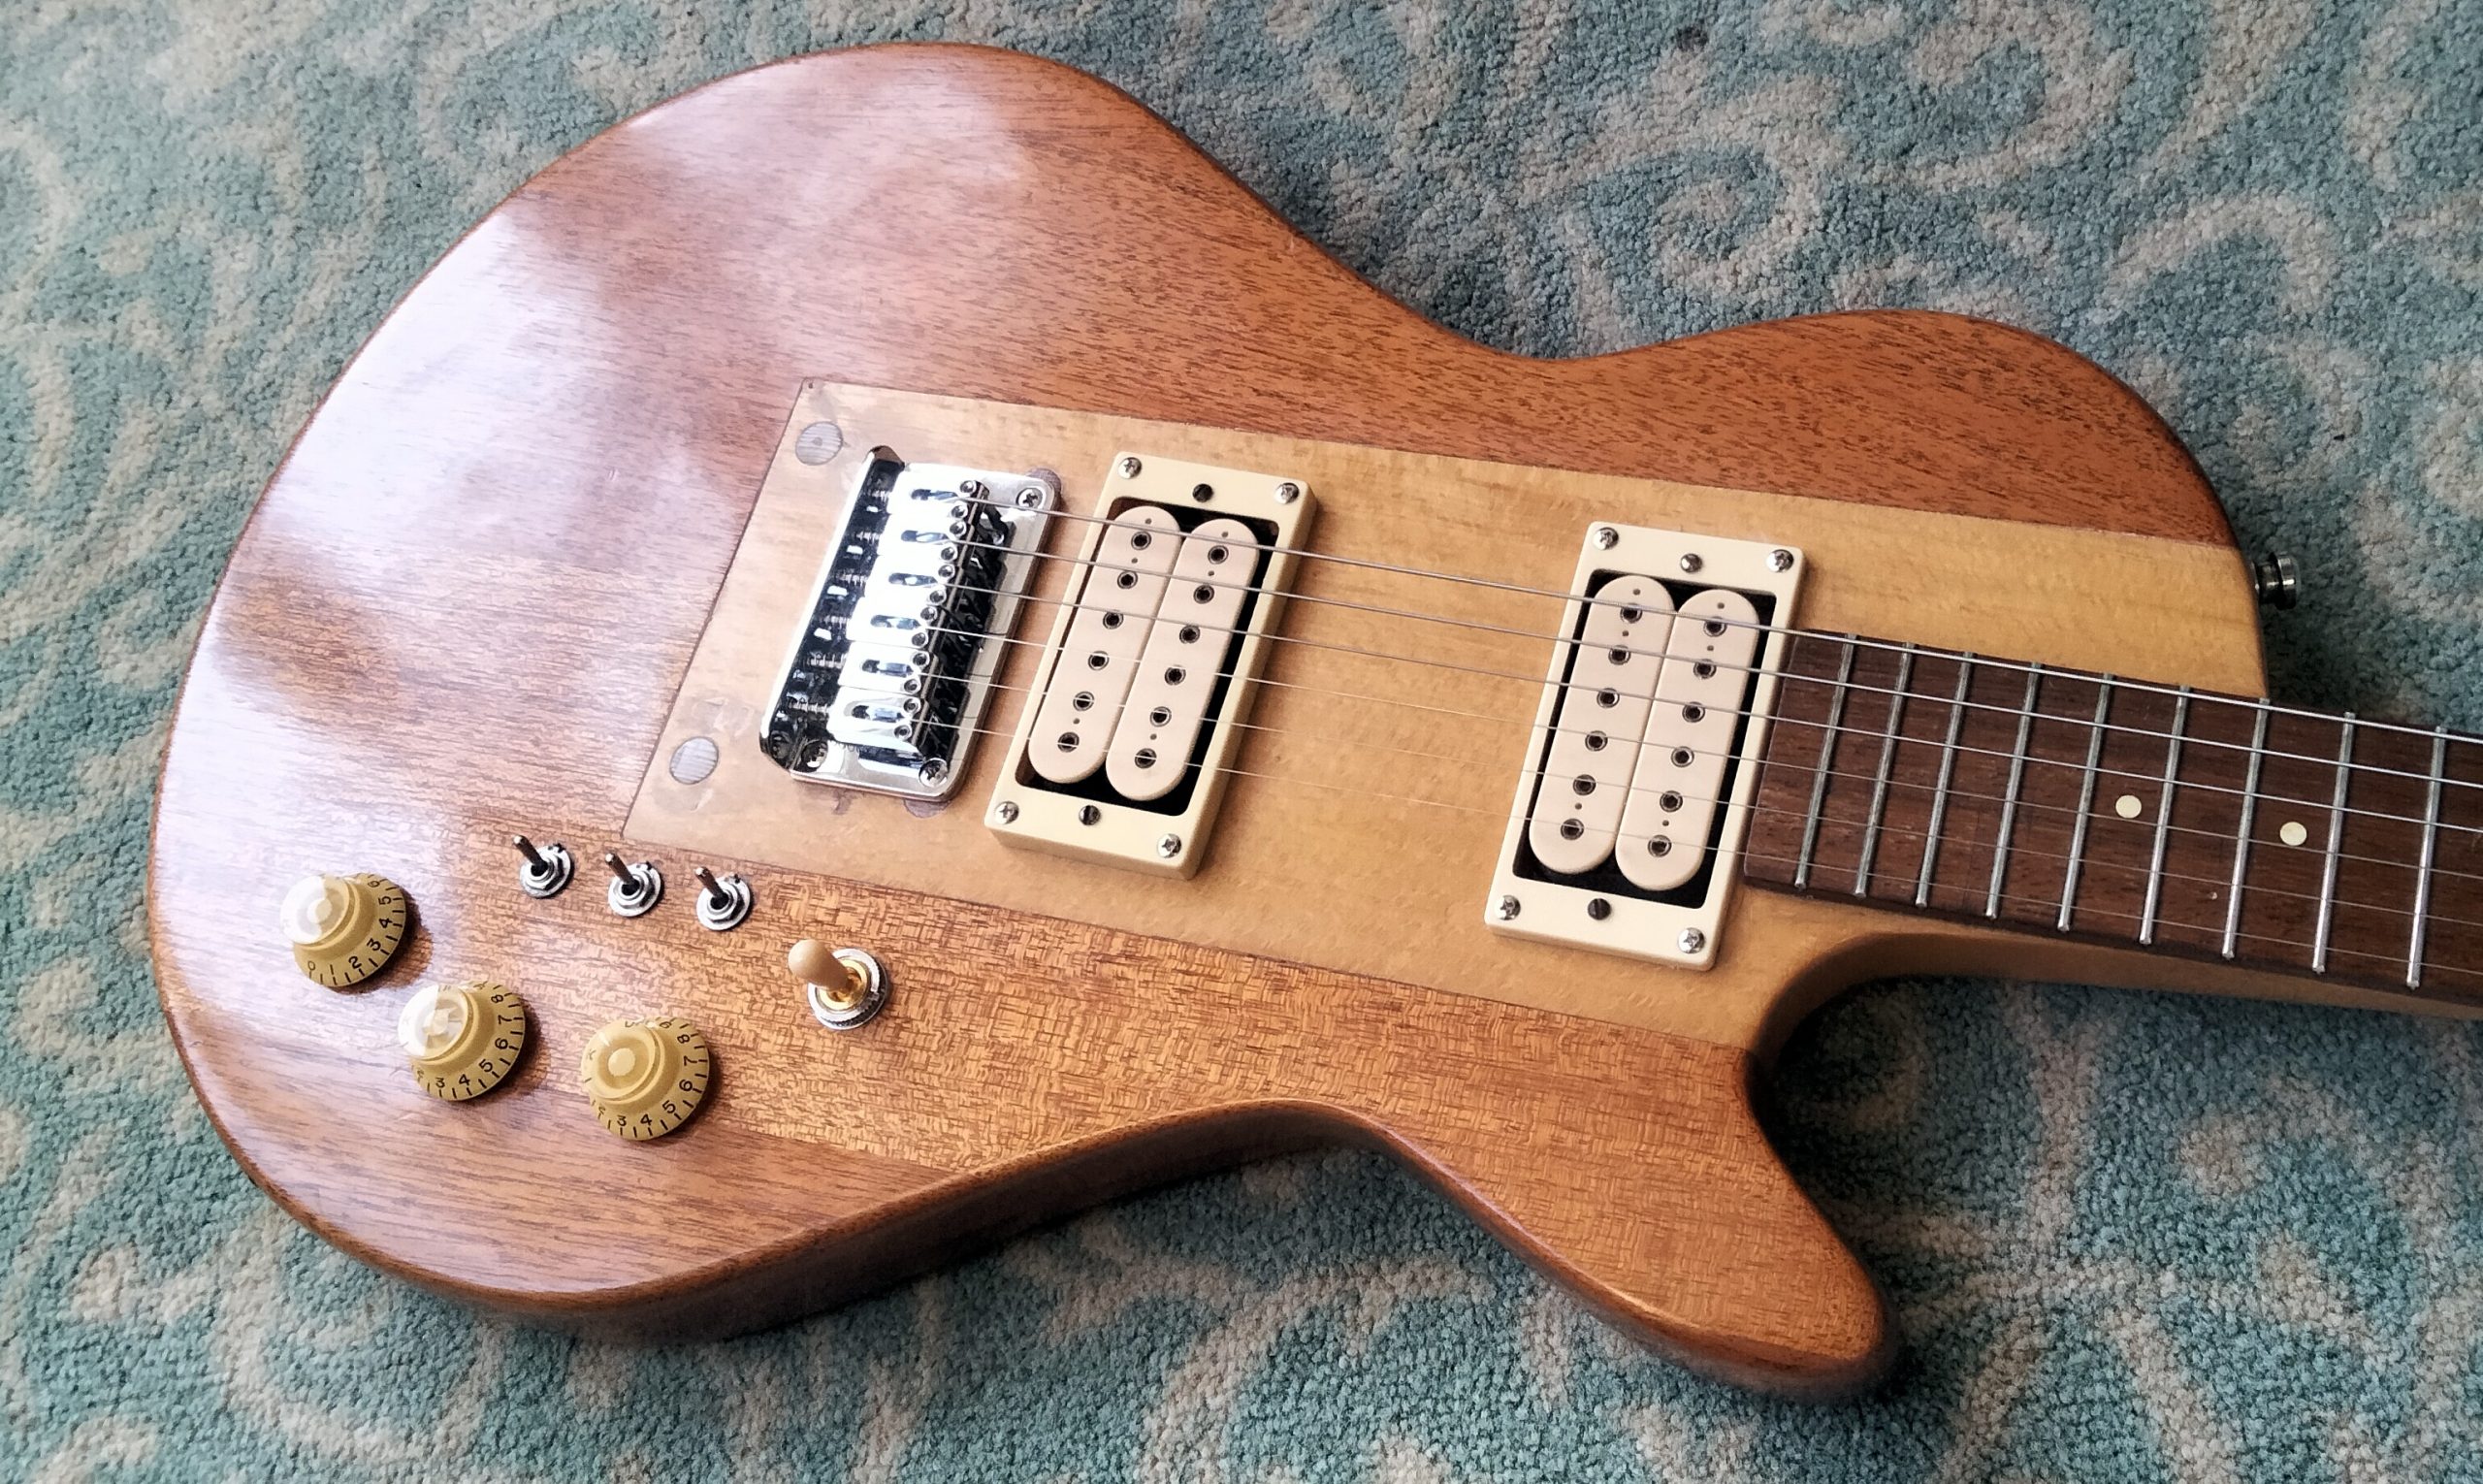
My original pickup installation needs improvement. The bridge pickup was off centre a little and didn’t align with the strings. Both pickups sat too high to the detriment of playing and tuning. I’m replacing the black pickup mounting rings with cream coloured versions. This should look a lot better and, being a little thinner than the originals, give scope for moving the pickups down.
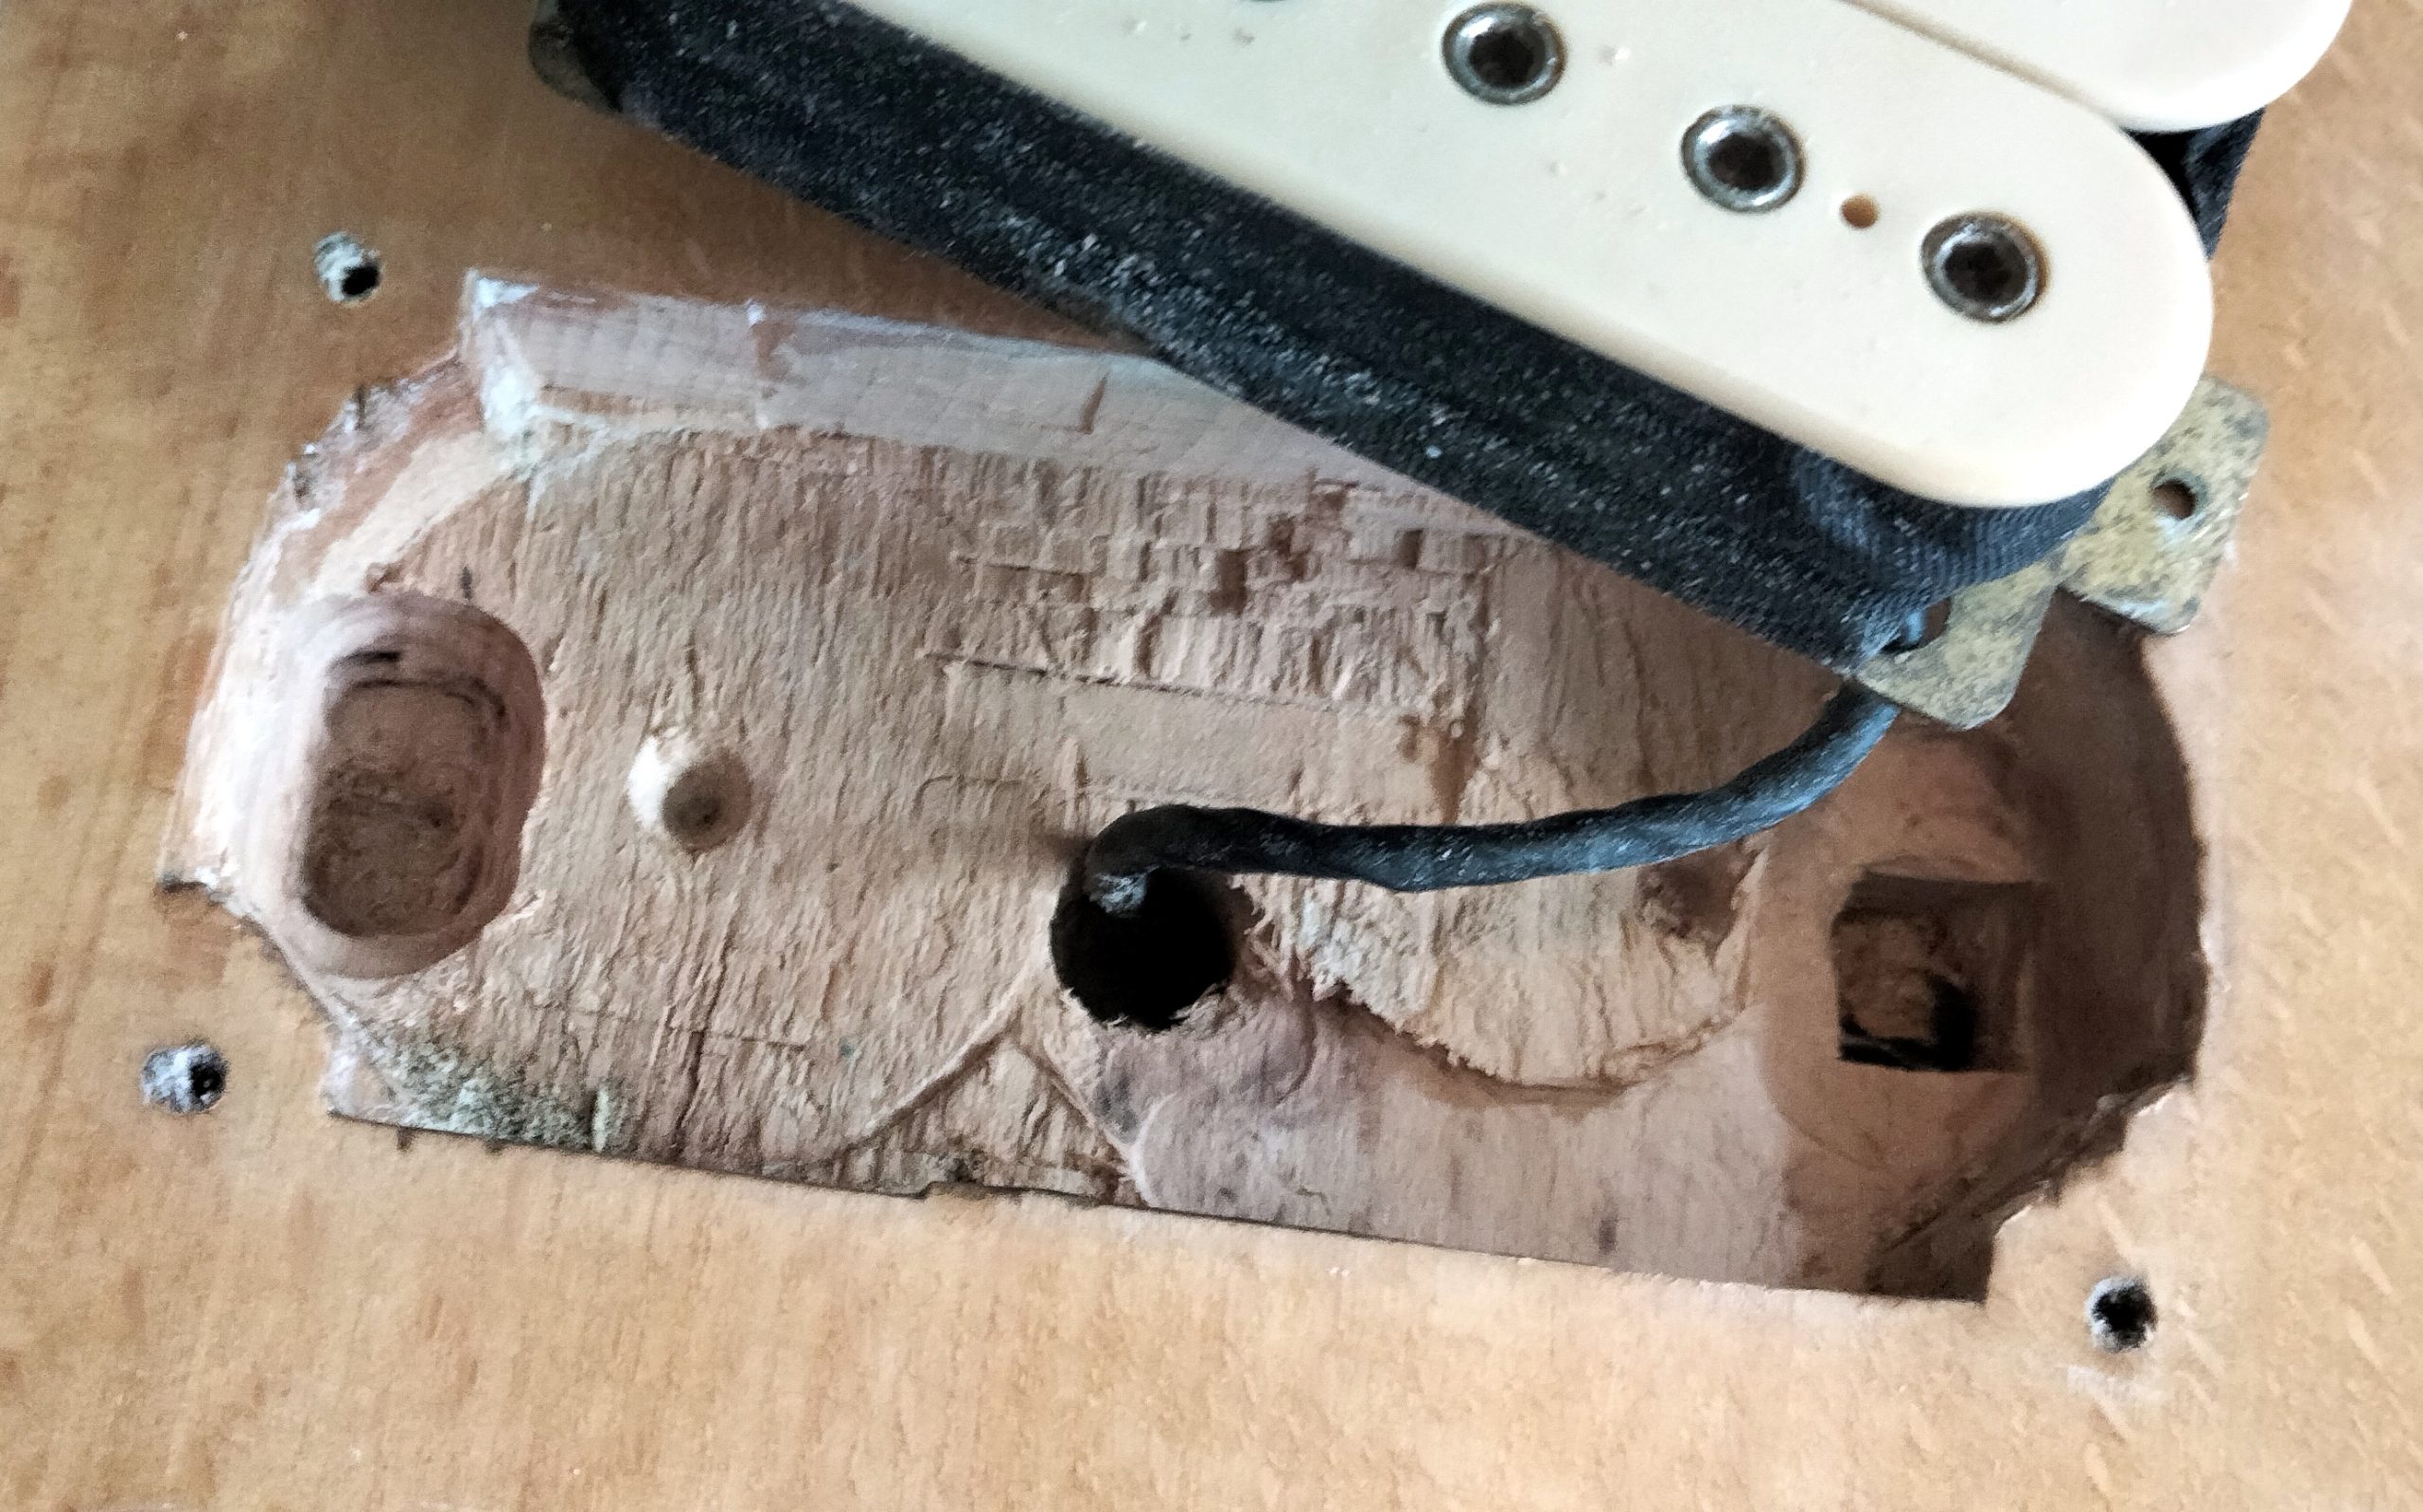
Unfortunately the cavities are not deep enough. They were originally created using a pillar drill and hand chisels. No electric routers then! Today I have a Dremel which made short work of removing enough wood to give clearence for more vertical and lateral adjustment. I plugged the old screw holes with hardwood cocktail sticks so i could re-drill accurately for the new surrounds. Pickups are now correctly positioned with ample scope for further vertical adjustment as and when needed.
Having disturbed the pickups I tested that all was still in order. I find a tuning fork great for this. The pickup detects the forks vibration as if it were a string. It gives you the precision to check the individual coils of a humbucker. This is particularly useful for a guitar with complex switching arrangements, as fitted here.
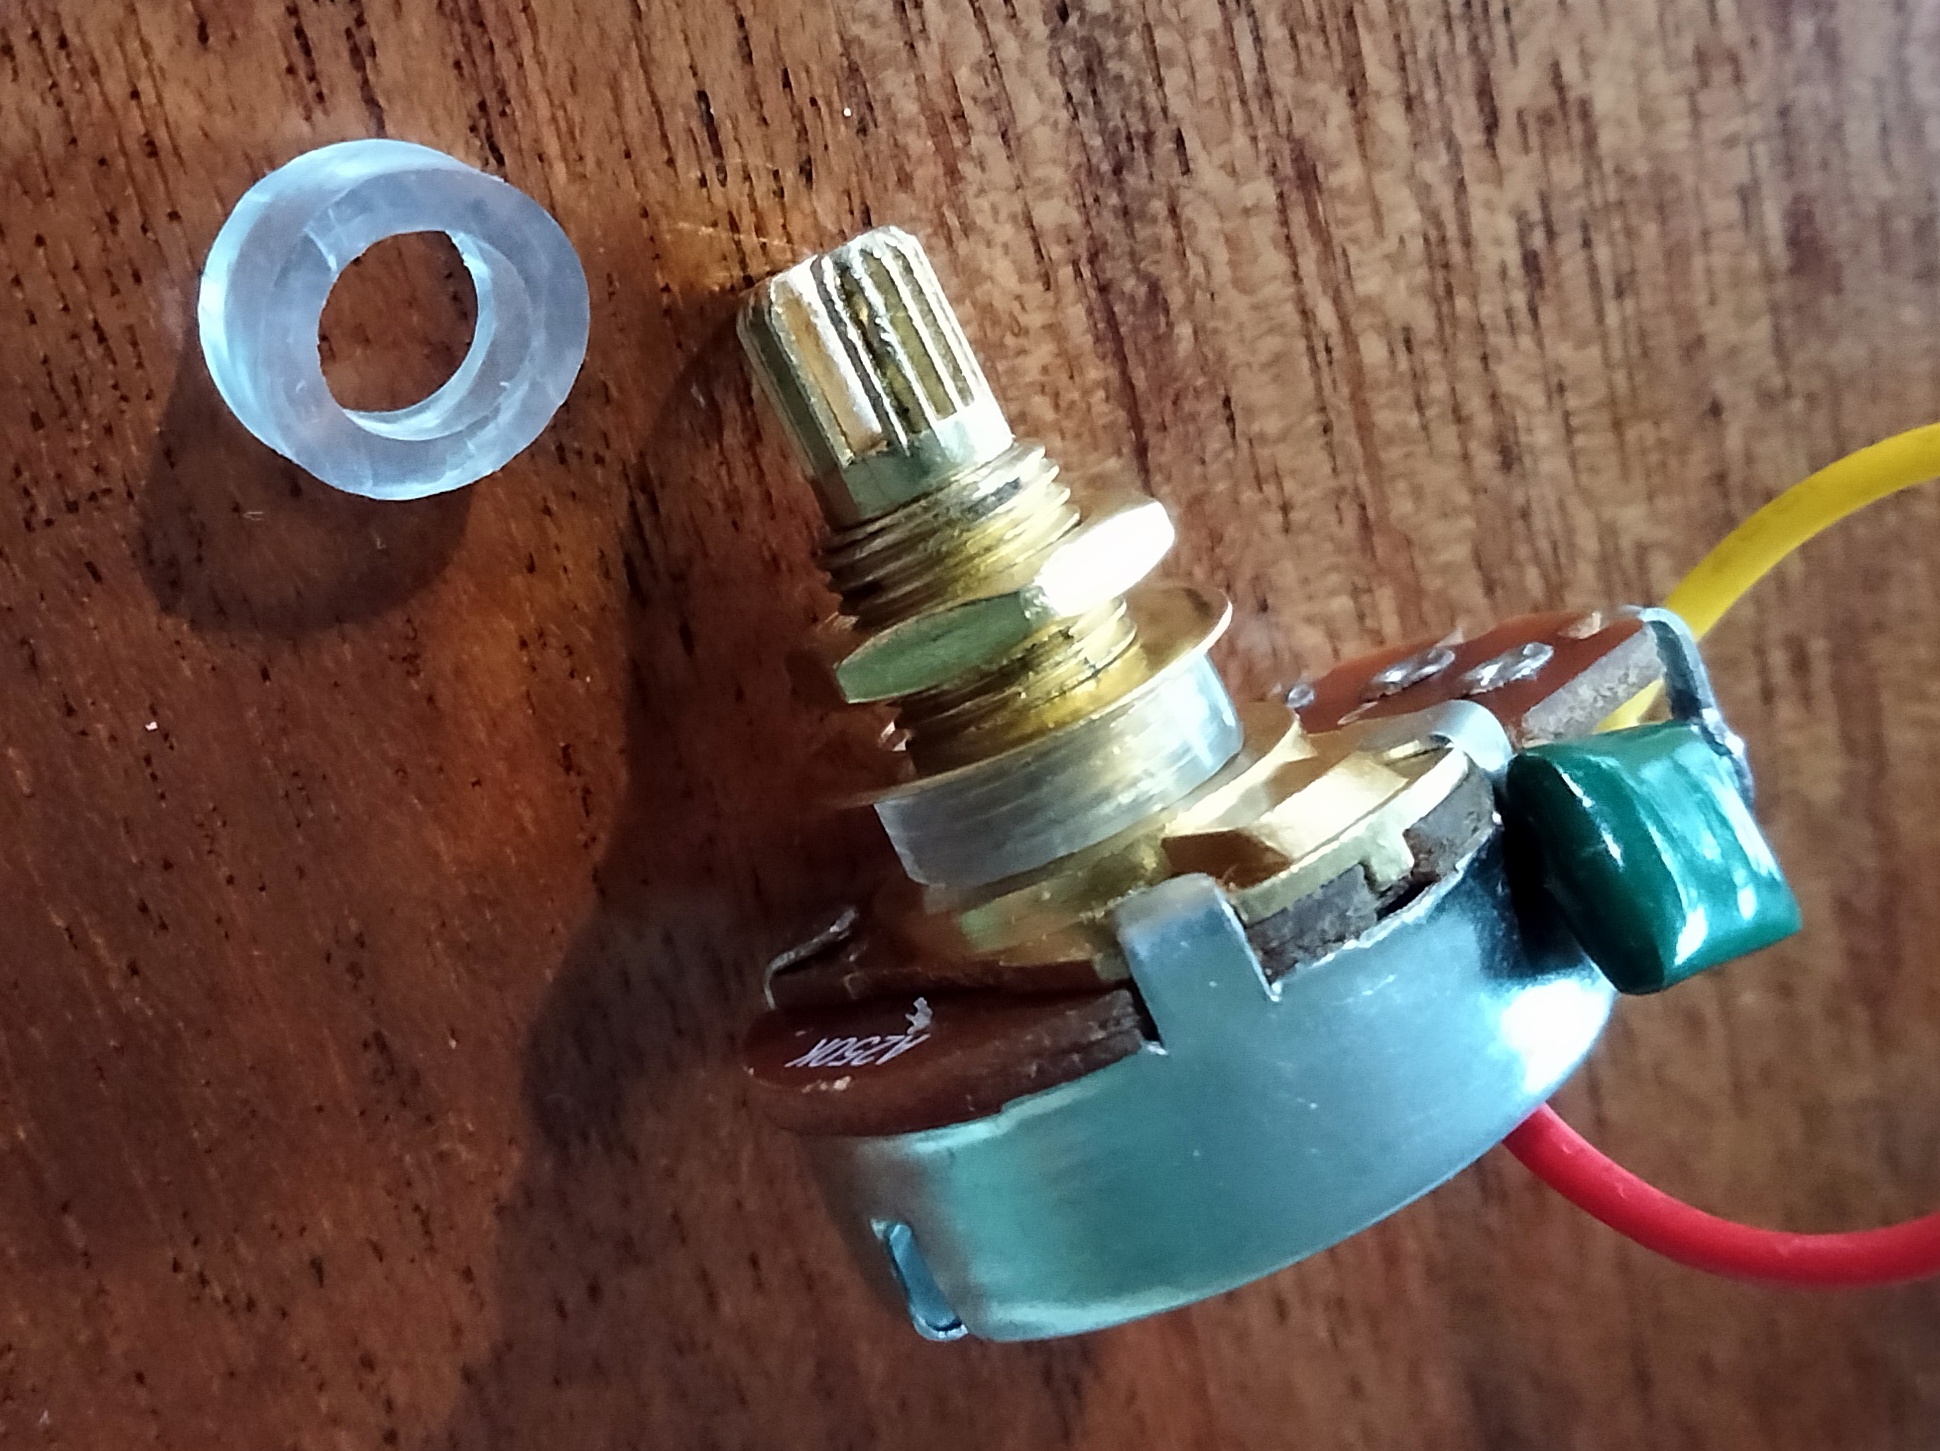
Originally this guitar was built with pots from a general electroncis supplier. Electrically perfectly good but they don’t have the splined shaft that you need to fit “guitar style” knobs for the look I want now. Hence the naff radio knobs originally fitted. To address this I changed the pots. Unfortunately splined shaft pots are a smaller diameter than the existing holes in the guitar. Several solutions were considered for this problem. The most invasive would have involved plugging the original holes with dowels and re drilling. I settled on a simple solution using a plastic bush on the pot shaft. The bush was cut from a length of hose of suitable diamemter and thickness. It is a snug fit. They won’t be moving any time soon.
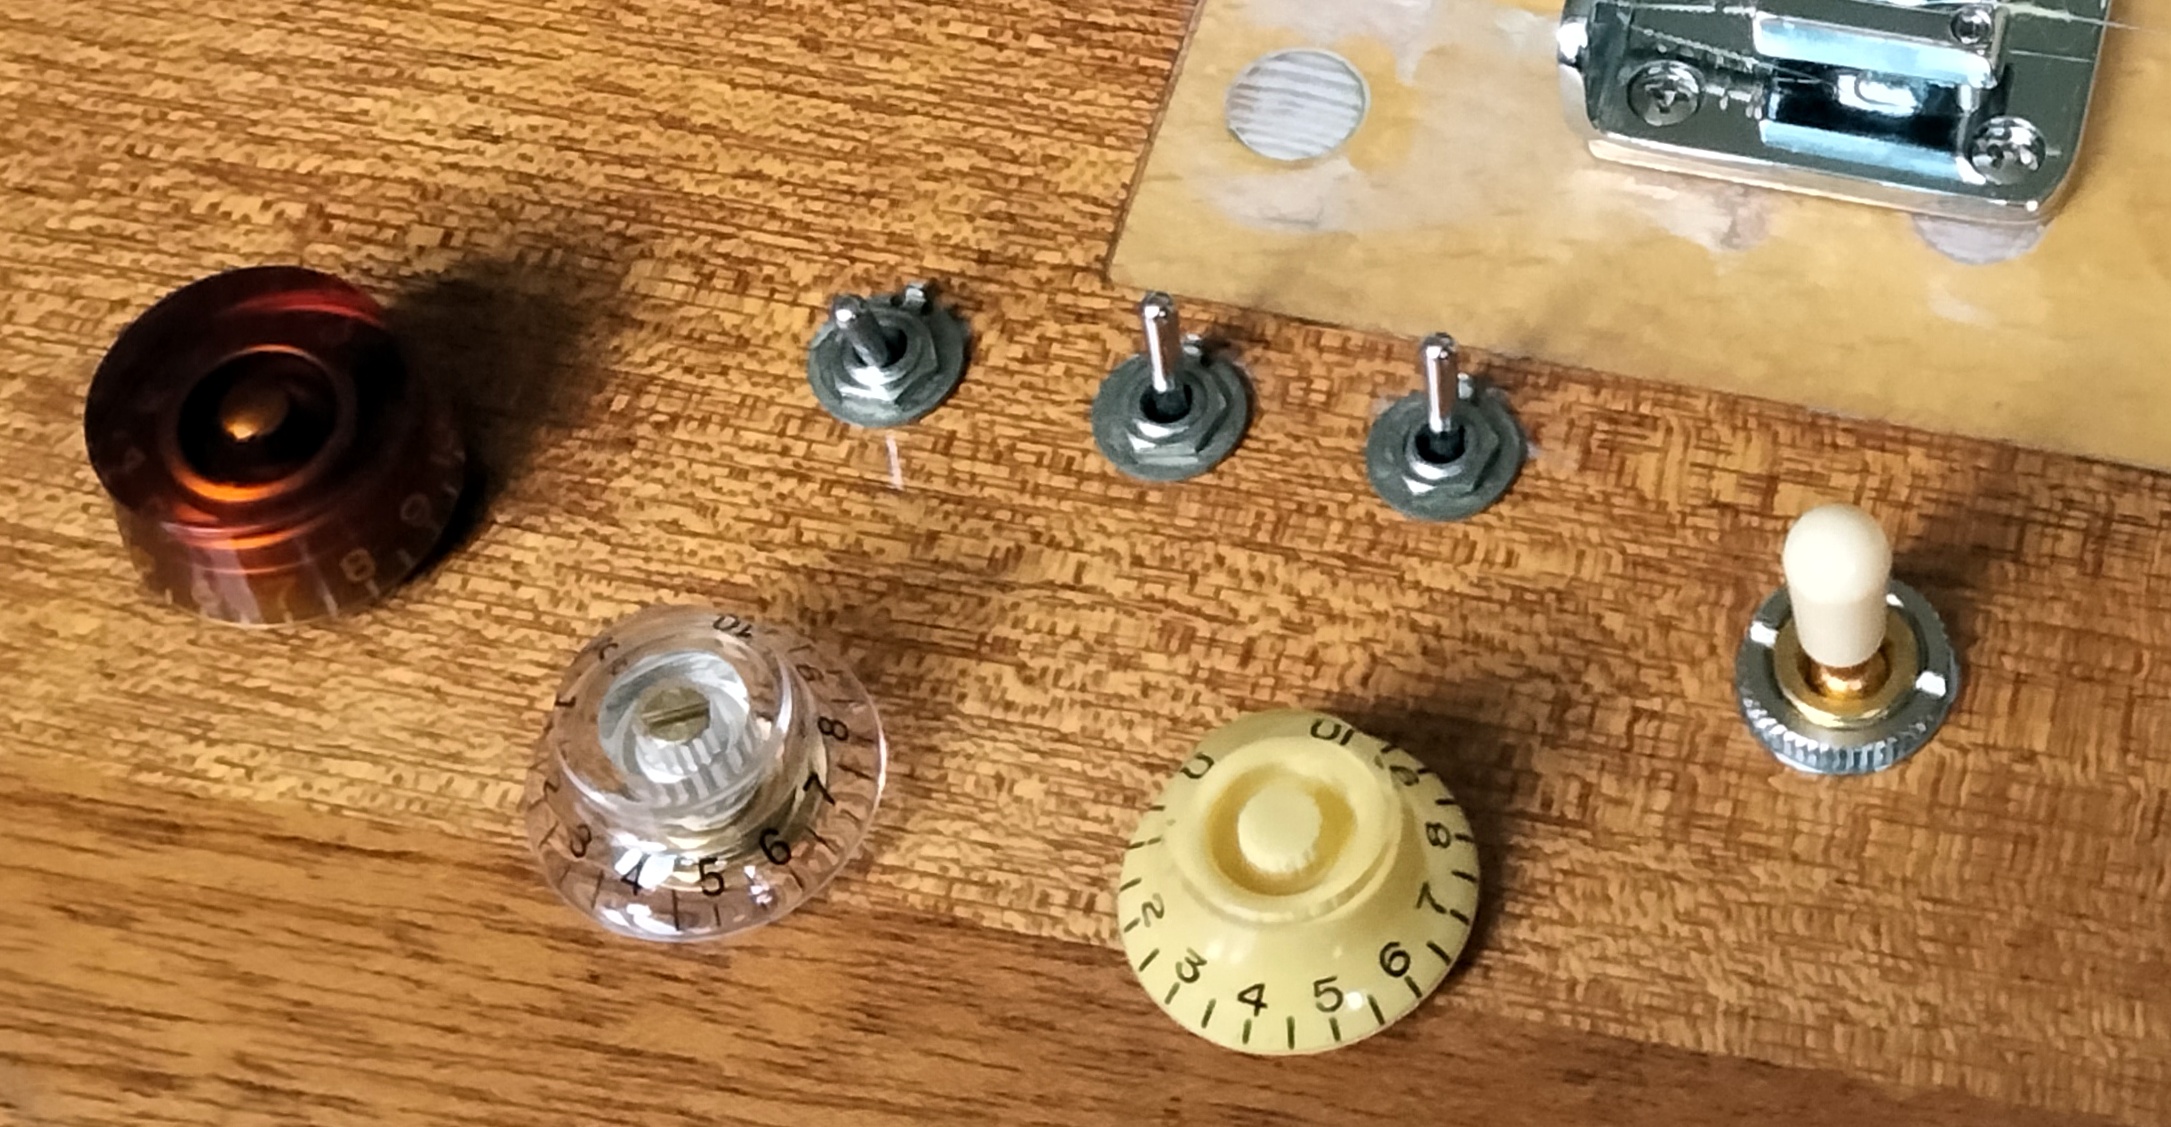
Decisions decisions. An assortment of knob styles laid on on the body for comparison. This picture was shown to anyone I could grab. The cream bell top came out as a clear favourite. They complement the pickups nicely and the numbers are easy to see.
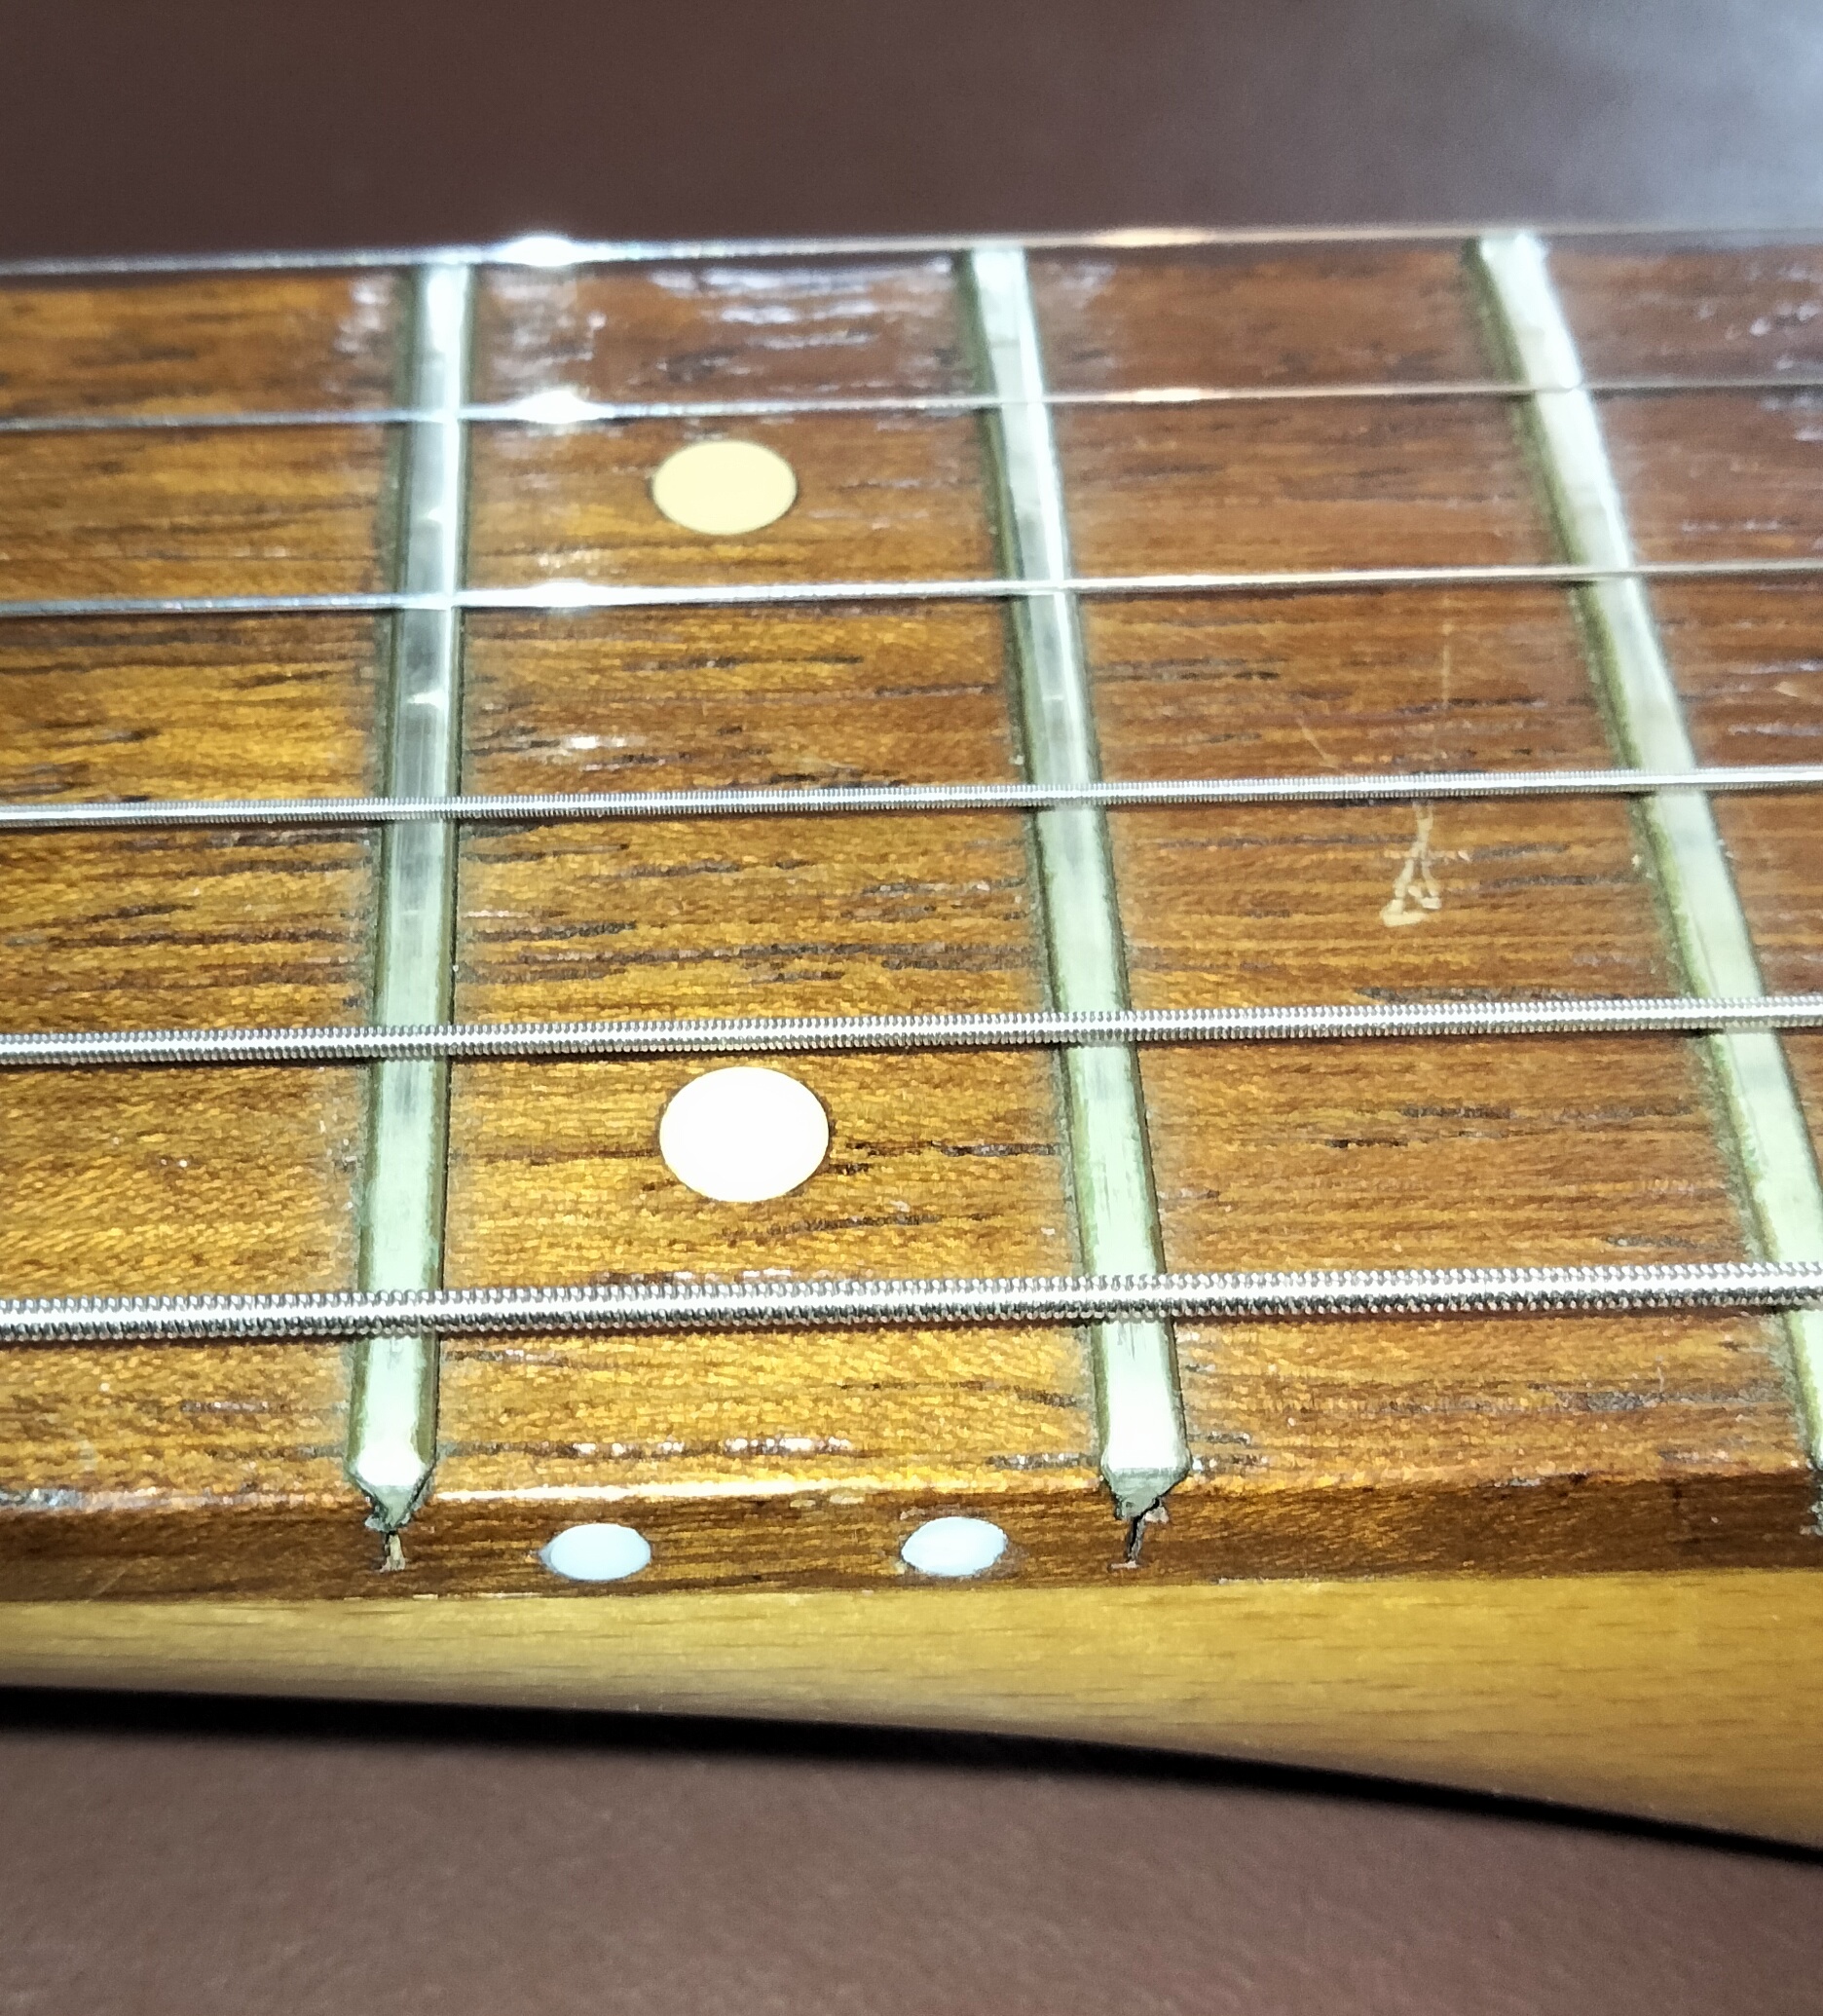
I didn’t originally fit side dots to the neck. A significant oversight given that I have a Lag acoustic guitar which only has side dots, none on the fingerboard, which I love. My Westone bass guitar had tiny side dots, which were difficult to see, so replaced them with larger ones. It’s a straightforward job, but terrifying. The dots are just short lengths of plastic rod glued into carefully drilled holes and trimmed flush with a very sharp knife. It took a week to build up the courage to do this to this guitar and twenty minutes to do the job. Very worthwhile though. I don’t know how I played it before.
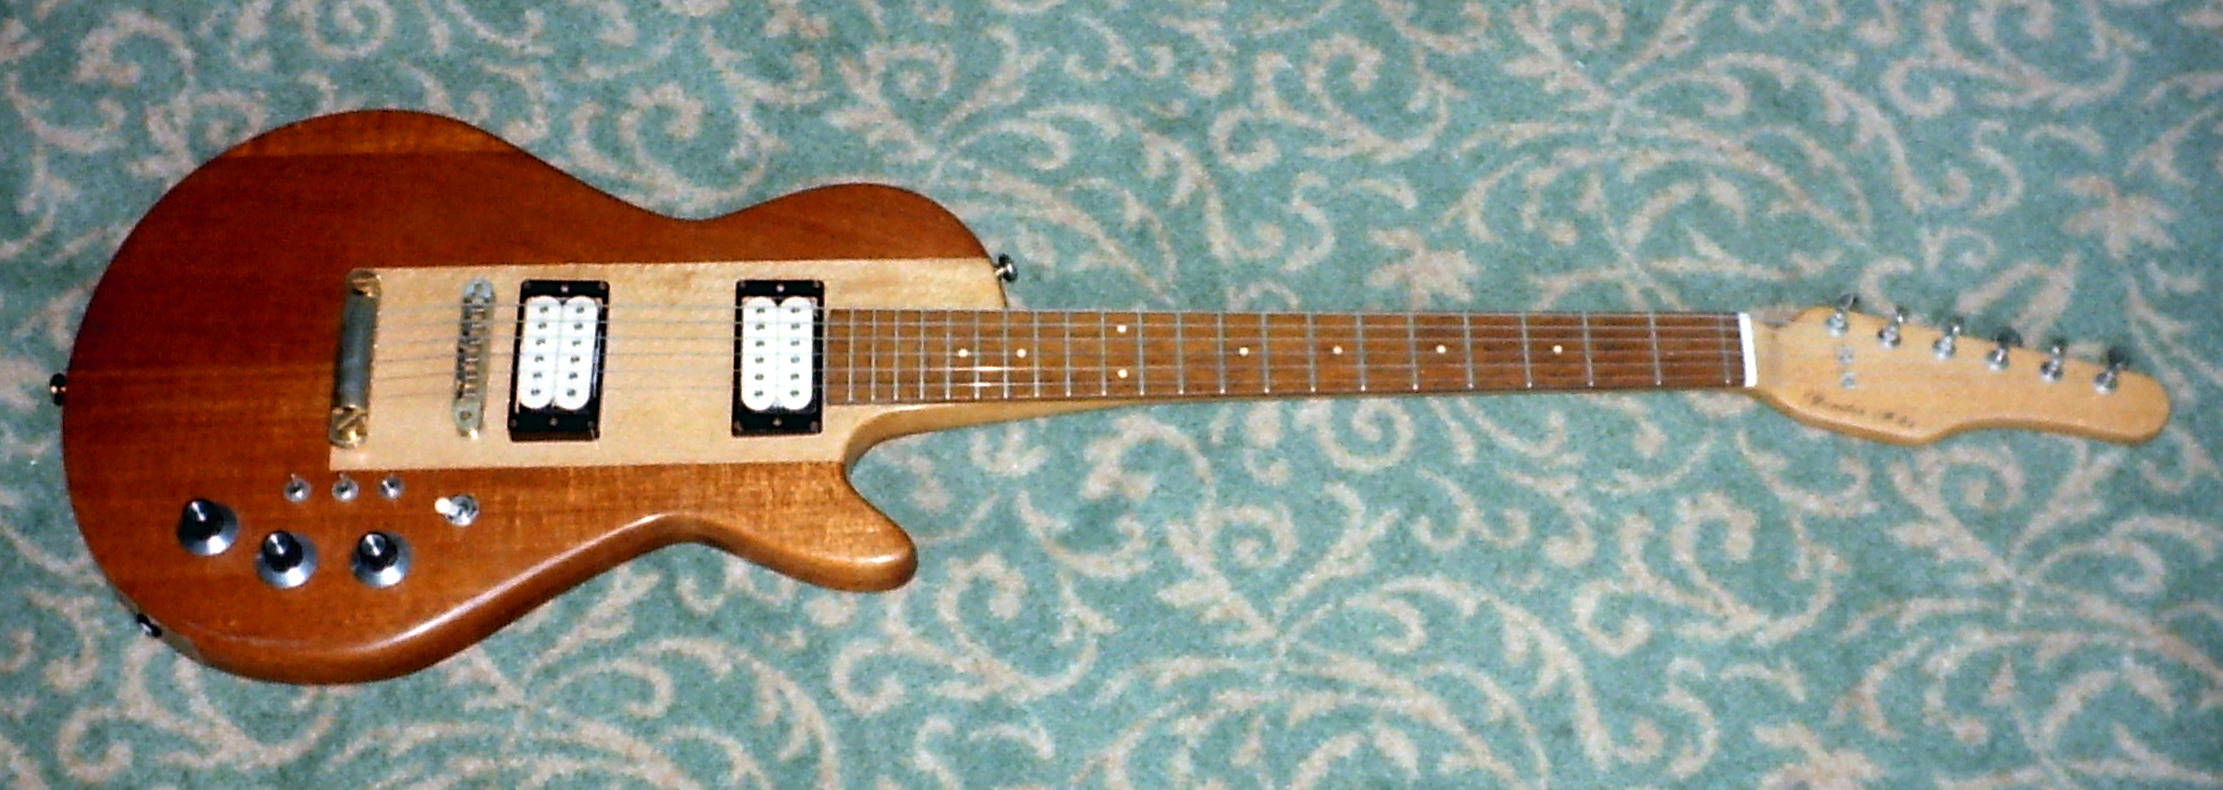
So this is how it looked before the repairs and refurbishment.
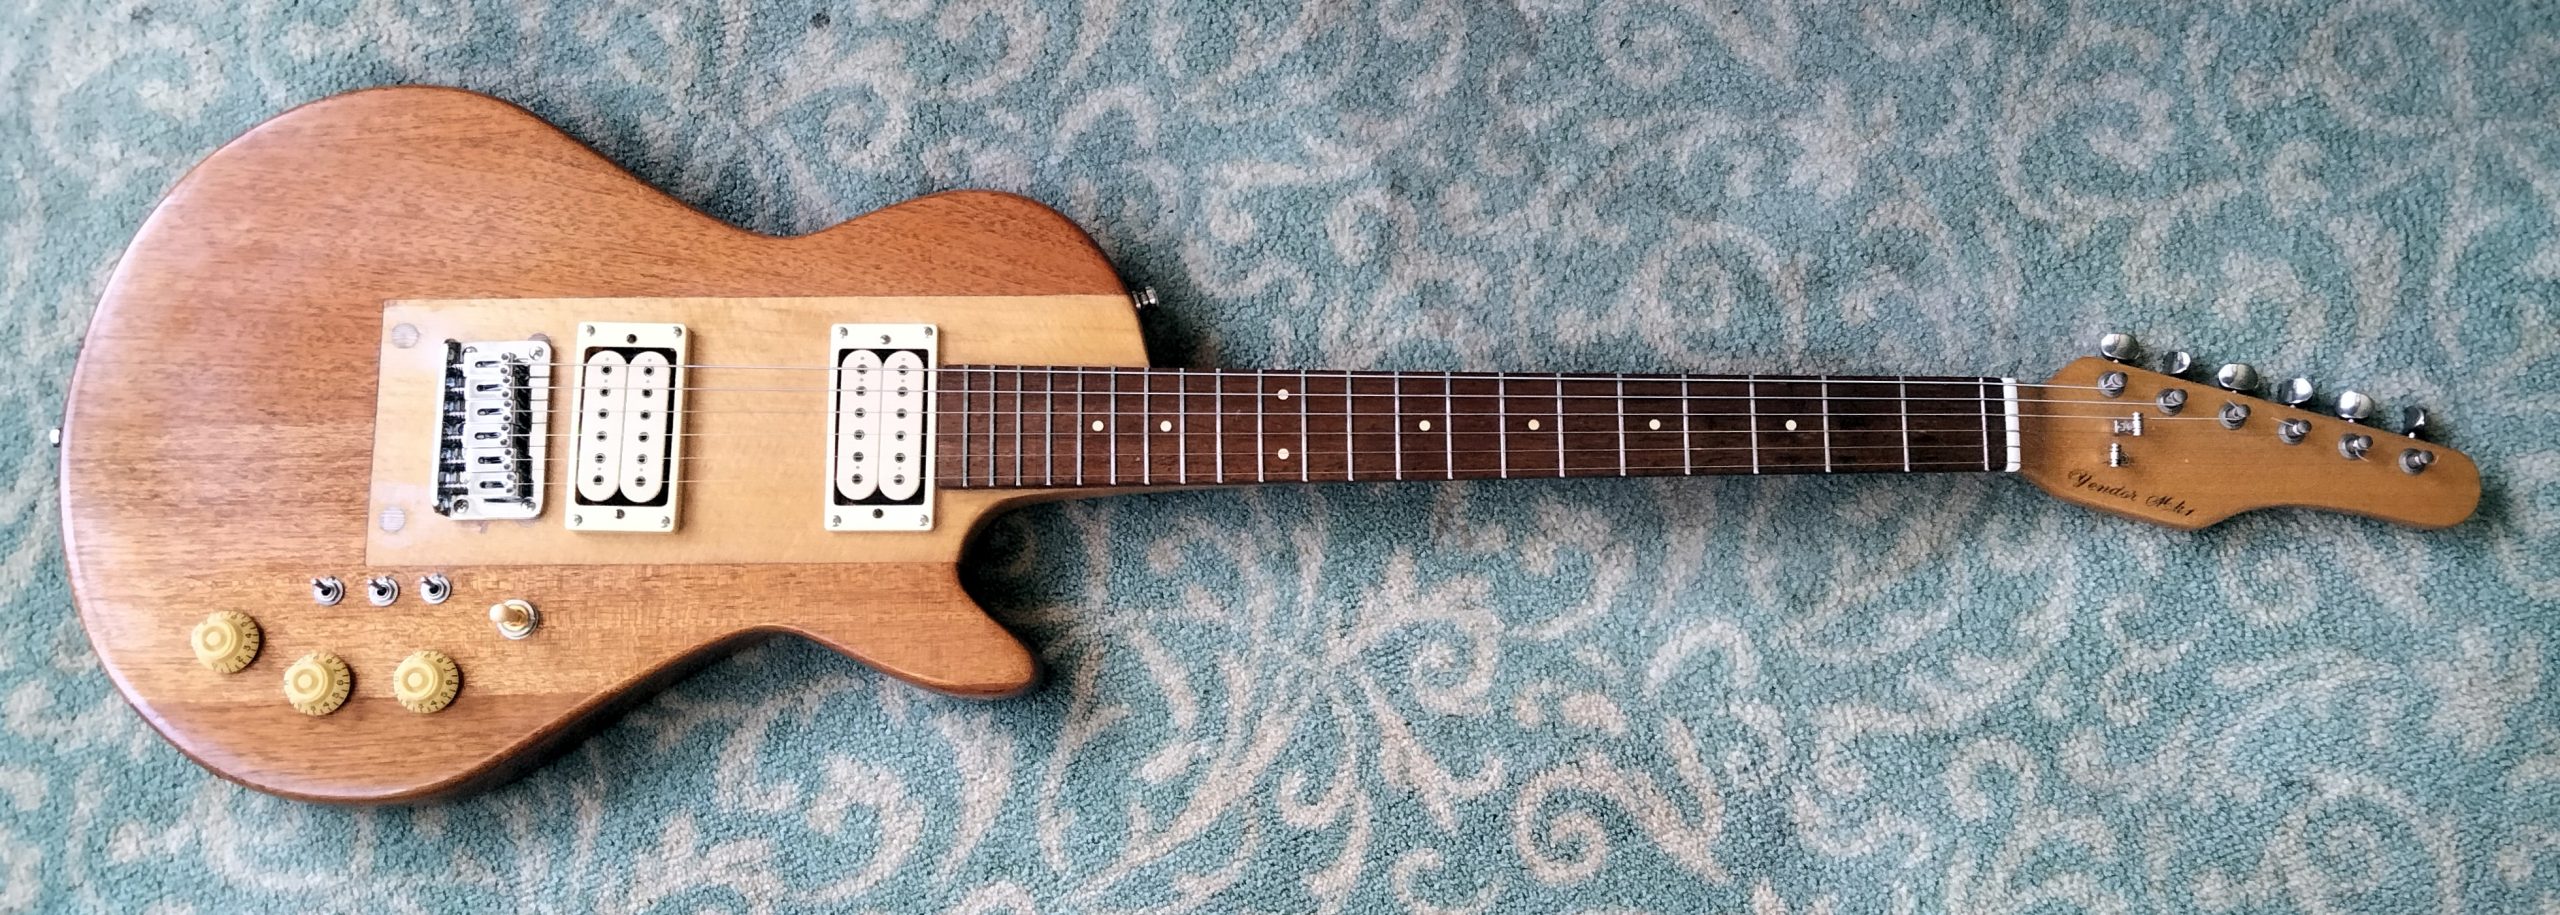
And this is after. The co-ordinated look with the cream pickups and controls is neater and the new chrome bridge is consistent with the rest of the chrome hardware on the guitar.
The bridge replacement made it play well and these changes make it easy on the eye. After years in a cupboard it is now in my living room and gets played most days. Fifty years after I started to build it I’m loving it again.
Post Script
It’s been a month now since the changes. Tuning stability is rock solid. It’s a joy to play. I love the independant volume controls and the tone control is very responsive.
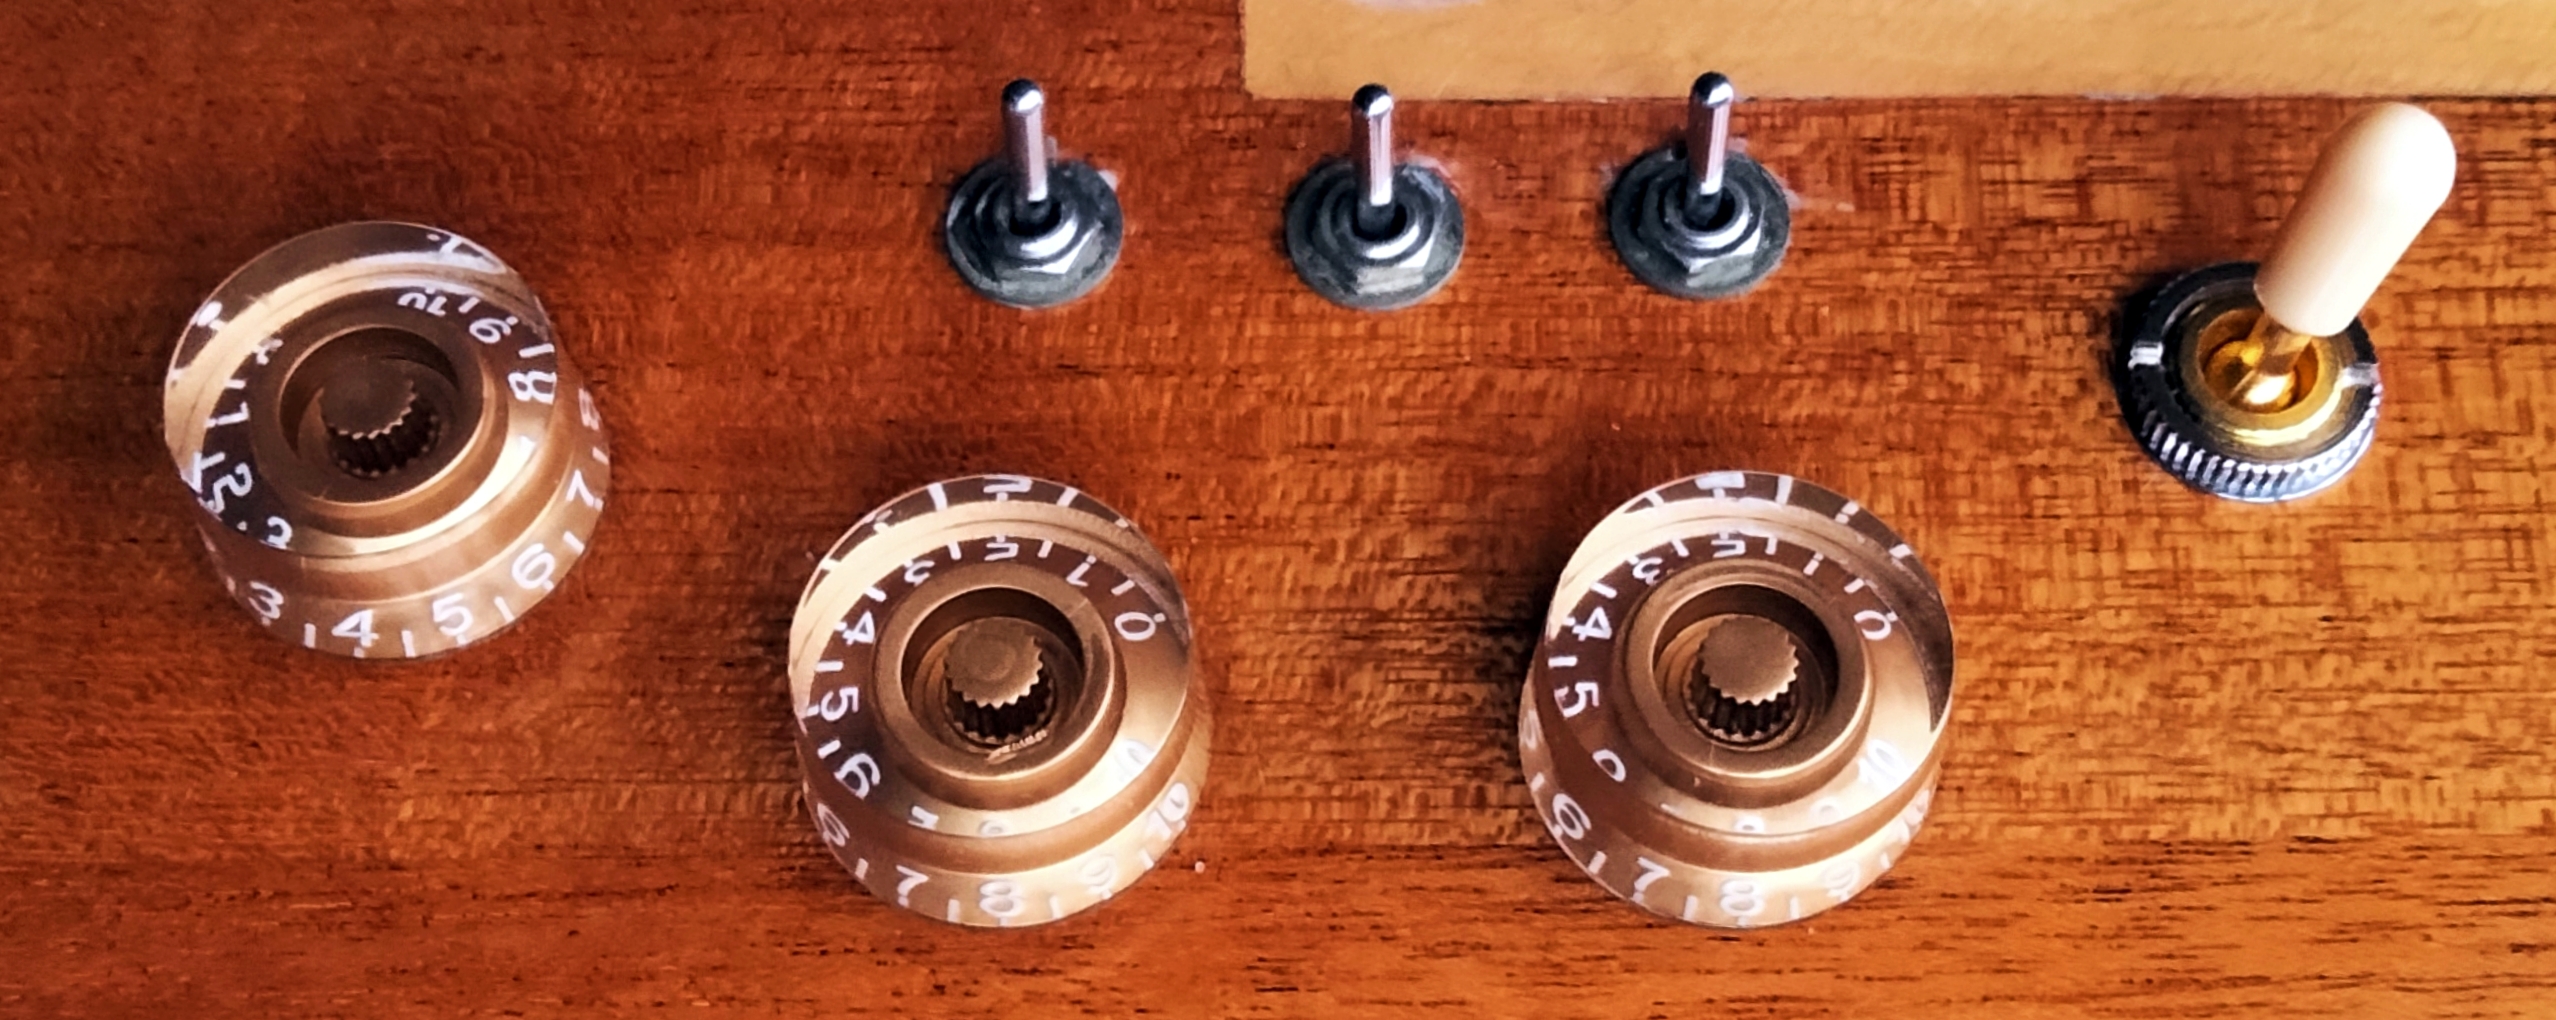
I couldn’t help myself when I saw these knobs in a guitar shop. The colour of the previous cream knobs was closer to yellow and didn’t really work. Also, the small diameter of the bell top knobs made it difficult to turn the rather stiff pots. These are much better both aesthetically and practically.