In a previous article I described why I wanted to build a Raspberry Pi based music player.
Here I describe the hardware part of the project.
At the core of this project is the Raspberry Pi mini computer. I had a Pi 2 model B left over from a previous project. It was even in a nice pretty case.
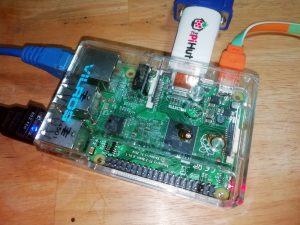
This was great for initial experiments and proved itself to be very capable of running the media player software I proposed to use. It ran fast, handled the size of the library index information with no problems and drove the sound card easily.
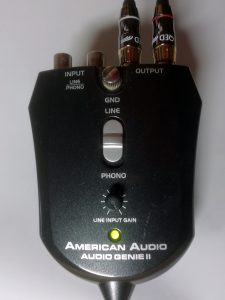
I have several USB sound cards, and I will try them all. I started with this “American Audio Genie II”. It’s not particularly Hi-Fi and purists may baulk. It’s a basic piece of kit which I bought for £1 from a boot sale. However it sounds good for what it is, it’s compact, doesn’t need an external power supply, and it works with no extra configuration.
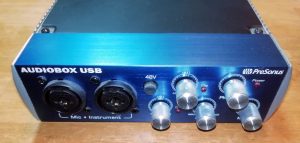
Next up was a “Presonus Audiobox”. This is actually intended as an audio interface for music recording it’s main features are a 24 bit ADC and a pair of very nice microphone amplifiers. Neither of these are of interest in this application. It also includes a DAC for monitoring purposes. This has an impressive specification of 24 bit at 44.1 or 48KHz sampling. This worked well for audio playback. Unfortunately it had a habit of emitting a loud click when stopping and starting music playback. This was particularly irksome when playing multiple tracks in succession. Gap-less it wasn’t.
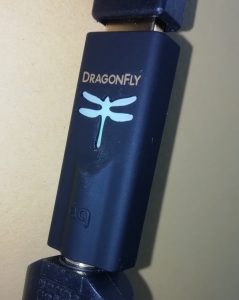
The current solution is a DragonFly Black 1.5. This is a HiFi DAC and headphone amplifier for use with Android, iOs, Windows and OSX. It also works with Linux, though Audioquest do not formally support this. In practice it just worked with my software setup on the Pi. It recognised 96K FLAC files and changed colour to indicate this, which looks great. It sounds superb!
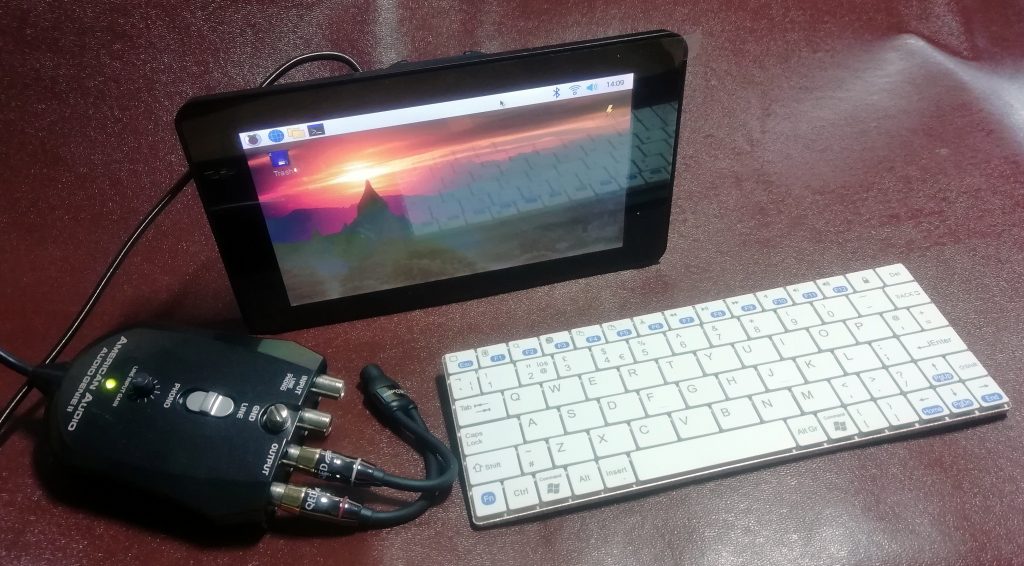
The physical interface is important to this project. I did some experiments with a small touch screen plugged directly into the Pi. However, It was difficult to configure up the software and results were disappointing. Just too small to cut it ergonomically.
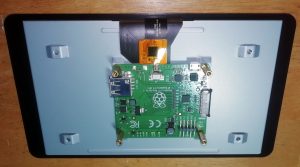
As it happens, I live close to an RS Components trade counter. I popped in to check out their wares and left clutching the official Raspberry Pi 7 inch touch screen (~£50) and a pretty case (~£20) to put it in.
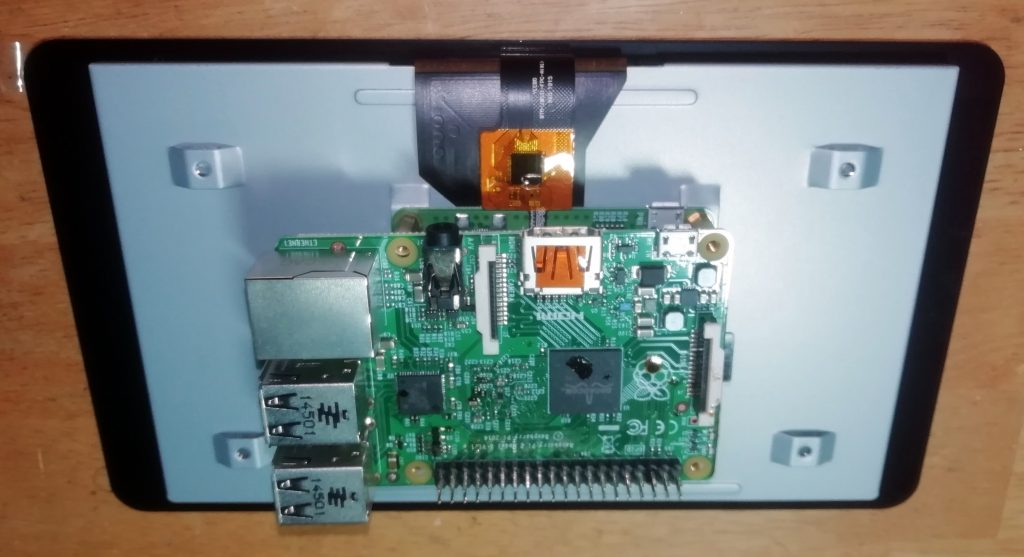
The Pi bolts onto the back of the display driver electronics. A ribbon cable and four jumper wires were fiddly to fit and I found that leaving the mounting screws lose while inserting into the case helped matters. Otherwise an easy job.
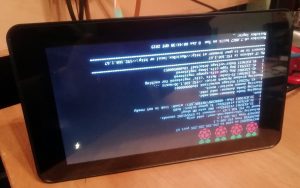
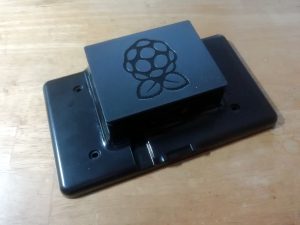
With the stand upright, the display is upside down! A quick software configuration change fixes this, then it works great.
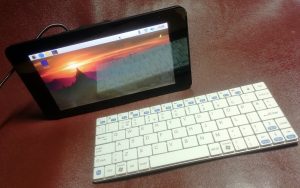
A keyboard is important to me, I proposed to initially use this mini bluetouth keyboard, so I have added a USB bluetouth dongle. In practice this was somewhat fiddly to use because I constantly needed to faff about to get the bluetouth to connect.
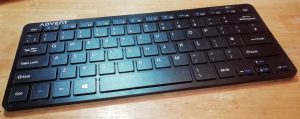
A solution was found with a compact wireless keyboard with it’s on dedicated wireless UAB dongle. As far as the Pi is concerned this is a hard wired USB keyboard. Instantaneous response, as required.
A Wi-Fi dongle and 2 amp power supply completes the hardware.
Well, Almost. For software reasons, and because raspberry Pis are cheap. I have actually gone with a 2 Pi solution. Most of what I describe above is used for the “controller” part. Another Pi, a Pi 3 B+, is used for the player. This is cable connected to the network and has the sound card.
So far I have got a couple of Pi’s working and have done some rudimentary software checks. The next step is to install and configure the software
Update: In 2021 I updated the hardware and software of my streamer. Read about it here.