Few would dispute that these receivers are a marvel of styling. Their “lifestyle” presentation made them very expensive in their day and equivalent sonic performance was available for less money in more conventional packaging. from other brands.
This one came to me from a cousin. It was an exchange for some vinyl records. It’s been stuck in the back of his wardrobe for years, so needs some attention. I’m not paying through the nose for aesthetics, so maybe I can now appreciate this 40 year old design classic.
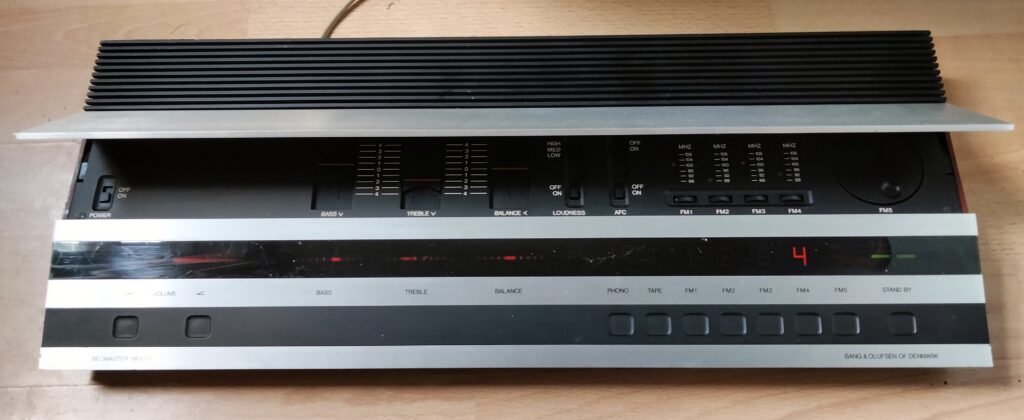
This reciever is a Beomaster 1900-2 model 2903 from about 1979 and is an updated version of the iconic Beomaster 1900.
Initial impressions are good, but it does have some obvious problems:
-
- The lid has a broken hinge.
- Lights on Bass and Treble controls do not illuminate
- The Phono button does not light up
- Bass control is ineffective.
It seems to be in good cosmetic condition, other than the lid problems.
With power applied it fired up and worked straight away. A simple wire aerial was sufficient to get very good FM reception. I connected an iPod to the Aux input. This too was reproduced well through the speakers. All controls were smooth and quiet. The touch sensitive selector switches are particularly satisfying.
It is indeed a nice sounding and very smart looking unit. Definitely worth fixing up. I must give a big thumbs up to the designer Jacob Jensen for creating a unit which is a delight to work on. Casework is held together with a handful of easily accessible screws. There is even a handy reference diagram on the base so you know which ones to remove. The design is modular and has plug in connectors on cables between boards.
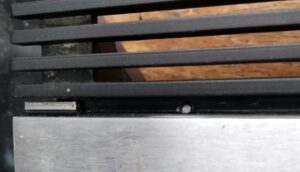
The “soft close” of the lid is one of the really cool features of the Beomaster and is essential to the futuristic aesthetics. I tackled the lid hinge as first priority. Two problems presented. The hinge bracket had detached from the aluminium lid, which was easily fixed by cleaning up and applying fresh epoxy glue. The second problem was more difficult. The plastic case has a moulded bar into which the aluminium lid fits and pivots. This had broken away from the case.
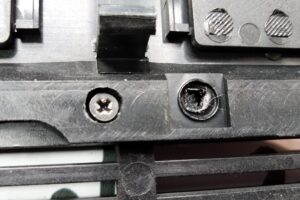
The Beomaster is made from one of those horrible plastics that won’t glue, but it will screw. A bit of delicate work with a fine drill bit and a couple of small screws sorted it out.
The new screws are barely visible where they come through to the front of the case but I added a dab of black paint to make them go away completely. The lid now opens and closes in a smooth damped and accurate way. Very satisfying, just like a VW Golf.
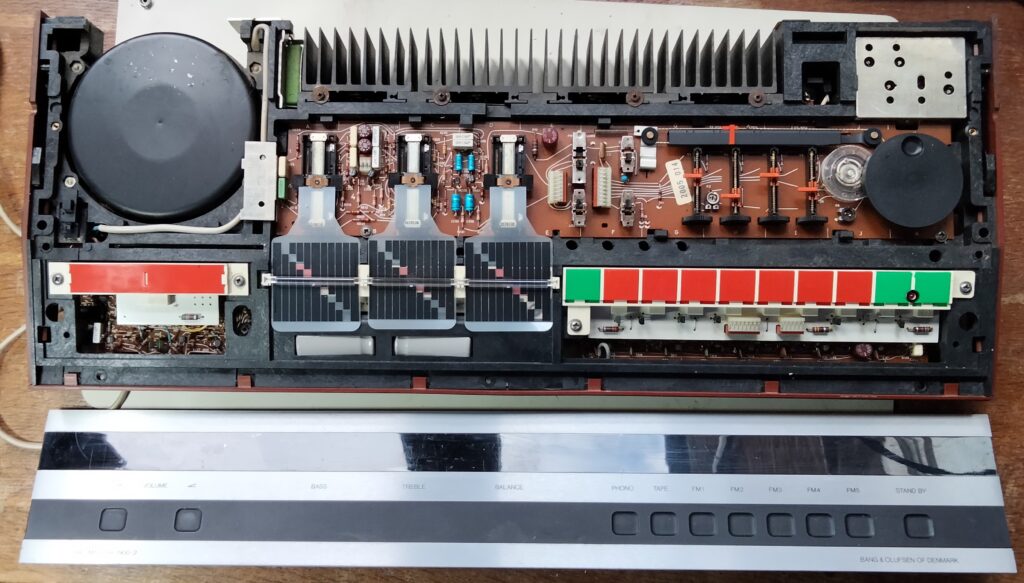
Next thing to tackle was the lights. A trick that the Beomaster pulls off really well is looking futuristic using the technology of the 1970’s. All of that fantastic display is achieved with incandescent light bulbs. A particularly clever feature is how the tone and balance controls move the semi transparent sheets under a lens to give the impression of a moving light display when you move the controls. Strangely there is just one LED, used for “standby” The bulbs are 12v 70mA and not easy to source. Though I only needed three I bought a whole set for £ 15 on eBay.
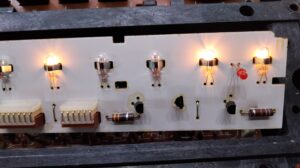
It was easy to remove the light PCB’s completely from the unit which in turn made removing and soldering in bulbs a straightforward job. I actually replaced all of the bulbs to ensure consistent illumination, which may not have been the case had I mixed old and new bulbs.
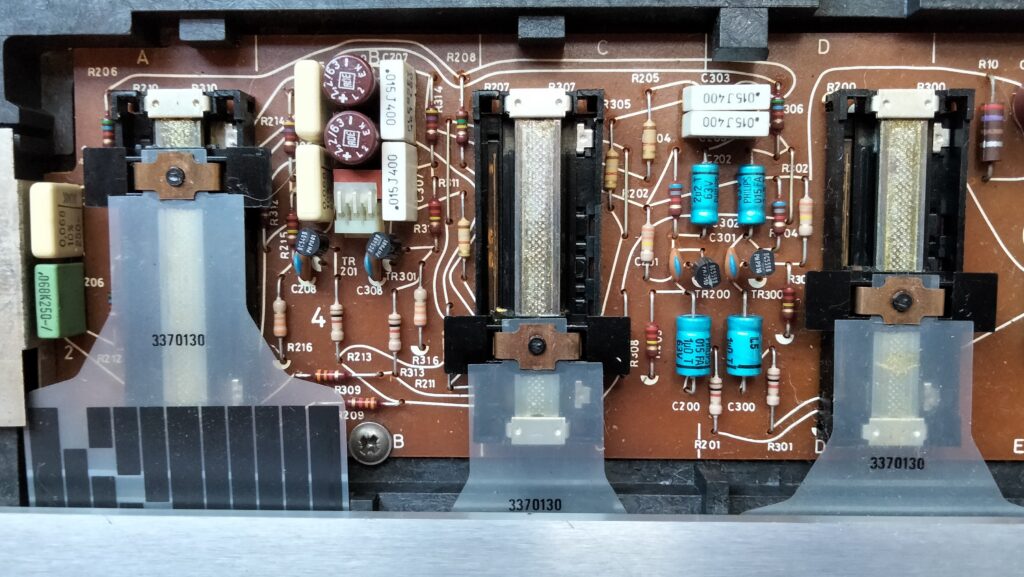
The only functional issue was the bass control slider. Research soon identified that this is one of the fail points of the Beomaster. So much so that “potentiometer repair kit” is available from www.beoparts-shop.com. This kit cost £20 and came with comprehensive instructions for fitting, which I confess were also referred to earlier when dismantling the unit for access to the bulbs.
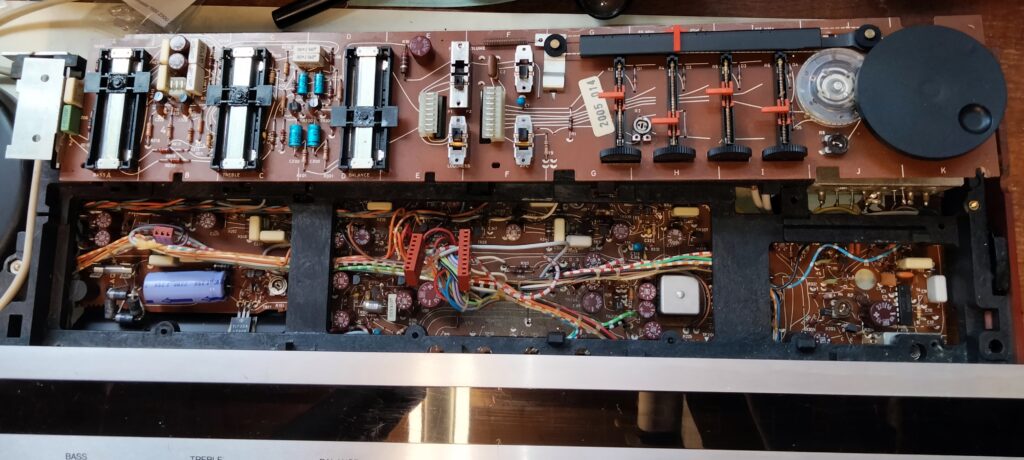
Just two screws and a couple of multi plugs secured the control board, so it was easily removed to give access to the under side of the slider potentiometers to de-solder and liberate them.
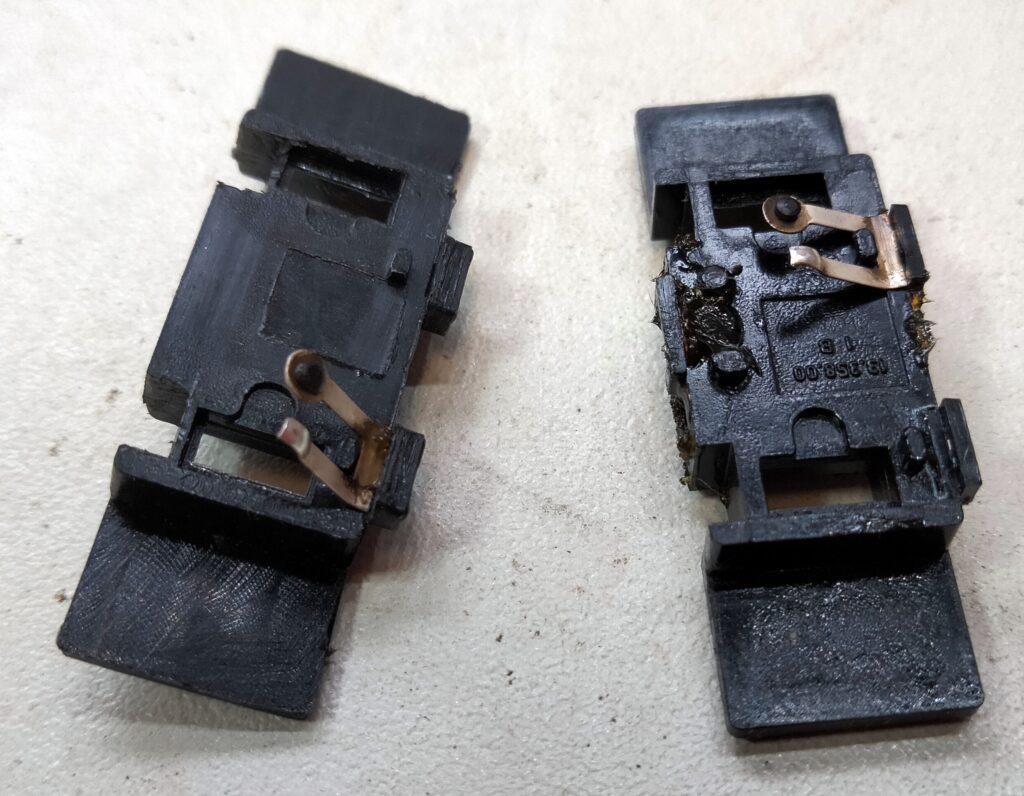
This is the offending part. The plastic part that carries the moving contacts snaps at the point where the contacts hook on. The sturdier replacement part is on the left. Though only the bass control had issues I repaired all three pot’s, following the excellent instructions provided in the kit.
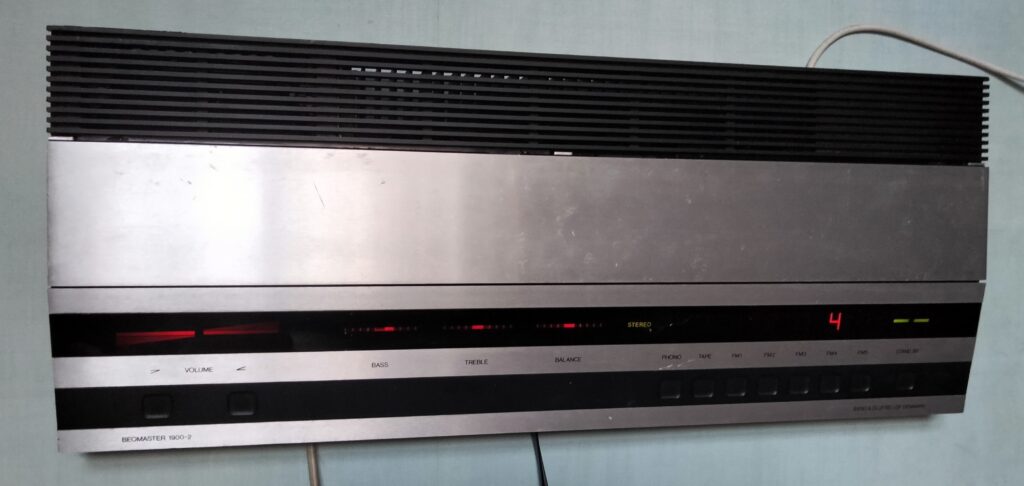
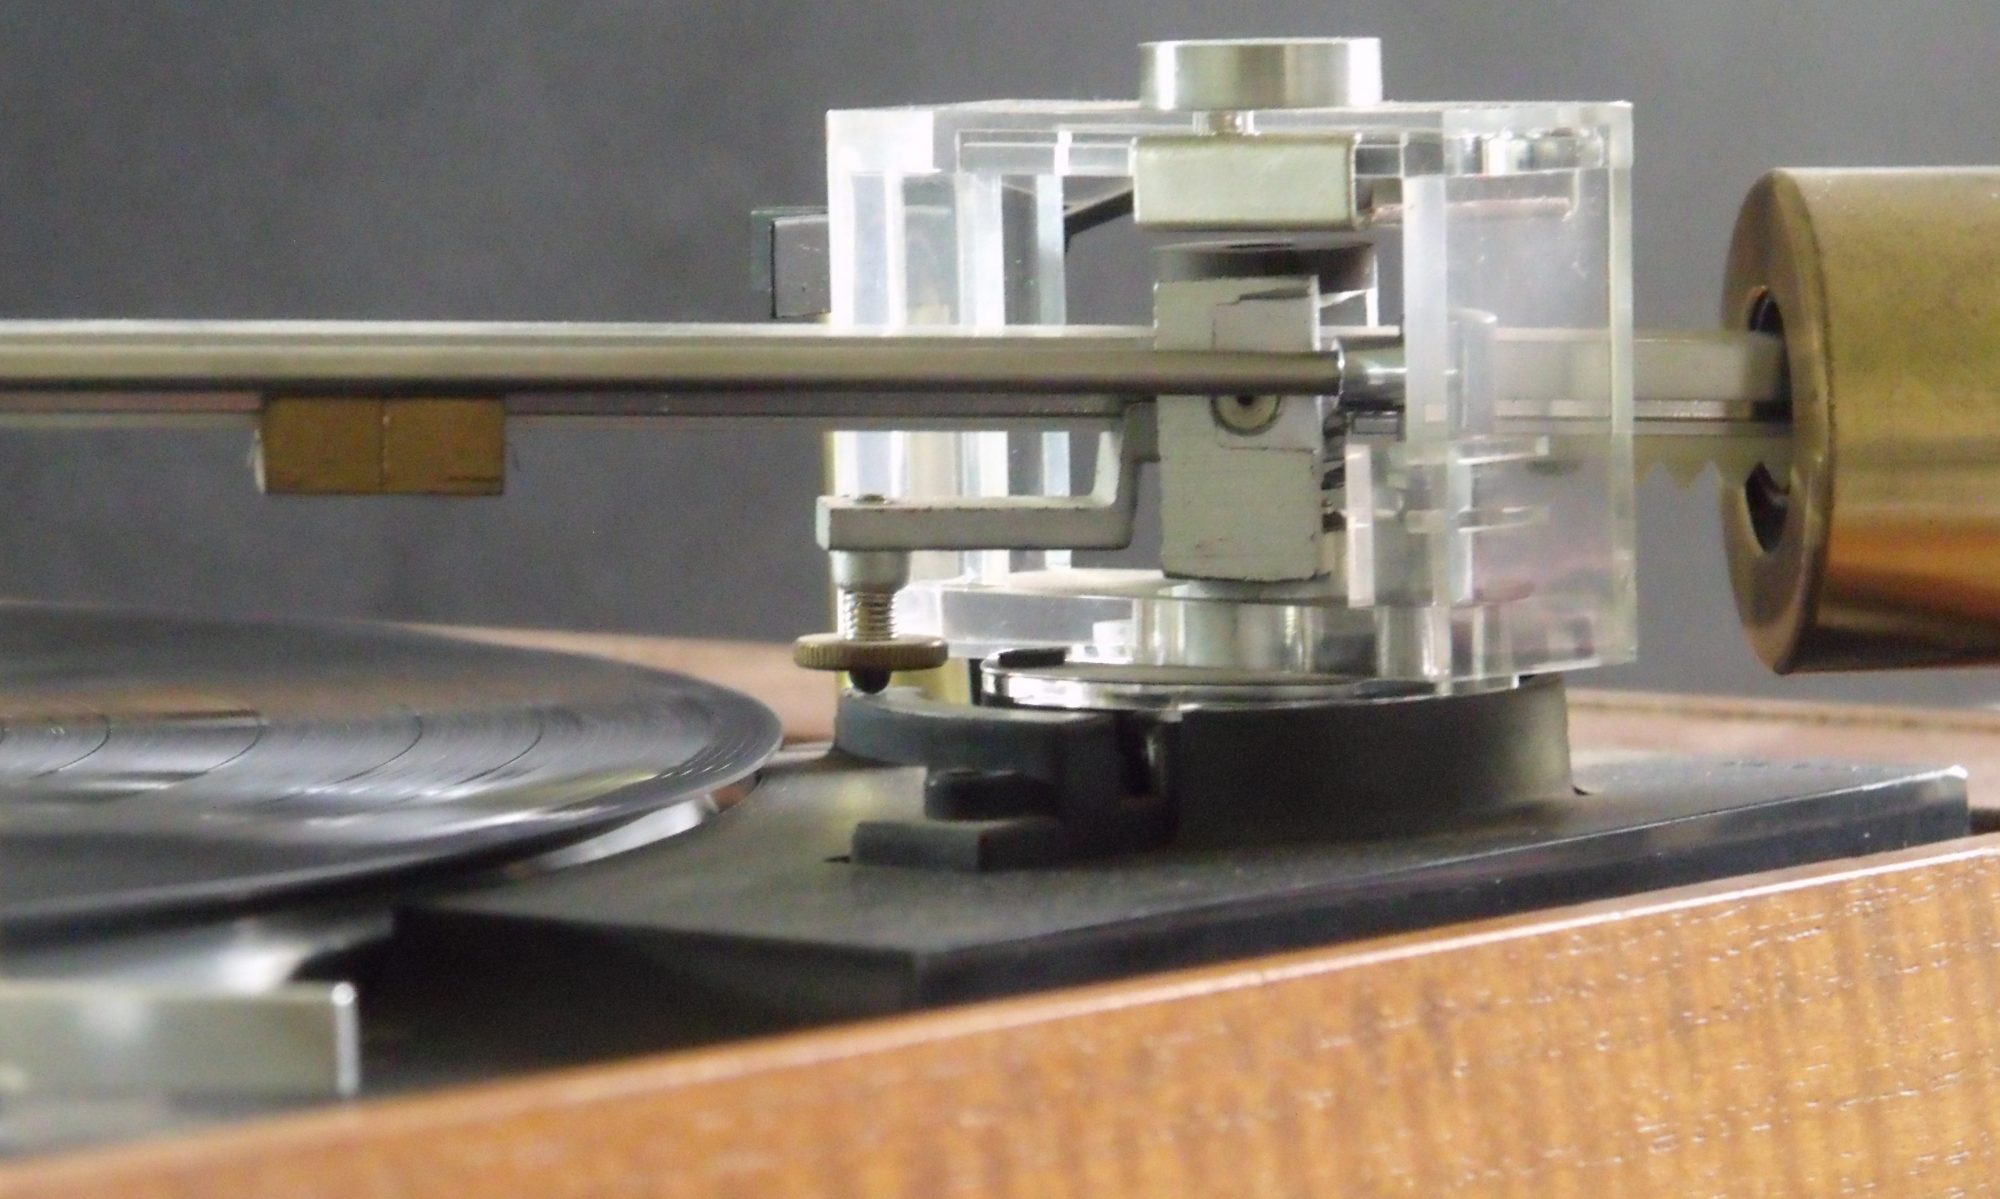
After a good clean up with a damp cloth it now looks and sounds great mounted on the wall. Sources are a raspberry pi 3 streamer with a dragonfly DAC and a Technics SL-QX200 turntable. I’ll hide those cables shortly.
Back in the 80’s a friend bought one of these. I admired it, but thought he was crazy for spending so much money. Equally he thought I was crazy for running a 1950’s valve amplifier. Each to their own.