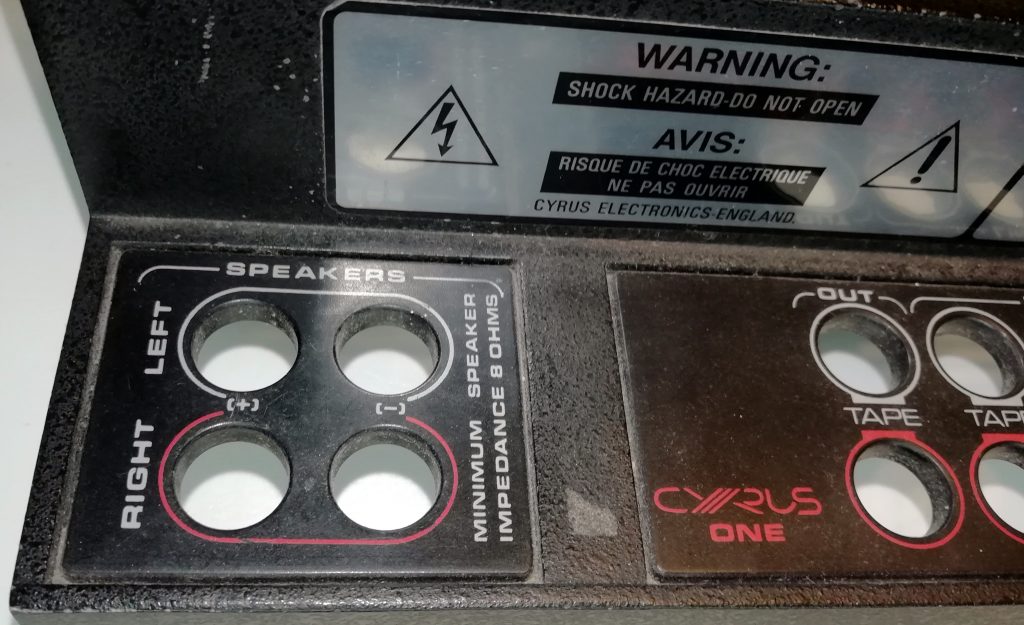
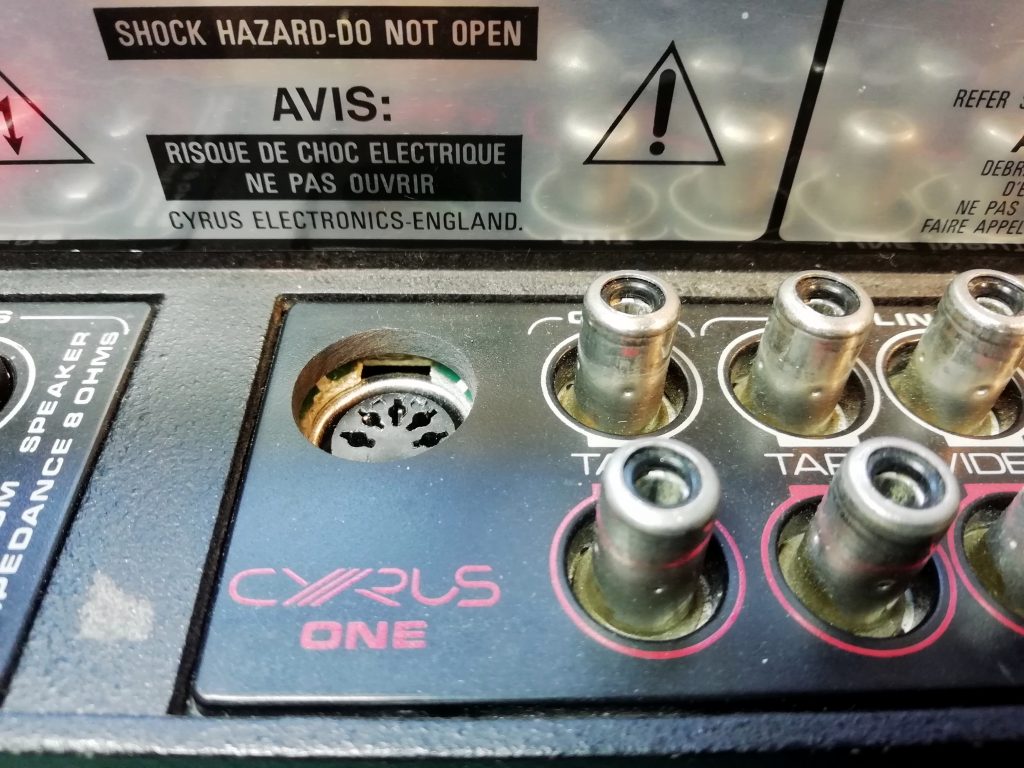
My Mission Cyrus One amplifier does not have the DC Power socket that you find on the Cyrus Two for attachment of a PSX external power supply. It would be just above the logo next to the tape out socket, but here it is clearly missing.
The amplifiers are similar, so perhaps I could fit a socket to my Cyrus One? But is it a good idea?
The short answer is NO.
DO NOT TRY THIS AT HOME!
This modification presents about 60 V DC on an output socket. THIS IS A POTENTIALLY LETHAL VOLTAGE.
If you use a PSX with a Cyrus One it will end in tears, smoke and possibly flames. The Cyrus Two uses higher rated components to deliver the additional power it is capable of. It will not survive attachment of an external power supply. I have personally witnessed an engineer thrown across a room by 48V DC. He was a clever, cautious, bloke who knew what he was doing, but that accident nearly killed him.
I have other reasons for wanting to fit a DC power socket. I actually intend to use it the other way round. I want to draw current out of the Cyrus One to power an external buffer circuit. More on that story later. This external circuit uses op-amps so has a low current requirement, but does need a spit power supply. Building or acquiring such a supply would be a costly and complex undertaking. If I can easily extract what I need from the Cyrus, that would be good.
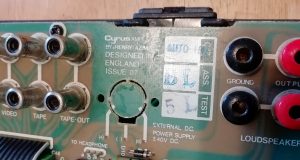
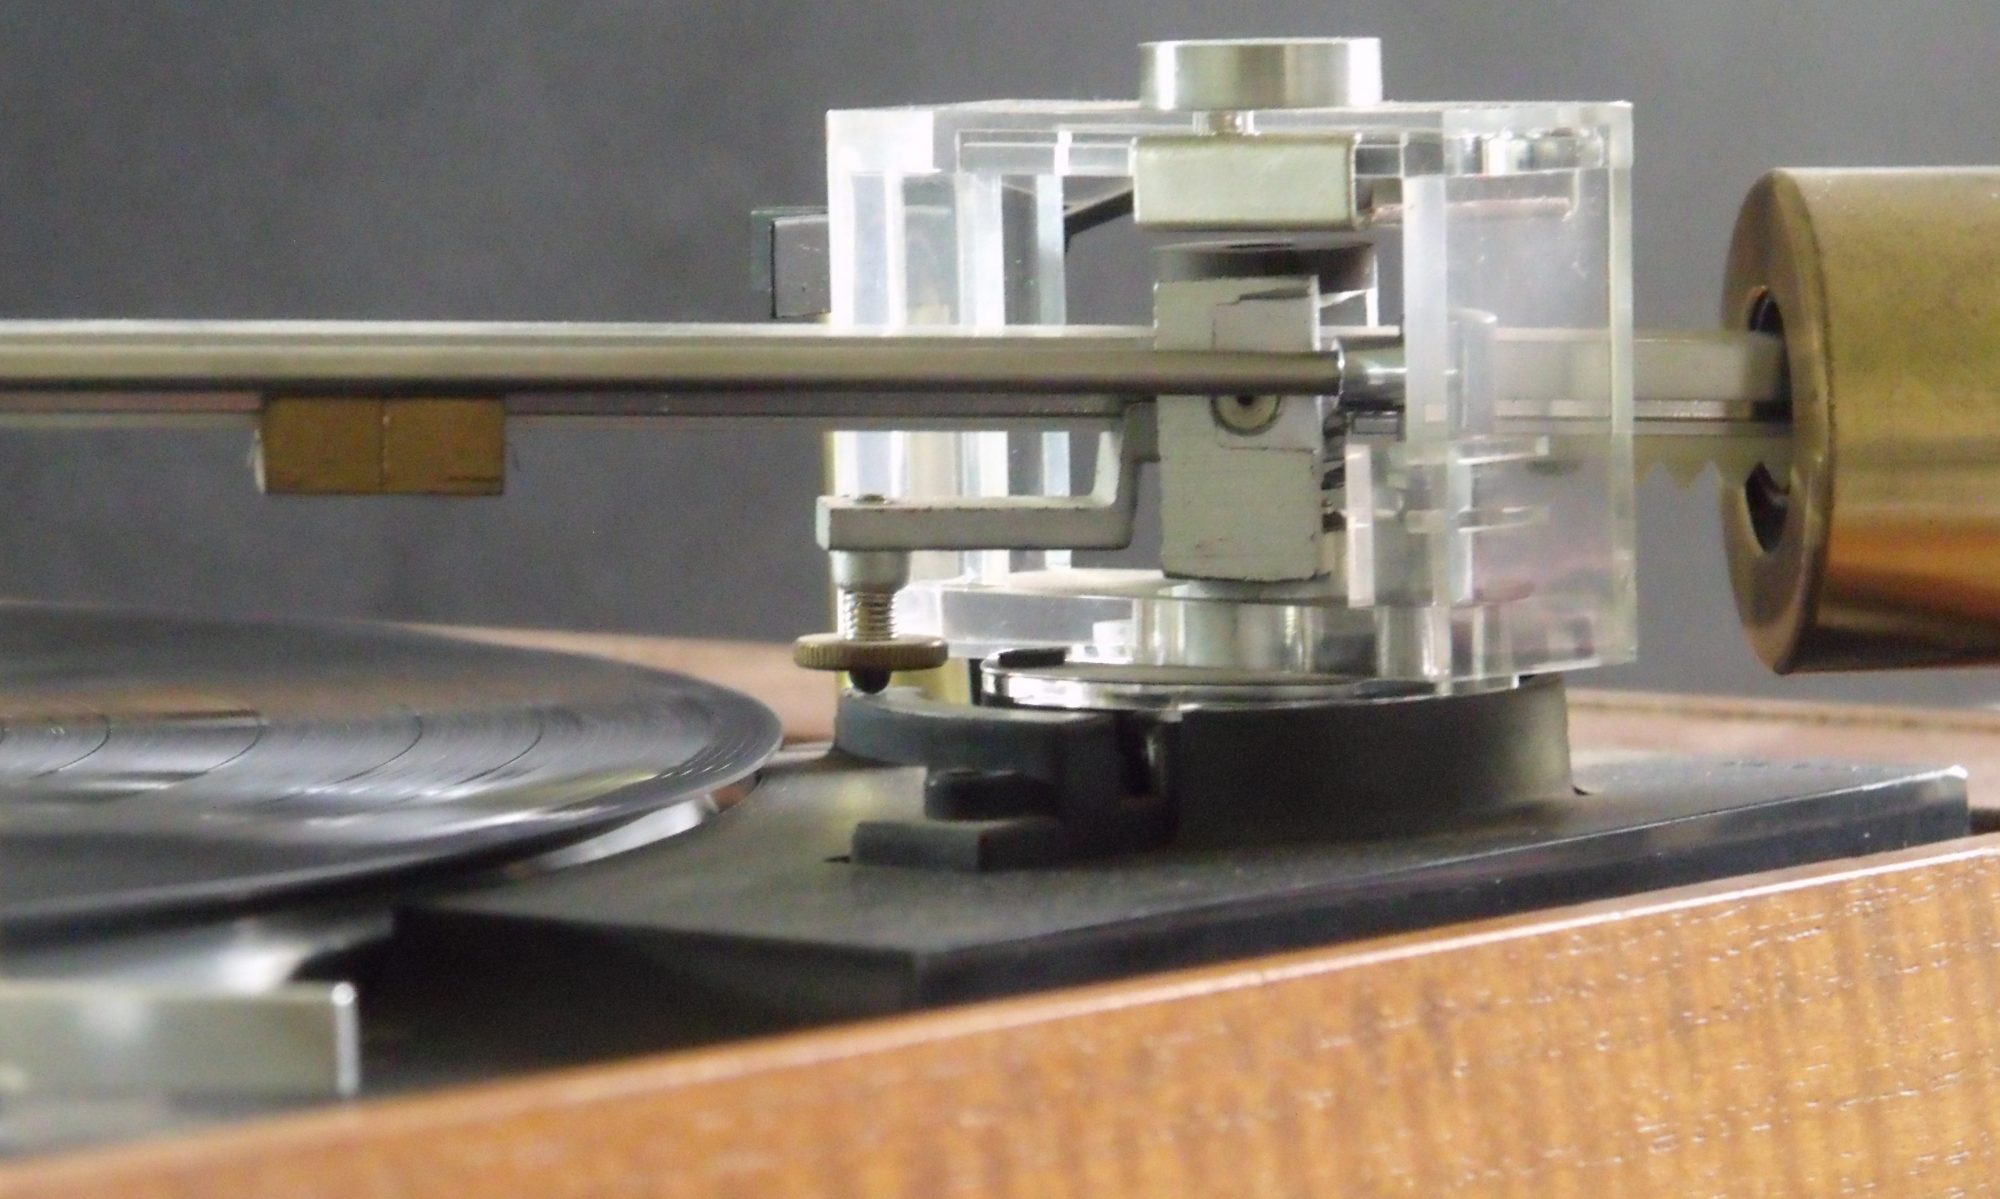
The Cyrus One and Cyrus Two have the same physical design and even have the same printed circuit board. Here you can see the space for the PSX power socket, which is not used on the Cyrus One. Incidentally, the other main differences are; Bigger power transistors, higher voltage transformer and better moving coil phono stage.
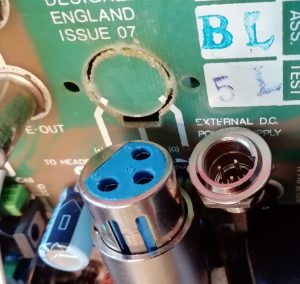
I struggled to figure out what sort of socket Cyrus used for the PSX. Researching service guides, forums and photographs suggested that an XLR connector was used. Possibly a mini XLR. I couldn’t find anything that looked like the original connector, so I bought a mini XLR chassis socket to try. You can see here that it is too small. The full size XLR plug is clearly too large.
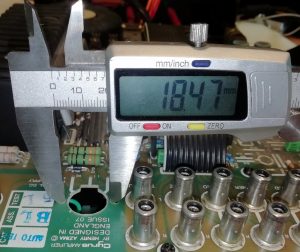
I opened up the hole in the PCB and measured up. Further research and practical experiment revealed that the PCB perfectly accommodates a DIN chassis socket. this is quite different from the original socket, but that’s a good thing. It will prevent accidental attachment of a Cyrus PSX. DIN connectors are good for 1 Amp at 100 V, so plenty for my requirements.
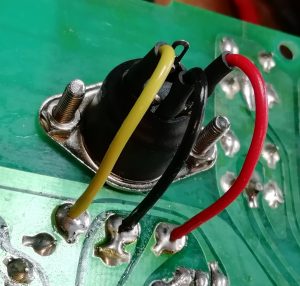
Fitting the socket was straightforward. This socket actually sits quite close to the AC power connector in the chassis, so I didn’t want to take any chances. Plenty of heat shrink is in evidence. I paid careful attention to insulation.
Cutting the hole in the case for the plug was a tricky job, made a little easier by the fact that the socket panel is a plastic insert in the otherwise metal case. Should I want to return the Cyrus to factory condition I can seal this hole quite neatly with a blanking gromit.
Just for the record, the pin-out is:
1: 0 V
2: -30 V
3: +30 V
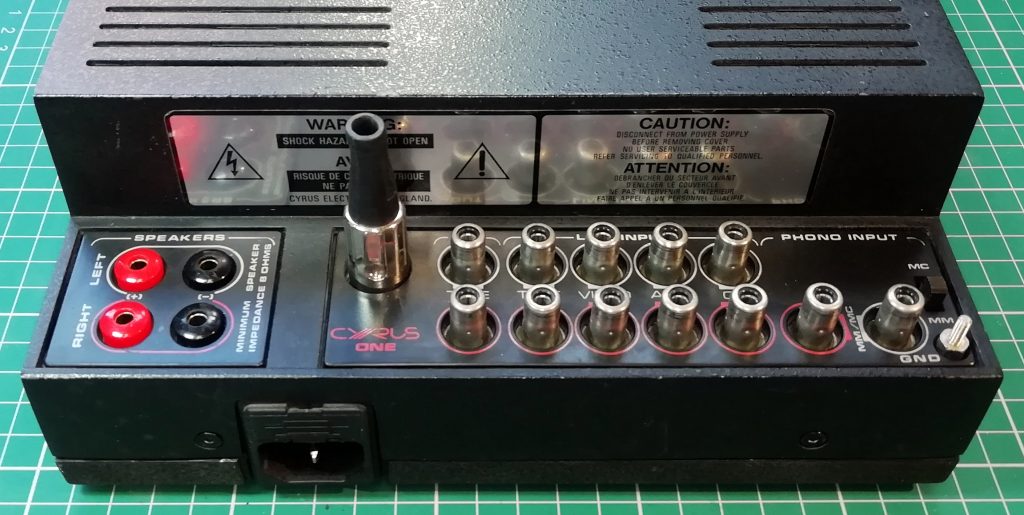
With a plug inserted we have a very neat finished article. I’m pleased with that. Now I need to crack on with that buffer amplifier.