With a requirement to transfer some tape from a 10″ reel to a number of 7″ reels I needed to be able to cut and join tapes.
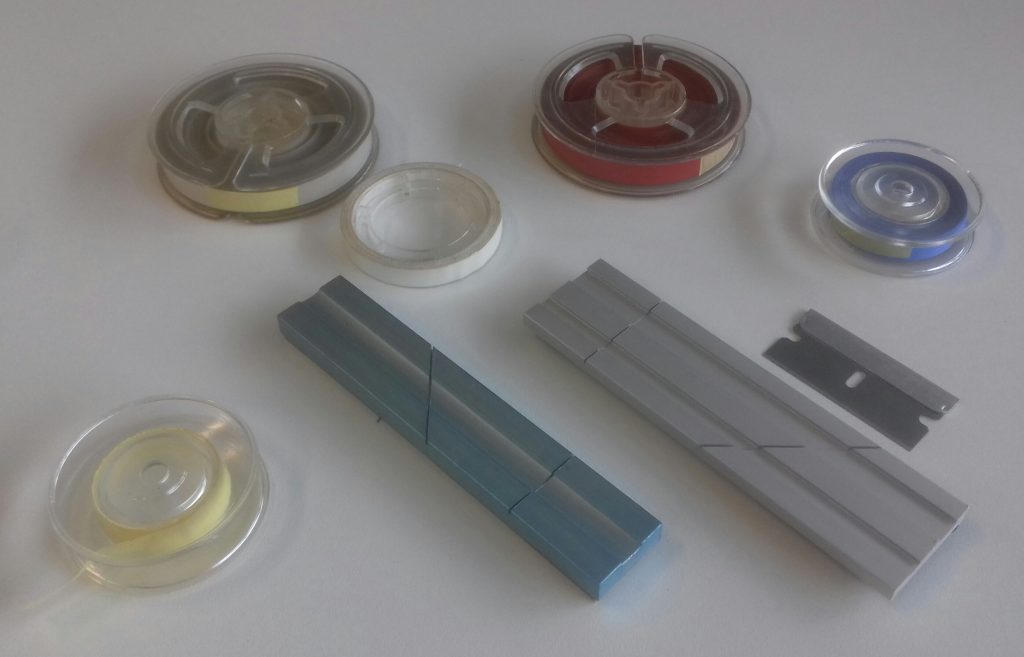
I got lucky on eBay because the seller of this lot listed it as a “repair kit”. This didn’t come up in searches for splicing, splice etc. A bargain at £24, compared to the £40 achieved by similar listings. So. What have we got?
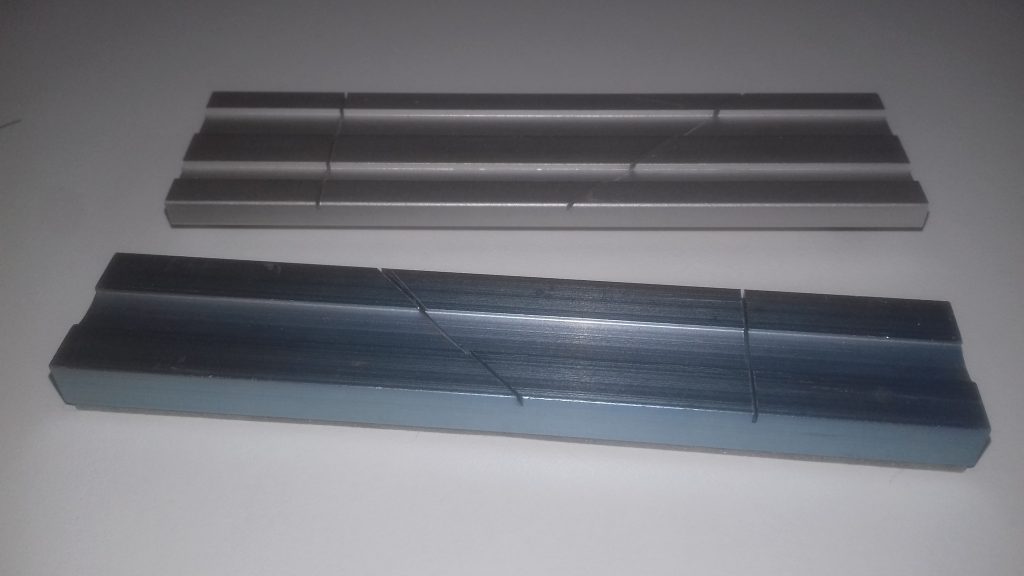
A splicing Block is your main piece of equipment. It is used to hold the tape straight while you cut it with a blade, or stick it together with tape. The block has a slot the width of the tape, which is shaped to hold the tape in place while you work. Blade guiding slots are provided at 90 and 45 degrees, so you can accurately cut the tape with a razor blade. I have two blocks here. In the foreground is a block for 1/4 inch tape, as found on domestic reel to reel machines. The block in the background has two tape slots. One is for 1/4 inch tape, the other for 1/8 inch tape, as found in audio cassettes.
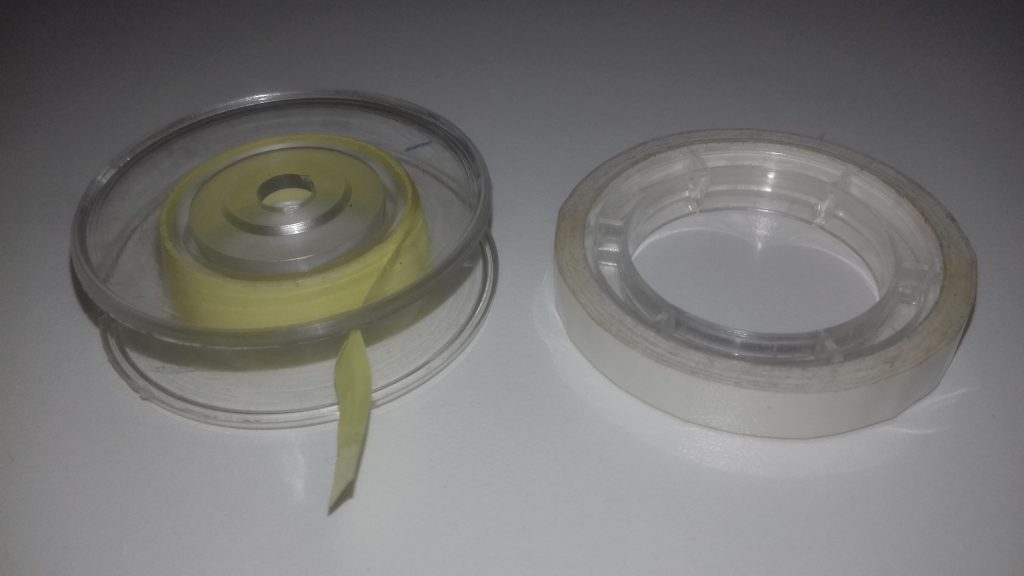
Tape can be joined with glue if you re old school and very skilled. For the rest of us there is adhesive tape. You want to avoid getting any sort of glue on your tape heads, so be sure to use proper splicing tape. It is slightly narrower than the tape you are joining to prevent overlap. The adhesive us correctly formulated for the job in hand. Don’t use sellotape!
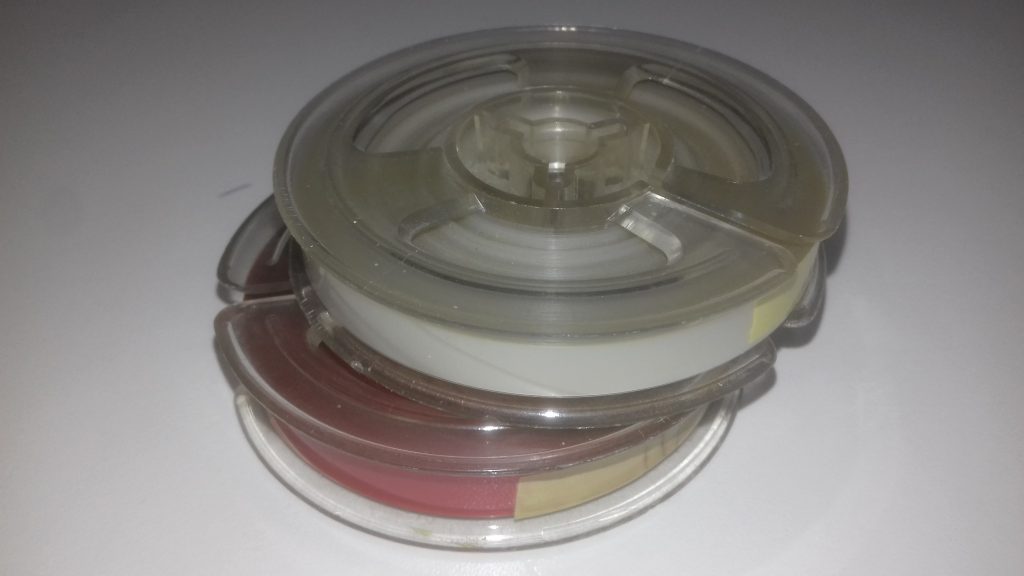
At the start and end of your recording tape you want to add a length of plastic tape which is is not recorded. This tape is there to protect the actual recording from handling and to make threading into the machine easier. Called ” header tape” it is available in various colours. conventionally white is used at the start of a tape and red at the end.