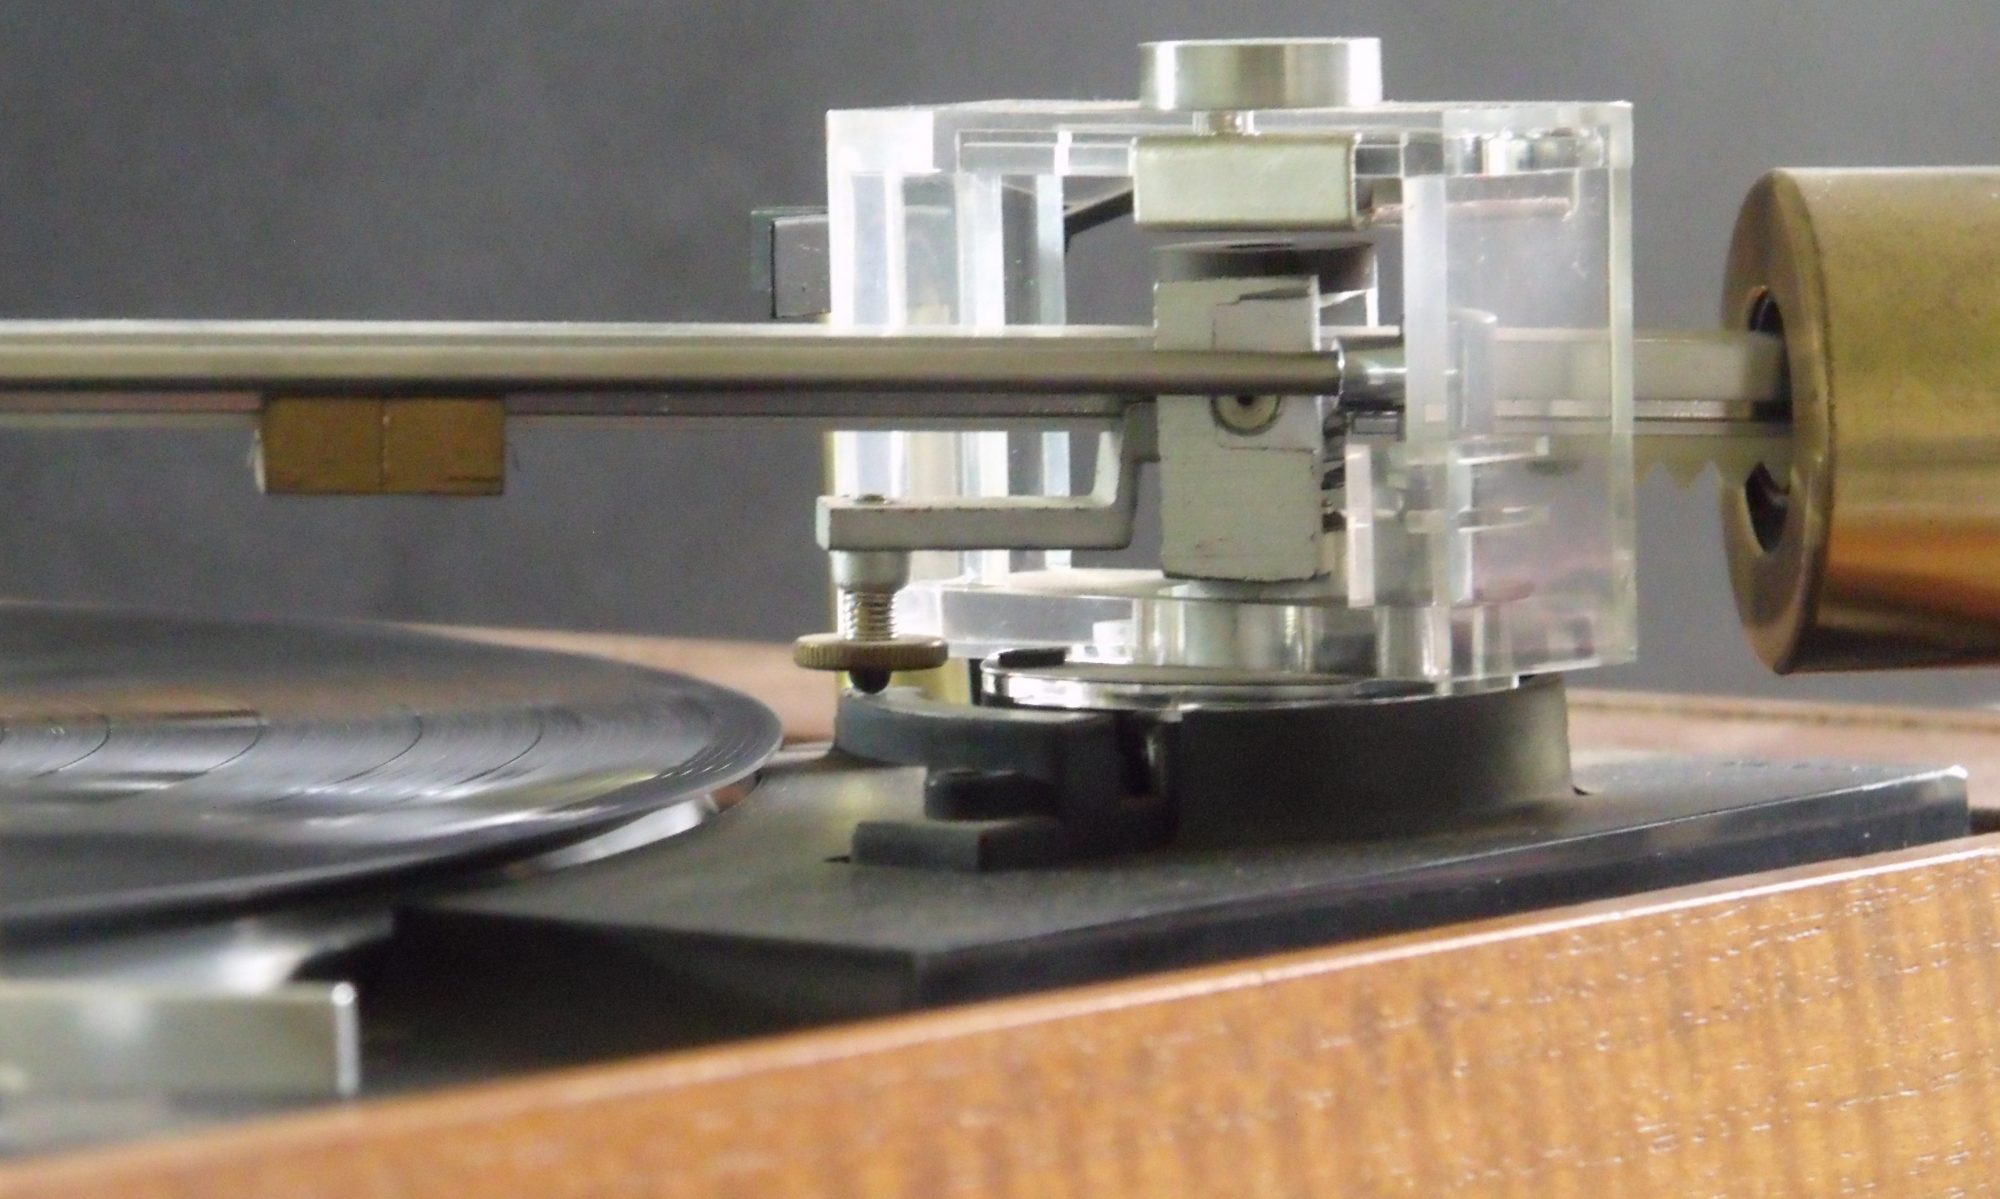
My TC-377 looks great and initial tests were promising. Now it’s time to have a look inside and give it a bit of a service.
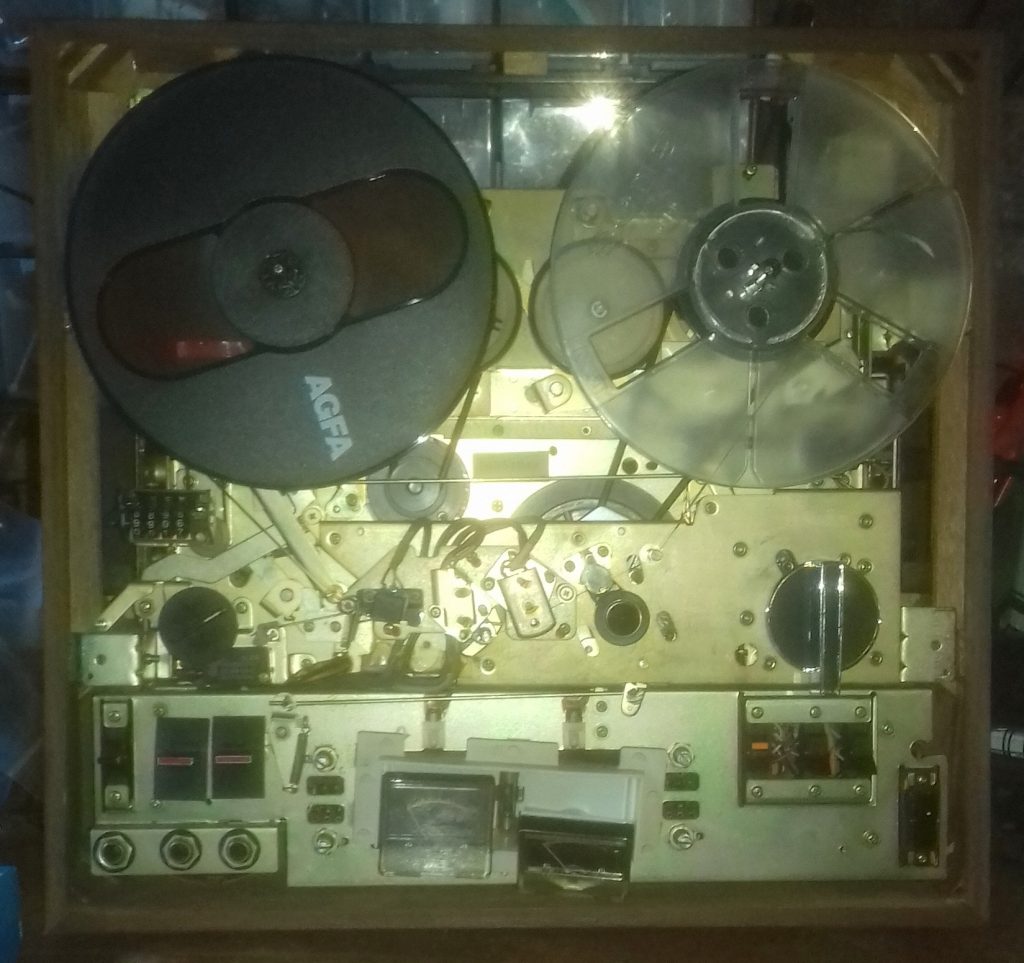
Taking the back off first I was delighted to find the machine is clean inside as well as out.
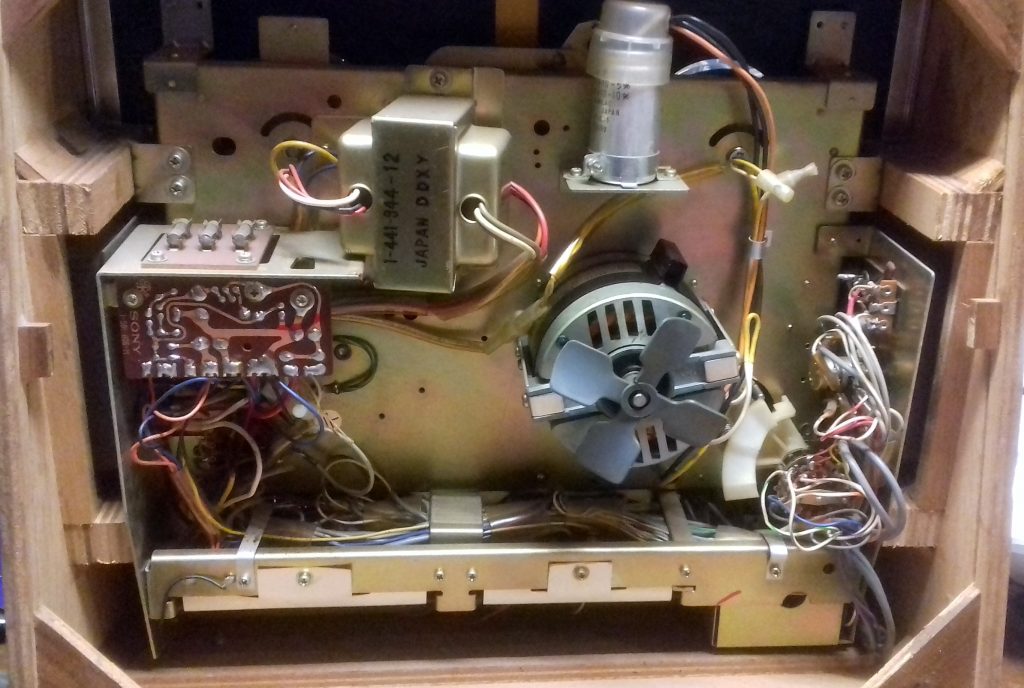
The main thing to see in the back is the motor and the electronics. The motor runs well, delivering plenty of power, and the run capacitor seems to be all in order. This is often an issue, so was worth checking.
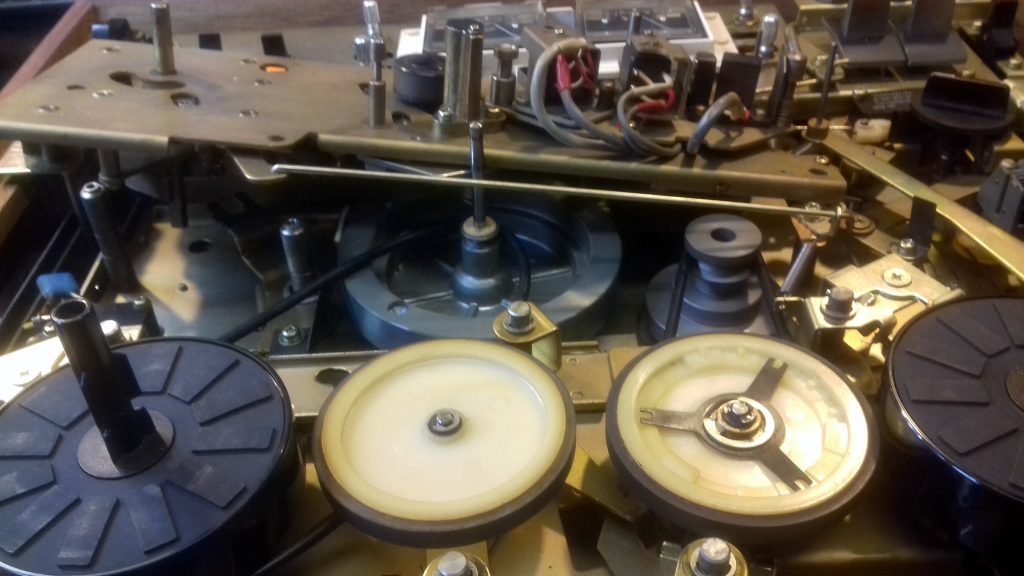
Turning to the front, the cover is easily removed to reveal that the front is also pristine. This shows the main drive mechanism. Spools are left and right with two beige idler wheels between which engage to provide drive for fast forward and rewind. I cleaned the driving surfaces of these wheels with Rubber Renue. The left idler wheel is driven by a belt from the motor below it. The motor is always running when power is on and a tape is threaded. There is also a belt from the capstan to the back of the take up reel. This provides low torque drive to the reel when in play mode.
I have a set of new belts to fit which will hopefully sort out my speed issues. The main belt from the motor to the idler is an easy change.
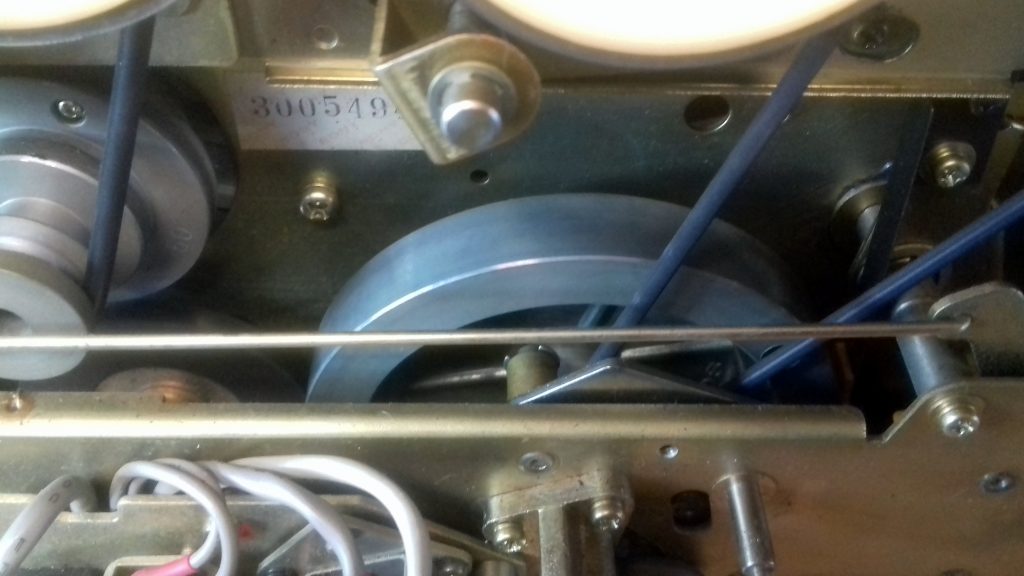
The belt to the take up spool was more difficult. I had to remove the deck head to gain access to the pulley on the capstan flywheel shaft. This would be the first of several times i removed this part to gain access.
In order to change the two belts which drive the tape counter I removed the feed spool. You can see here just how lose the old belt was.
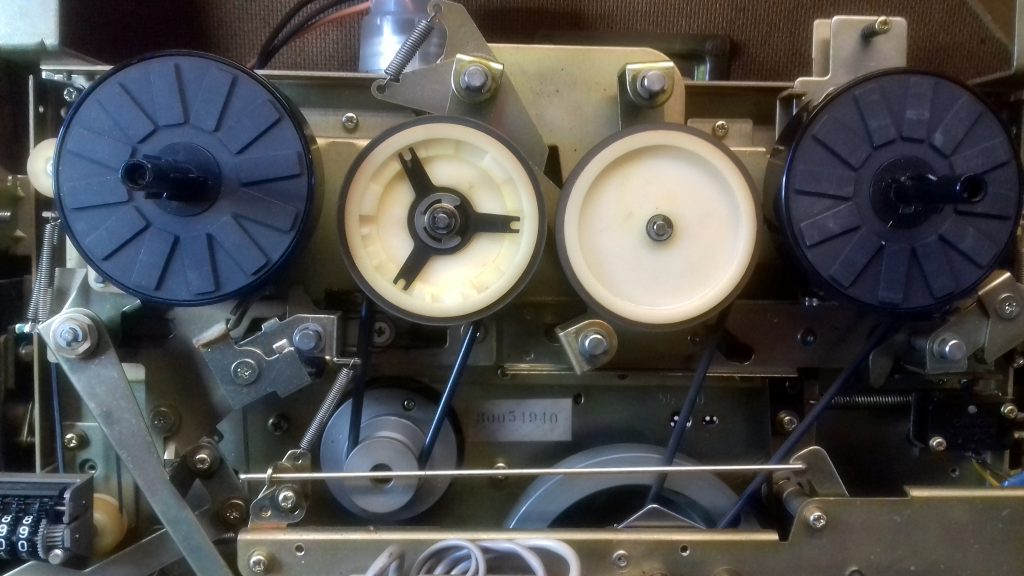
The next thing to tackle is the main drive from the motor to the capstan. This is a critical part of the machine because it controls the speed of the tape. Driver in transmitted by a rubber idler wheel from a wheel on the motor shaft to the flywheel on the capstan. Different tape speeds are coaxed from a single speed motor by having different diameter wheels on the motor shaft and a stepped flywheel as well. The idler wheel is moved by the speed control knob to bear on different surfaces to provide the three available speeds.
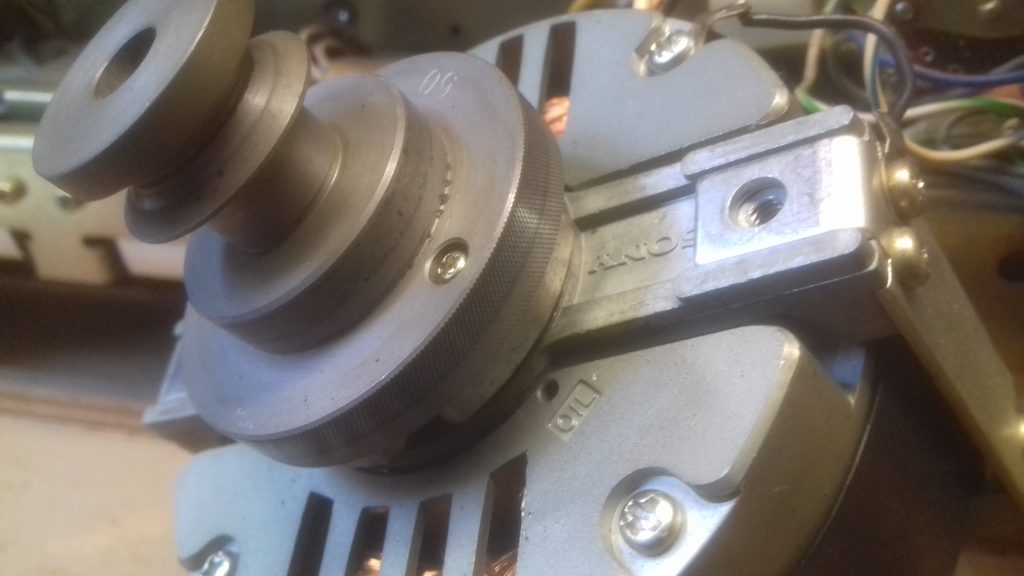
A good clean up of this whole mechanism was required. The motor is held in place by just two bolts. When removed it was clear to see a considerable build up of dirt and rubber on the drive surfaces. IPA on a cotton bud sorted this. Well, about a dozen cotton buds actually. It was filthy. Similar attention sorted out the capstan flywheel. You can also see the oil hole on the front of the motor, which I addressed accordingly while I had access to it.
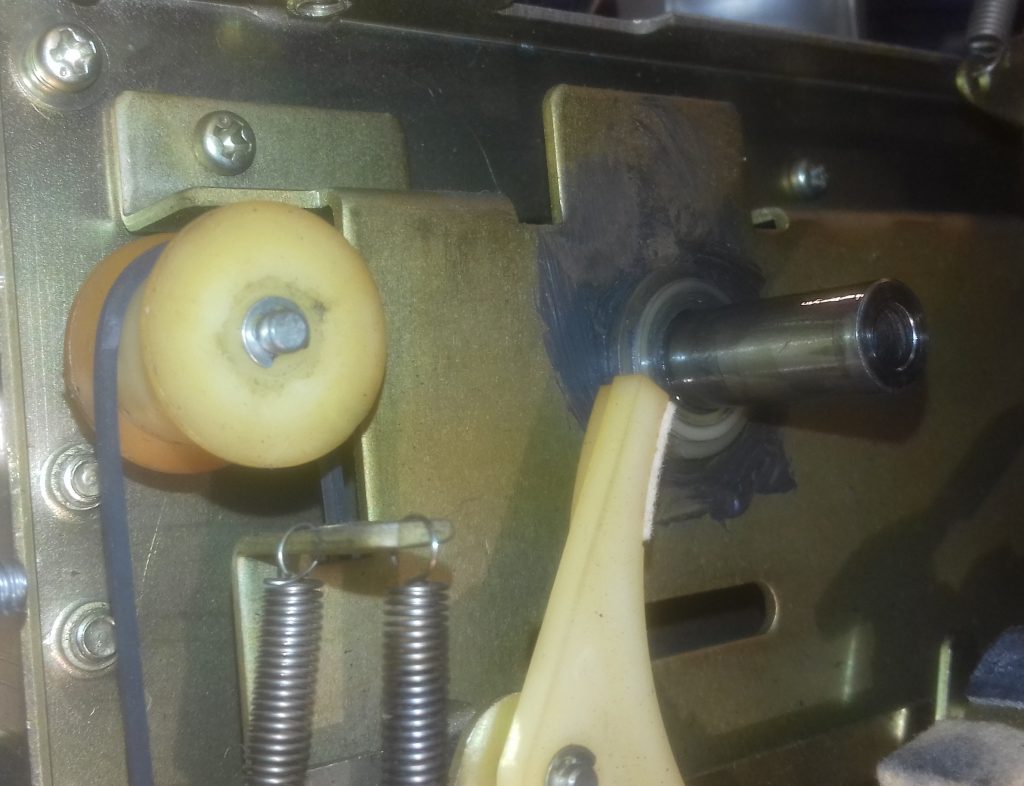
Here we see the rubber idler wheel which transfers power from the motor shaft to the flywheel on the capstan, thus controlling the speed of the tape. The surface of this had gone hard and polished to a shine with years of use. before I cleaned the motor shaft and flywheel I had got away with this because the old rubber deposits provided the necessary friction. Now everything just slipped, resulting in hardly any movement of the tape.
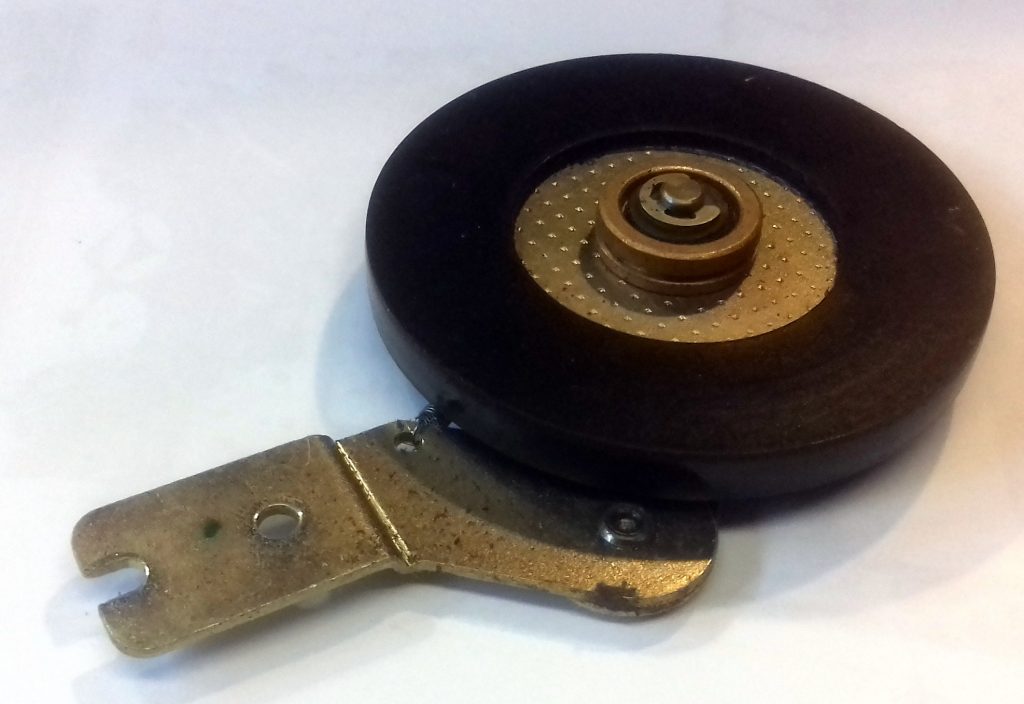
I removed the idler from the machine, gave it a fine sand with light wet & dry paper, then treated it with Rubber Renue. Drive was now good. Unfortunately, as soon as you let go of the function control the machine immediately shut off.
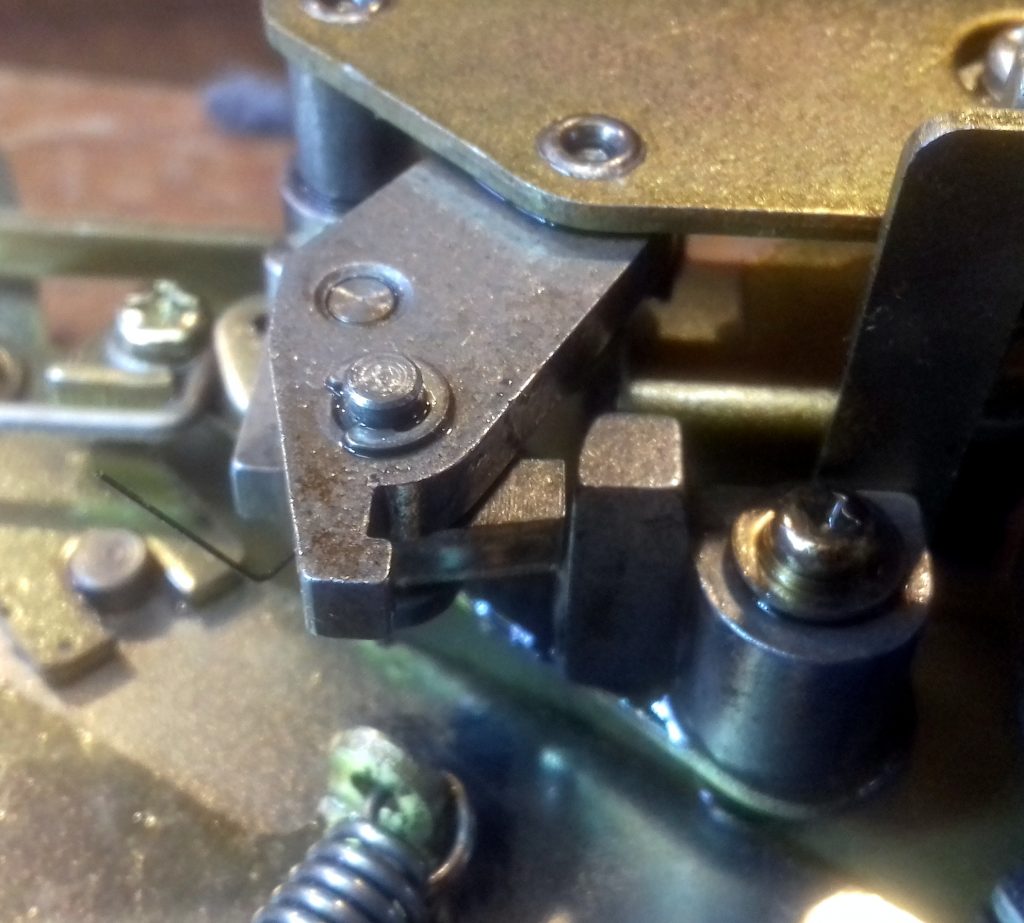
The culprit lay behind the function switch. This unfeasible complex little mechanism of springs and cams is responsible for shutting off the machine when the end of tape is reached. It had become clogged up with old hard grease, so was not engaging properly to hold the machine in play. A good clean and re-lubrication got it working well. I also re-seated the fine spring you can see to the left of the picture.
Various other parts were cleaned and lubricated. Putting it back together was like getting an octopus into a string bag, but well worth the effort. A service manual is available from HiFi Engine and there are videos to be found on YouTube. Both are recommended if you fancy doing this yourself.
Although the machine worked when I got it home the work involved in servicing was well worthwhile, and good fun. Some would say you need a degree in Electrical Engineering to tackle a job like this. As it happens, I’ve got one. It didn’t help though. The closest I got to anything electrical was squirting switch cleaner and waggling the controls so it could do it’s thing. Everything I fixed or serviced was mechanical. I did a test recording from BBC radio 3 FM radio and it sounded superb.
Post Script. While all was good in the electrical signal an annoying mechanical rumbling could be heard from the mechanism. I figured out that this was almost certainly down to the rubber on the idler wheel being hard. One option was to send the idler to America to be re-rubberised. I didn’t fancy that. If the idler was lost in the post I would be scuppered. After much patient searching on E-bay I was eventually able to source a replacement idler. Fitting this solved the problem.