Figuring out when a stylus or cartridge needs changing depends on many things. Condition of record, how well your system is set up and how may hours use it has had.
Recording needle time is a useful thing to do then, but precision of 10th of a second isn’t really necessary. So why did I create this fancy automatic digital play counter called the “Play Mate”?
Previously I have relied on simple mechanical tally counters. My Garrard Zero 100 turntable has a built in play counter. These solutions are more than adequate. In truth I built this because I can. It was an excuse to play with Arduino single board computers that a colleague had been raving about.
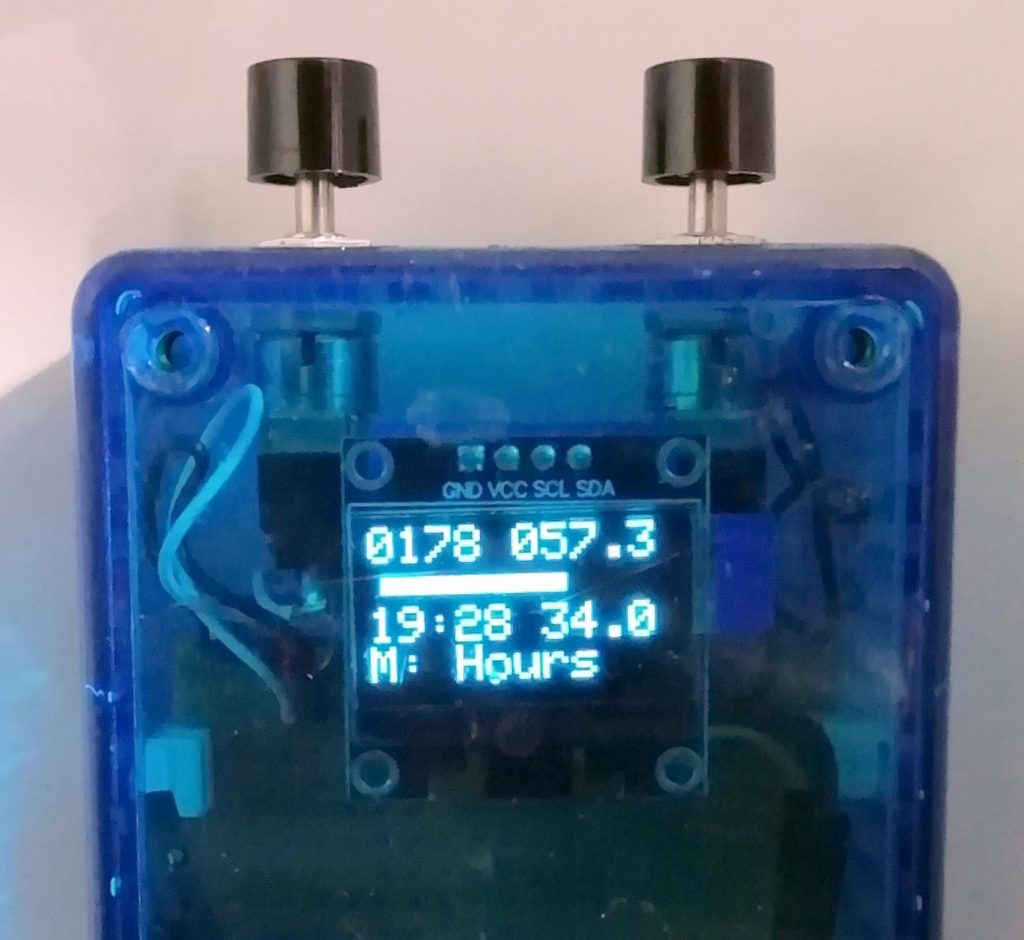
The display shows the total hours of play and a tally of number of record sides played. When playing the progress bar indicates how long. Everything is logged to internal memory and time stamped as well as displayed. By connecting up to a computer with a USB cable you can access the play log which documents in detail each side of a record played. The time, date , duration and even the speed of the record are saved.
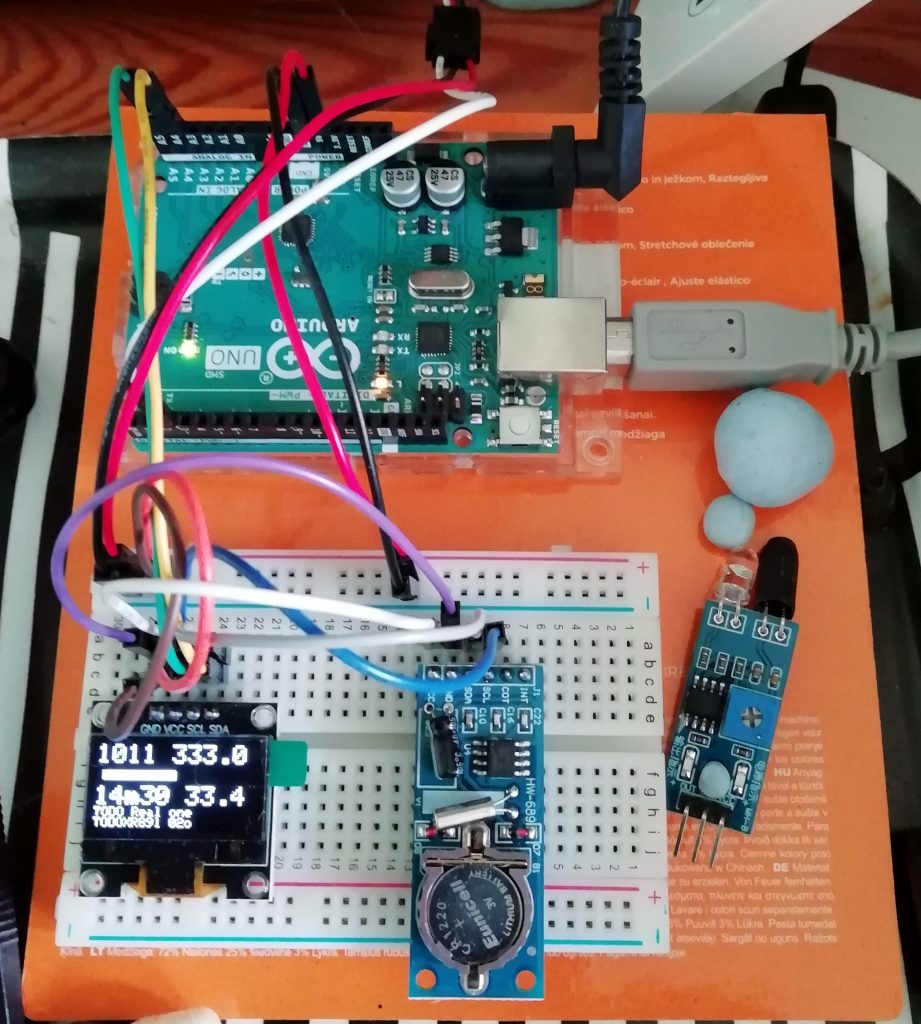
At the heart of this unit is an Arduino micro controller board. These are fantastic little single board computers that only cost a few quid. You program them via your computer using a language very similar to C++. Since writing in C++ is a fair chunk of my day job, this is a doddle for me. Here you see my Arduino “UNO” board which I used for initial development. I use a plug in “breadboard” to try things out and get things right before firing up a soldering iron. At this stage I just have the display board and a real time clock module.
Adding more electronics is straightforward. Most of what you are likely to need is available as modules which just need a few wires to connect to the Arduino board. These modules typically have corresponding software that you can simply download and call from your own code to make the modules do something useful. When I decided to add a real time clock it only cost £4 for the modules and took me just a couple of hours to install and get it doing what I needed. The last time I did something similar (last century) it took a week of work and study to achieve. Things have moved on.
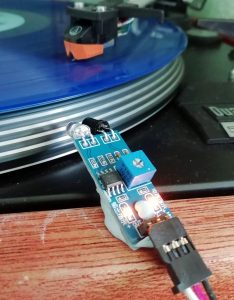
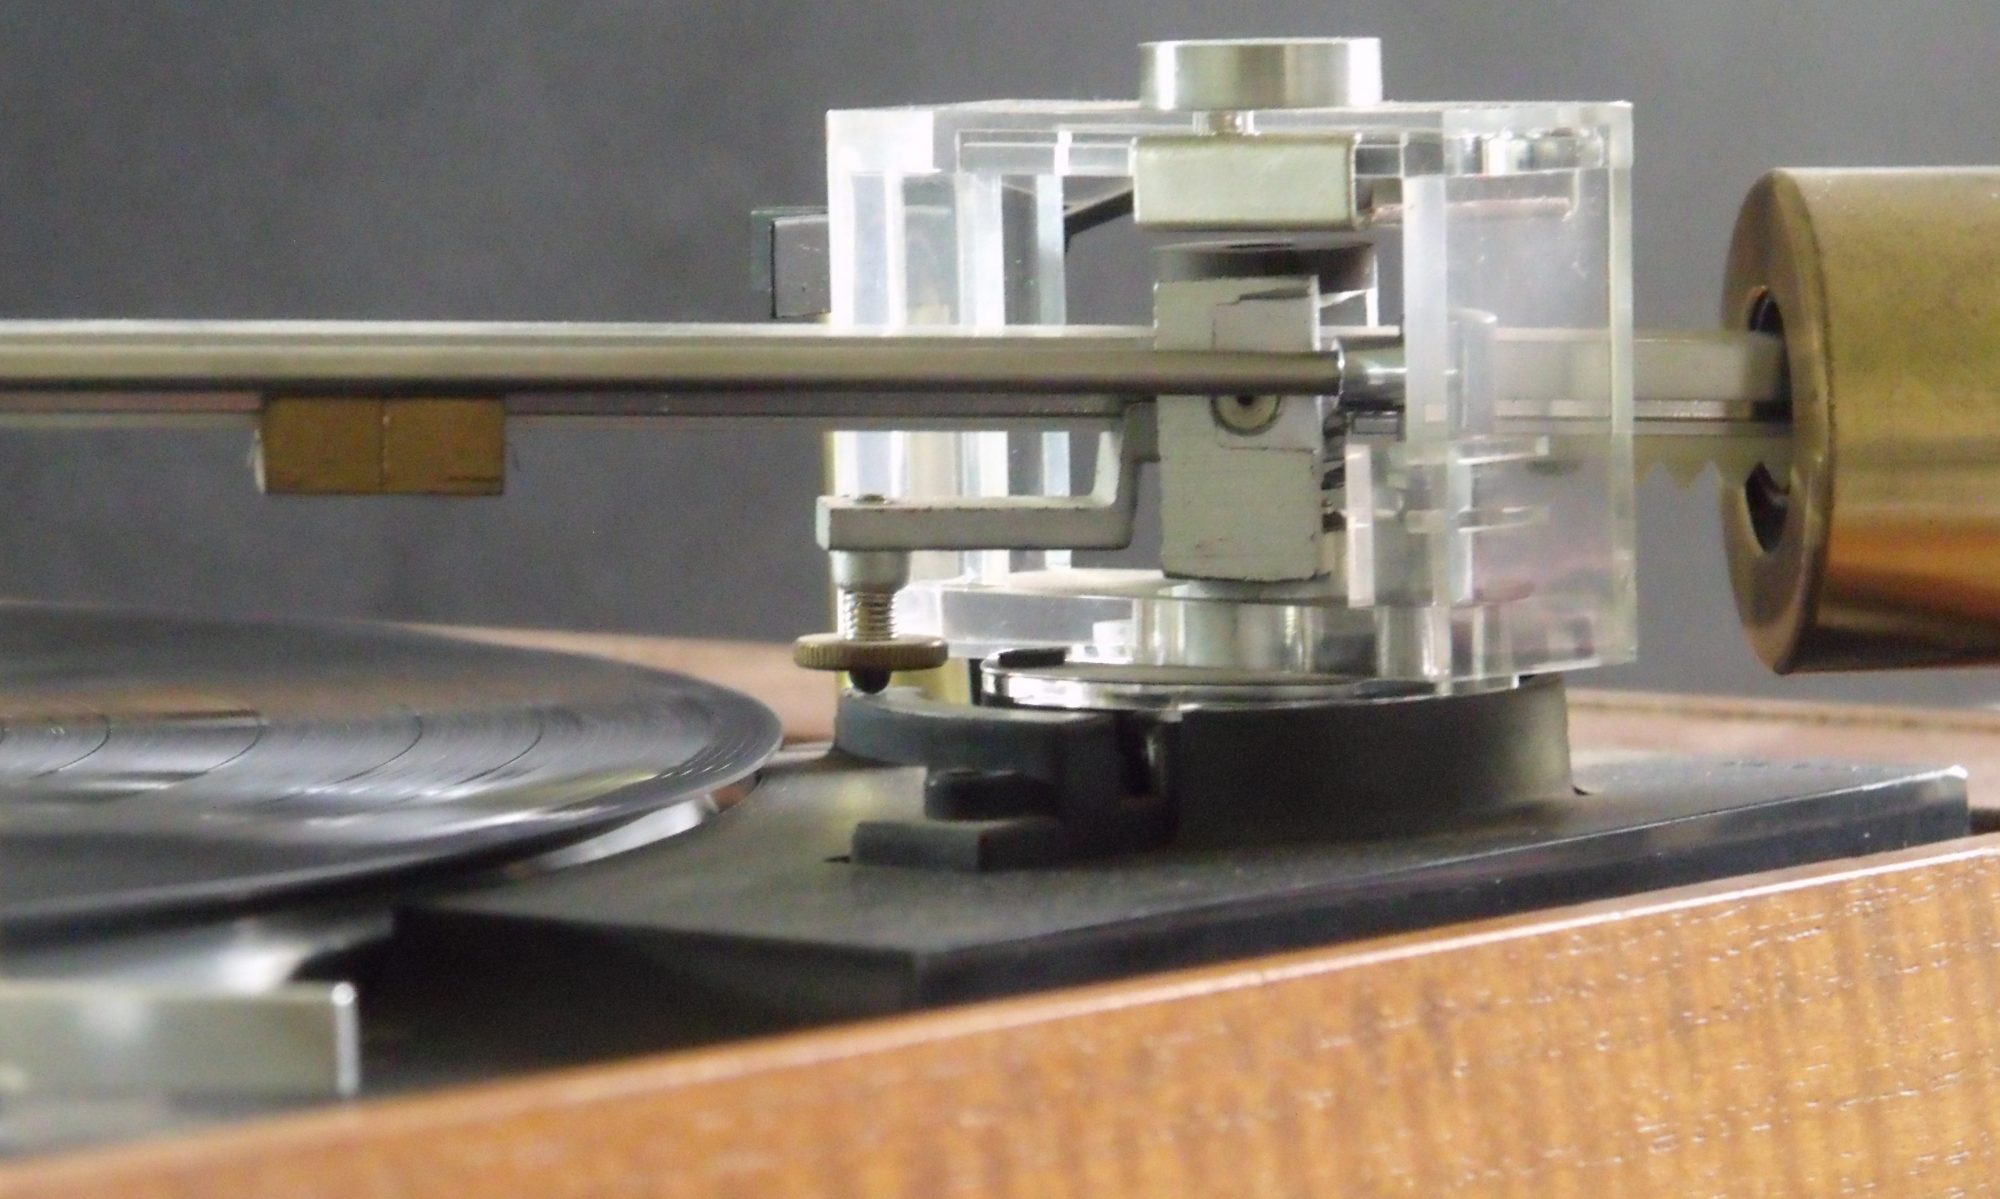
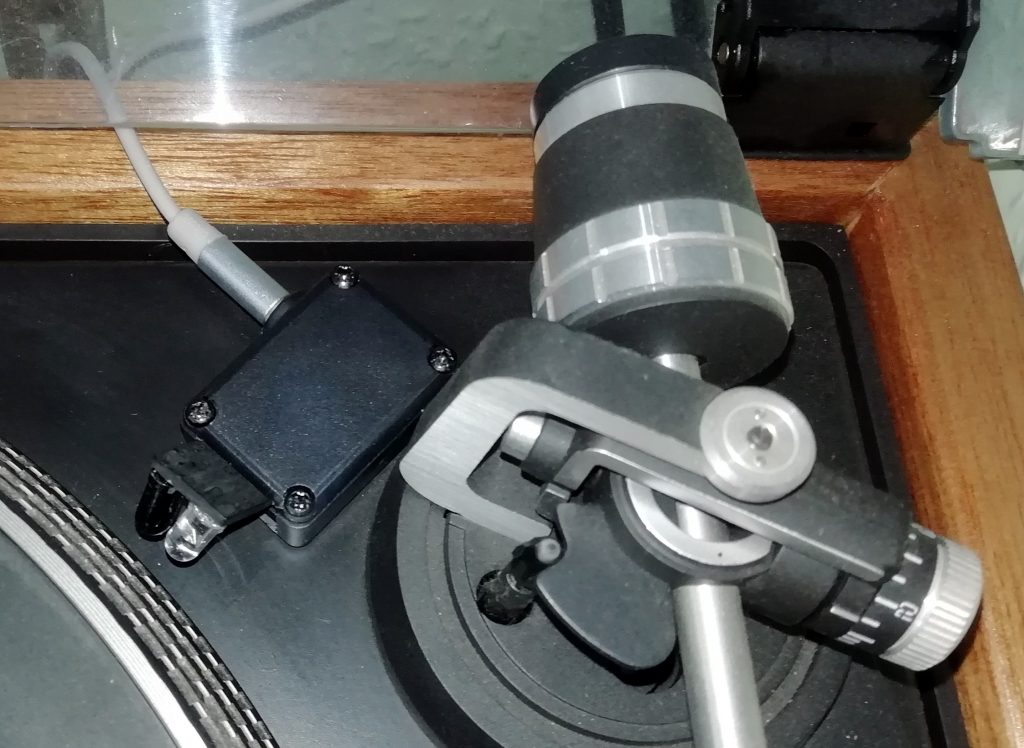
In order to count needle time you need to detect when a record is playing. In this project I am working with a Dual 505 turntable which has speed strobe marks on the turntable platter. I thought I might be able to use a cheap and simple “proximity detector” module to bounce an infrared light off the strobe and detect the pulses reflected off the strobe marks. I only wanted to know if the turntable was turning or not. However, it turned out to be straightforward to count the pulses and work out the turning speed. That was a bit of bonus functionality for free. I display and record the turning speed. the proximity detector is connected to the rest of the unit by a simple 3 pin connector. This approach means that I can devise other detector types for other turntables as and when needed.
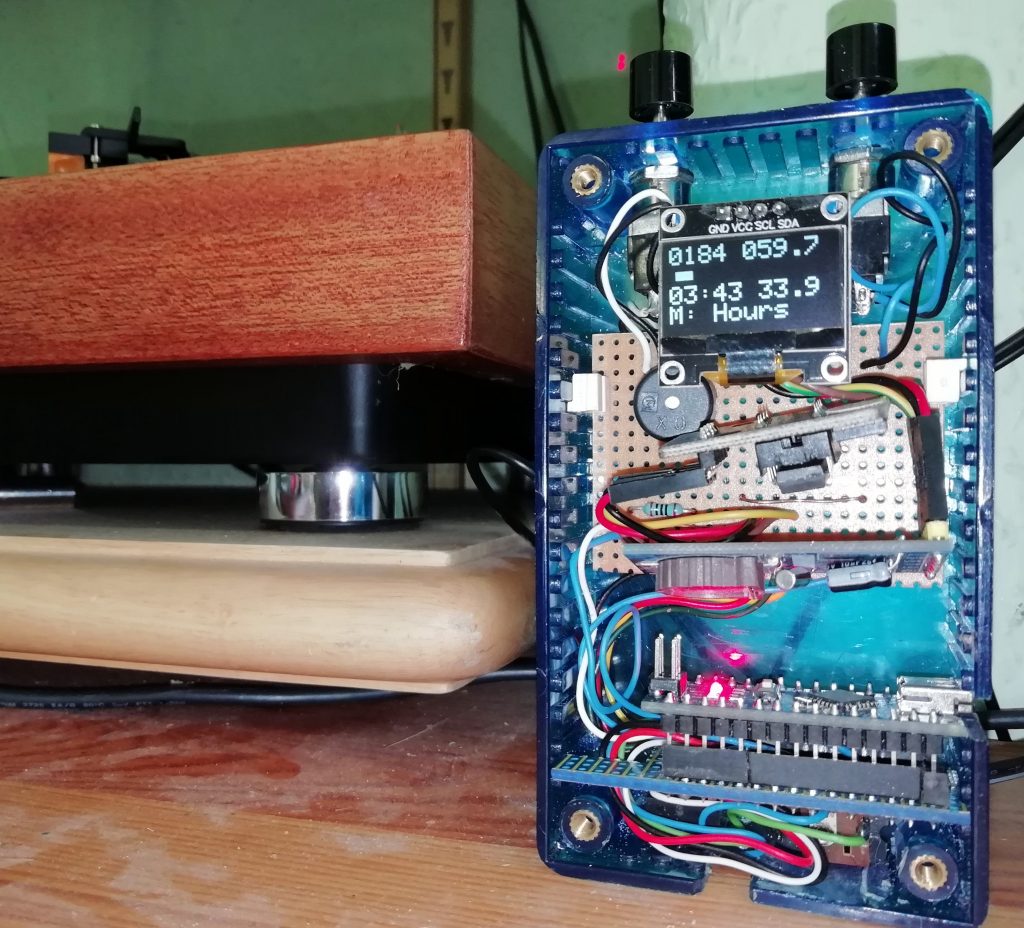
Having got most of it working on the UNO and breadboard I soldered up a prototype using the smaller and cheaper Arduino “Nano”. As well as the Arduino we have a small OLED display, a real time clock module. Another module contains more memory to store the history of record plays. Two push buttons provide means to change the display mode. A buzzer is also included , but I haven’t programmed it to do anything yet.
In normal uses it is fully automatic. When you start the turntable it detects rotation and starts timing, indicating this with a progress bar on the display. When the turntable stops, timing stops. The time and duration of the play is saved to memory and the displayed count and total duration is updated.
I have boxed up the rotation detector and attached it neatly to the back of my turntable next to the arm. It’s hardly noticeable there. The blue plastic project case is a temporary arrangement for the main unit.
I did eventually get round to building it into a more aesthetically pleasing case, so it now looks as good as it works.