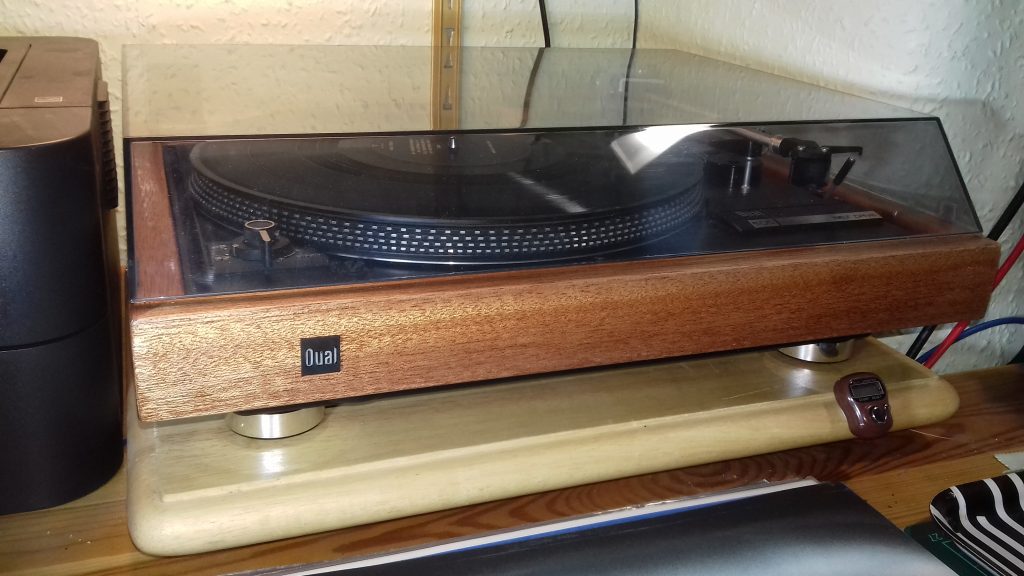
The plinth and cover on my Dual CS505-2 turntable were rather tatty after 30 years, so I built this to smarten things up and make the form match the function.
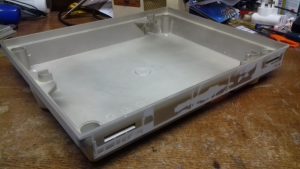
The new plinth is based around a 2nd hand plastic 505 base. I had originally intended to use just the mounting points for the turntable from this to assist fitting the turntable sub chassis into a new wooden box. When I started cutting off the excess it became clear that it made sense to utilize the “box” part as well. This is what was left after removing the cosmetic front and sides and sanding everything down.
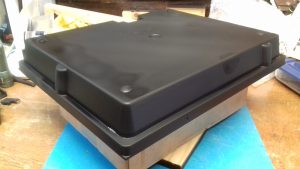
The base was the silver finish version so painted it with Chaos Black aerosol paint from Games Workshop. This is a great paint which gives good coverage and a pleasing satin black finish. Most of this will be hidden from sight in normal use by the wood surround and is only visible when the deck is viewed from a low angle.

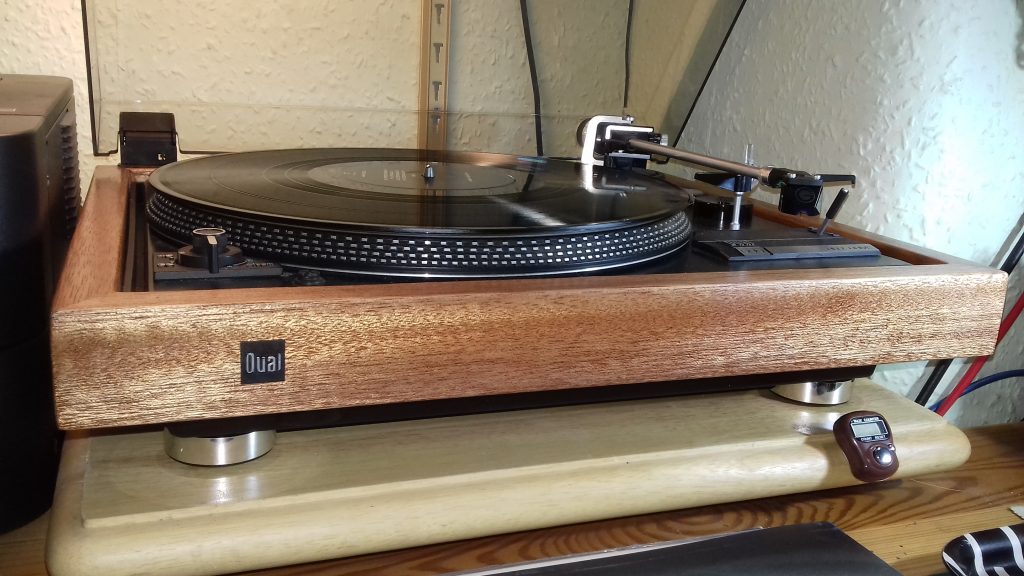
There is no technical reason to fit feet to this plinth. The 505 is a suspended chassis design. Isolation from vibration is provided by the springs which support the sub chassis. These simple feet were only a tenner from eBay and they greatly improve the look. As an added bonus they do also provide a limited amount of extra isolation. The wooden surround in this picture in an initial trial run made from cheap soft wood to get the sizing right and give me some practice cutting mitres accurately.
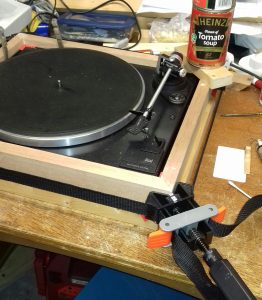
What really raises the game is the hardwood frame. It was surprisingly difficult to source the necessary wood, even in a large City. However, local wood supplier found a couple of lengths of Meranti lurking in a corner. Here we see the simple mitred frame glued and clamped up. Tins of soup provide the weight to hold it all level while the glue sets. This frame was attached to the plastic box with screws and hot glue so it stood proud by 1/4 inches. When the turntable is fitted the sub chassis sits just below the top of the frame and gives a really smart look.

How to finish the wood was a source of some debate. I have a friend who makes mandolins and is something of an expert in wood finishes. We spent a happy afternoon trying different oils and fancy varnishes on scraps of meranti. In the end it was good old fashioned Ronseal which did the trick. Several coats were applied with a good rub down with wet & dry between each coat. As you see, it did what it says on the tin.
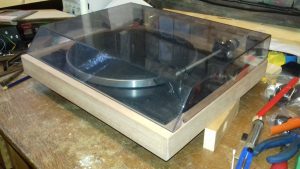
The lid is from a Dual CS410 turntable purchased for a couple of quid from a boot sale. The CS410 is not one of Duals finer moments, and it didn’t work anyway, so donating parts was a respectable end to it’s life. The lid is not as deep as the original 505 lid, but the deeper wooden frame meant that there was sufficient clearance. Just. The lid hinges were fitted into carefully drilled holes in the wooden frame.

This picture shows a 505 deluxe plinth, which I used for a while, along side my plinth for comparison. The deluxe lid is deeper, but badly cracked and marked. what looks like wood is actually a thin veneer over MDF. It was lifting and peeling in places. By contrast my plinth has a beautiful natural wood finish. The lid is in excellent condition, having been polished with Brasso. The feet bring it to a the same overall height as the deluxe. The differences are much more evident in the flesh than photography can show.
The finishing touch was the “Dual” badge. This was taken from the plastic base before I cut it up. Consideration was given to touching it up with silver paint to give an as new appearance. I decided against it because I think the worn writing gives the whole assembly a period look befitting of it’s vintage.
One Reply to “Hardwood Plinth for Dual 505 turntable”
Comments are closed.