Back in the 1970’s I made an electirc guitar which I was very proud of. Truth is, I’ve since acquired many other guitars so it’s been languishing in the back of a wardrobe not getting much love.
I had been treating it with some reverence, not daring to touch it for fear of losing originality but now it’s time for me to get over myself and re-visit my “Rod Special”. I’ll do what’s required to make it hold it’s own against my other guitars.
My guitar was made four decades ago when I was a naive school boy on a pocket money budget. I had access to only very basic machine tools in the school workshop and my knowledge was restriced to a woodworking magazine article. No YouTube for advice or online shops for parts back then. I did a pretty good job considering. I’ve described it here.
Middle aged me has knowledge, fancy tools, more skill and a bit of money to throw at it. First priority is to get it playing properly.
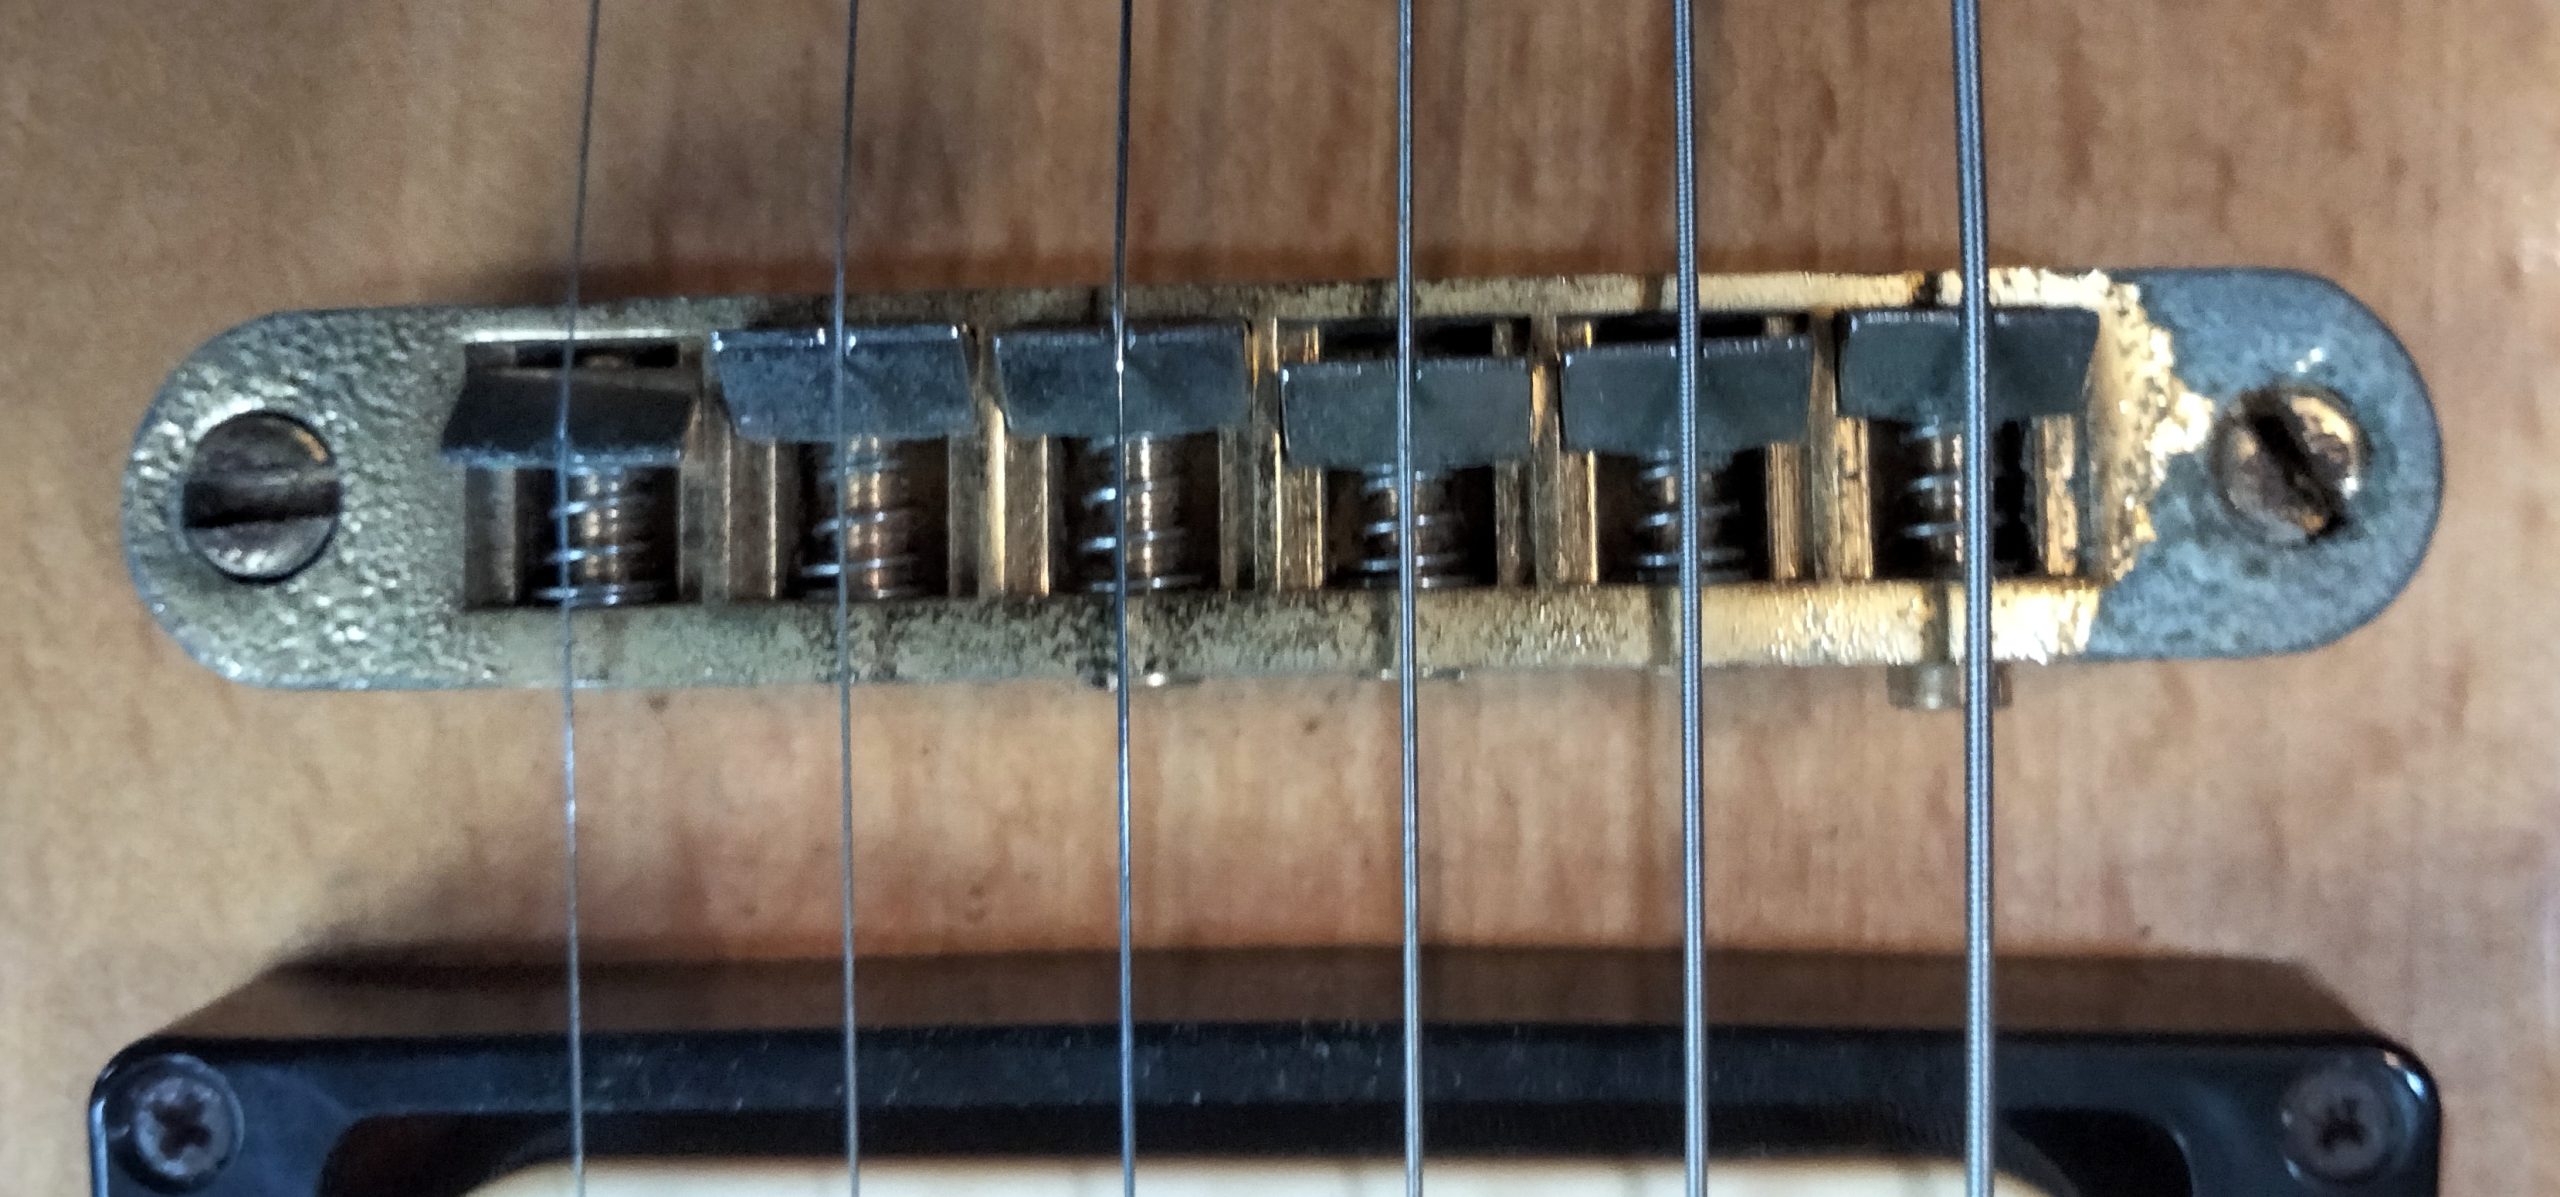
The neck and frets seem fine. However it plays out of tune at the dusty end. The saddles in the tune-o-matic are all set as far back as they will go. I’ve even turned some of them around but it’s still not enough to achieve correct intonation. The bridge is in the wrong place. Schoolboy error. Literally.
Rather than trying to re-position the tatty old bridge I’m just going to replace it with something shiny and new. I need a bridge which offers more scope for adjustment, including individual string height to accomodate my unique fretboard radius. I have no idea what the radius is because it was sanded “by eye” and could be anything! These considerations led me to a Fender strat type bridge. I’m not a big trem user and I certainly don’t want to be cutting great big holes in the back of the guitar. Hardtail it is then.
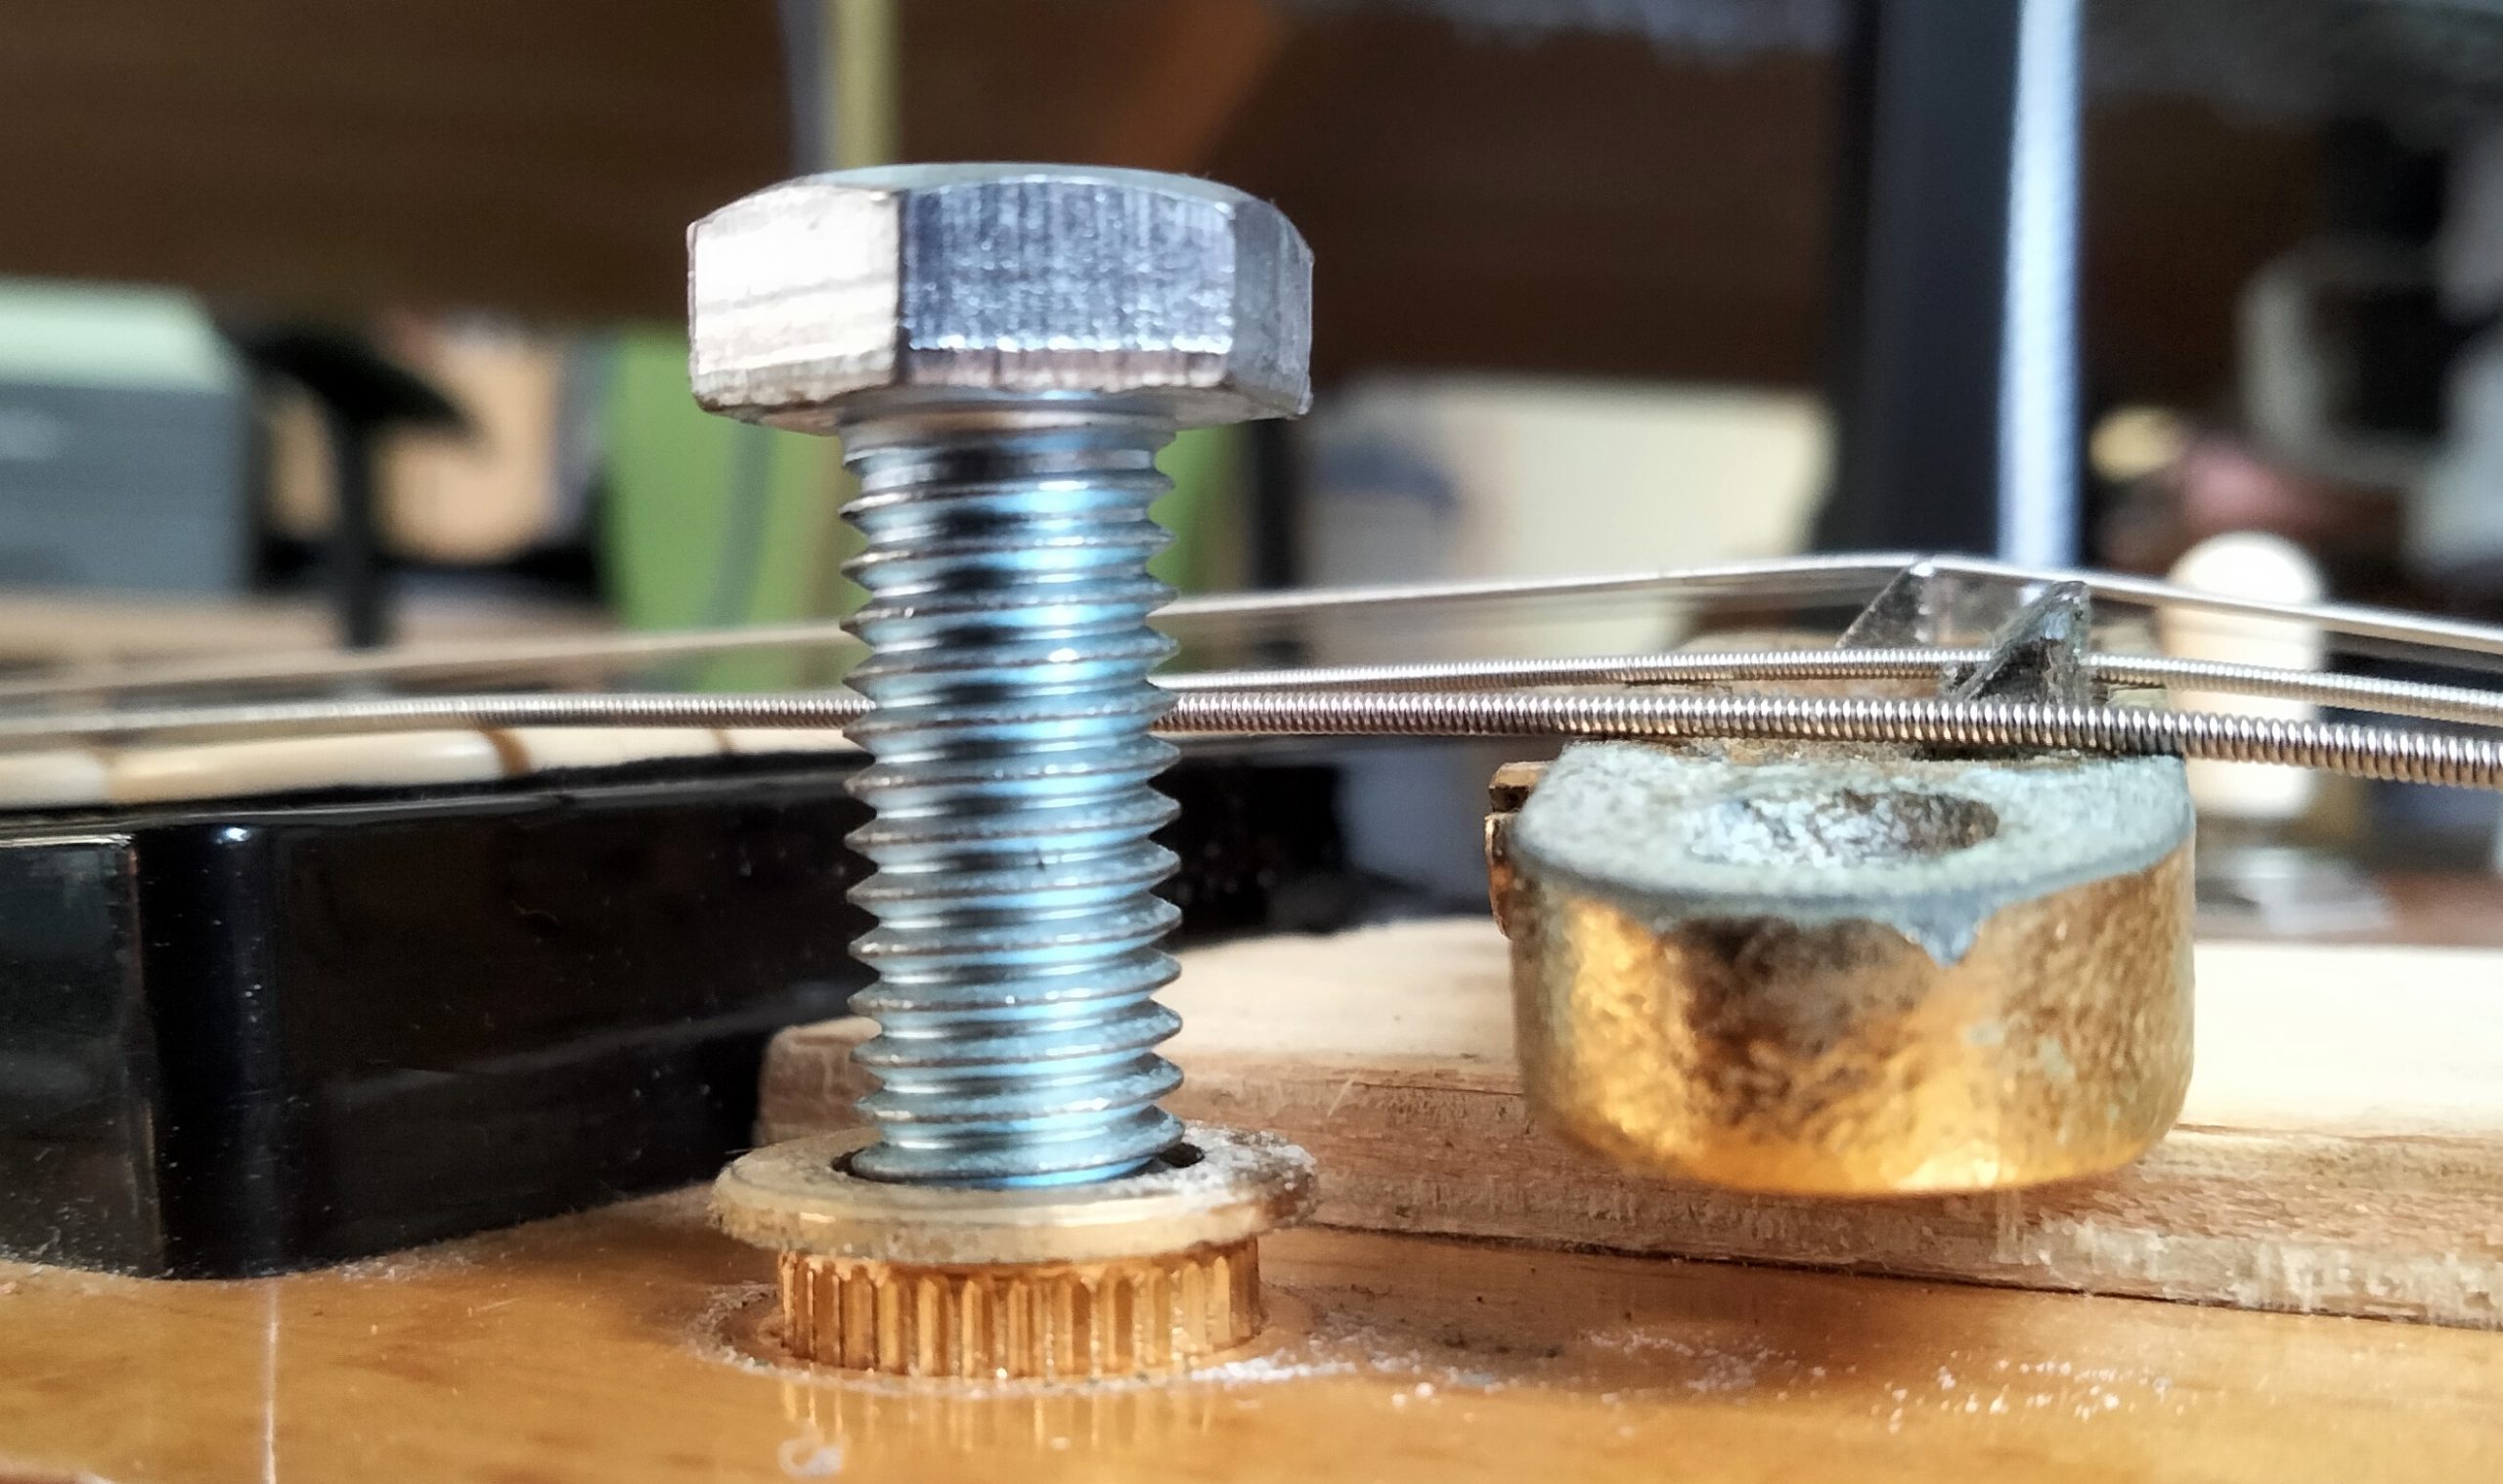
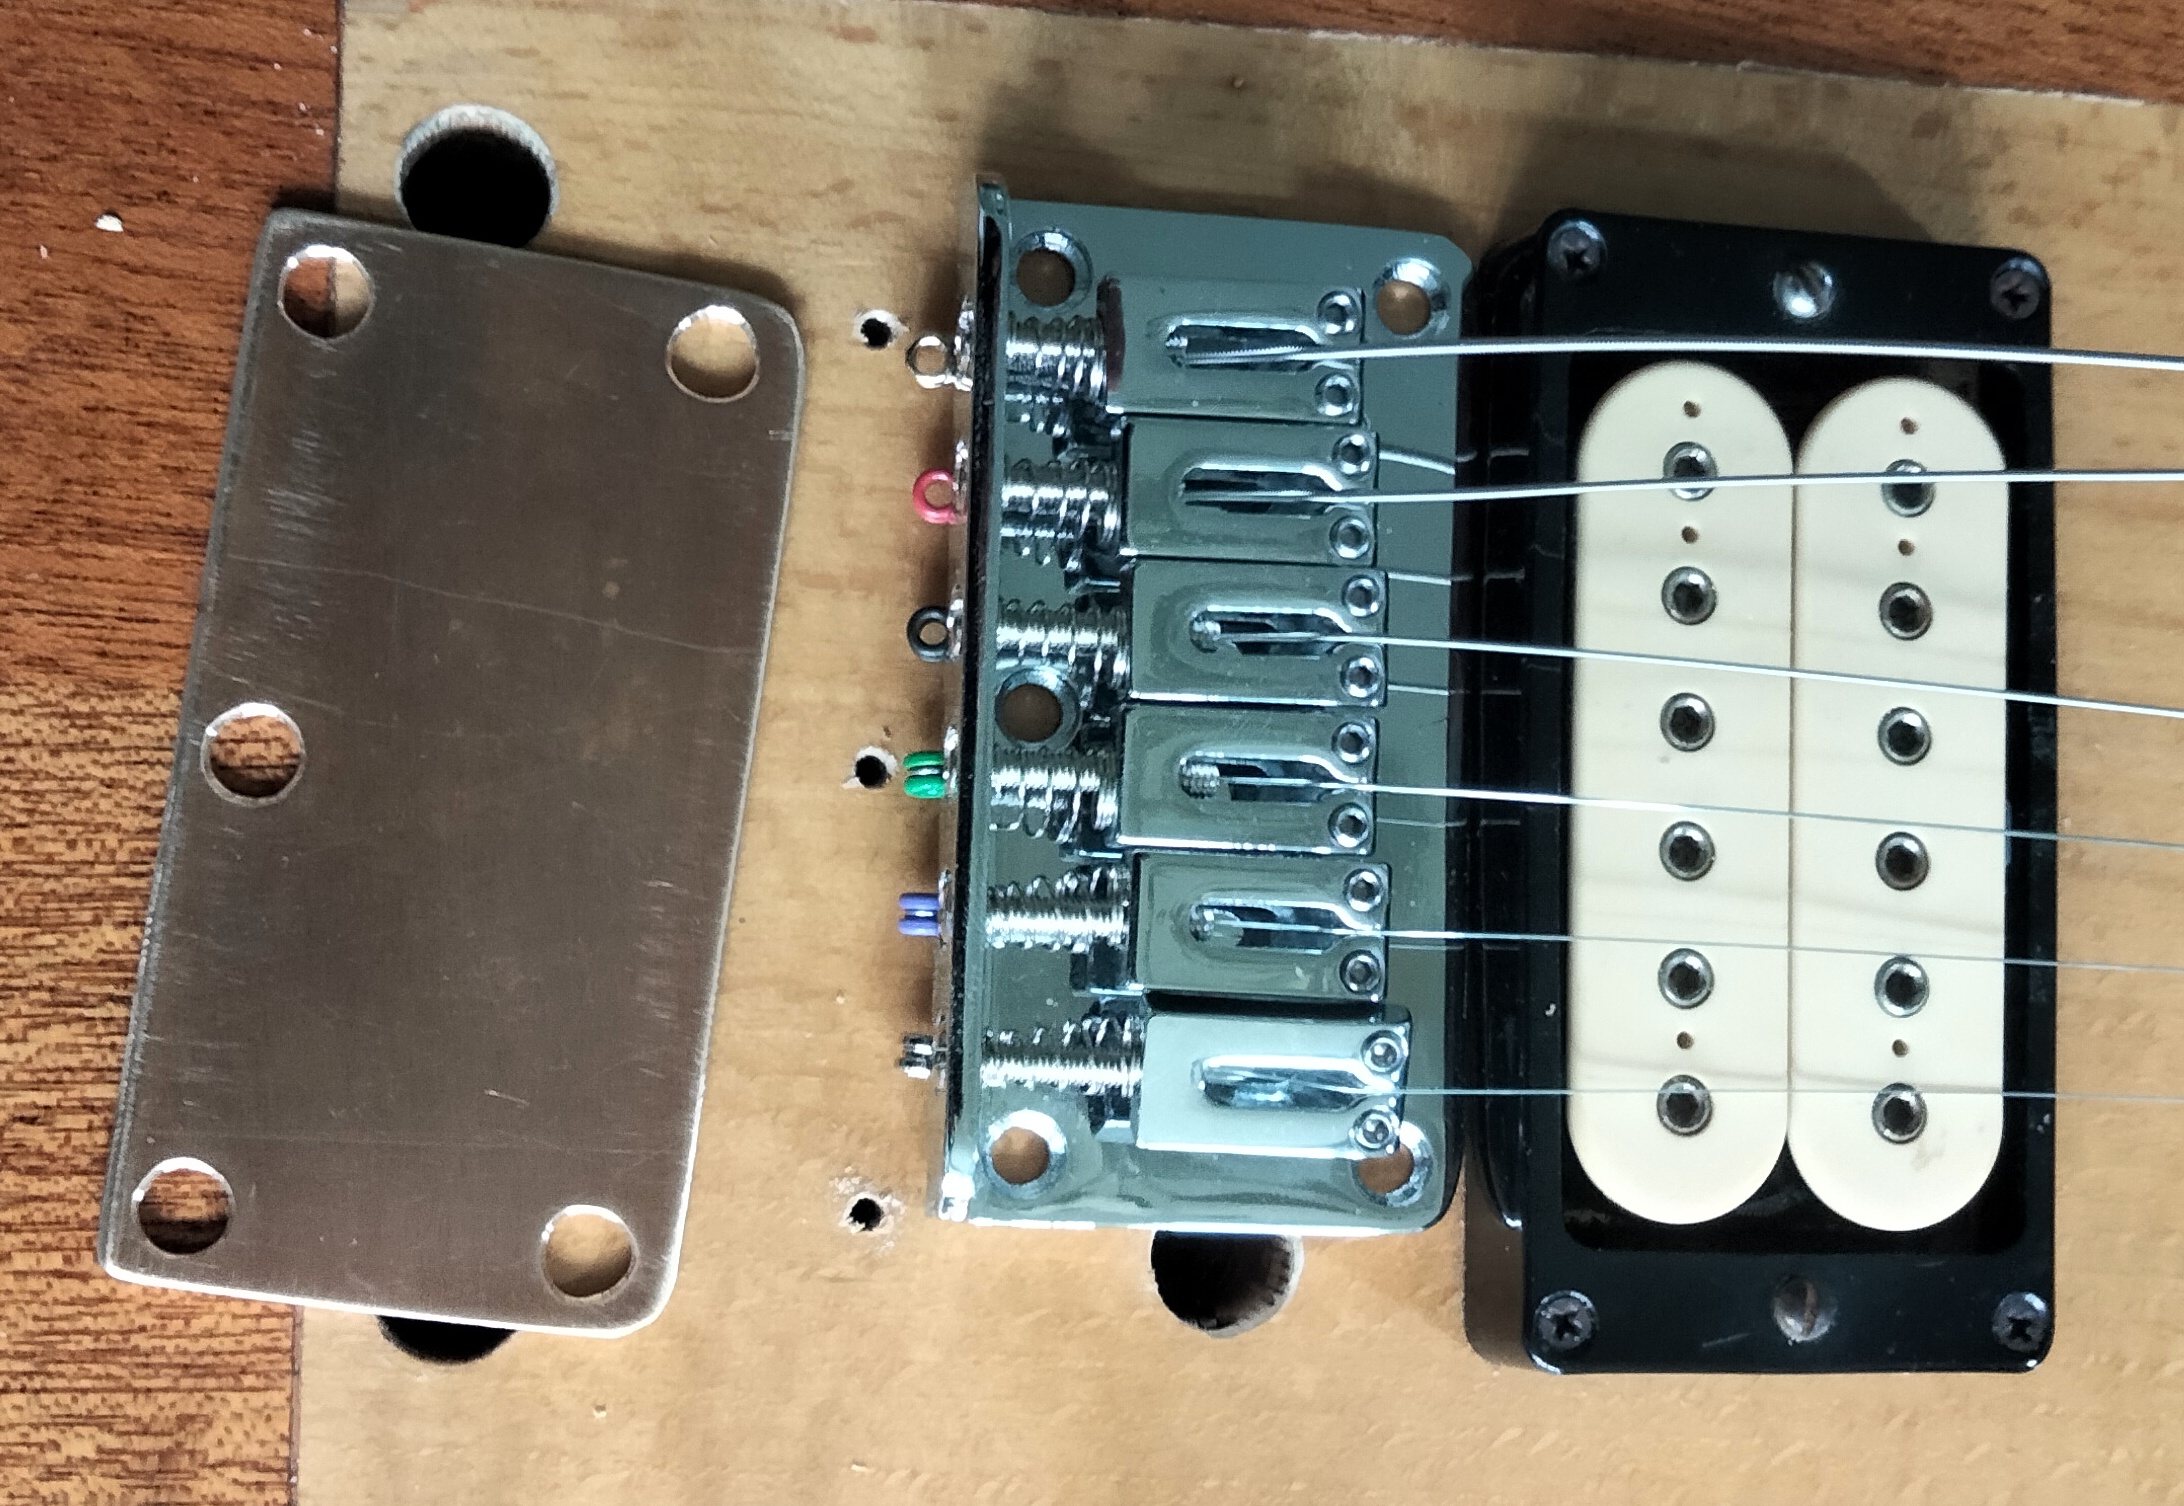
The first challenge was removing the old bridge without breaking anything. I found a bolt with the correct thread and carefully tightened down through the stud to force it out. Repeat on the other side but leave the tailpiece in for now.
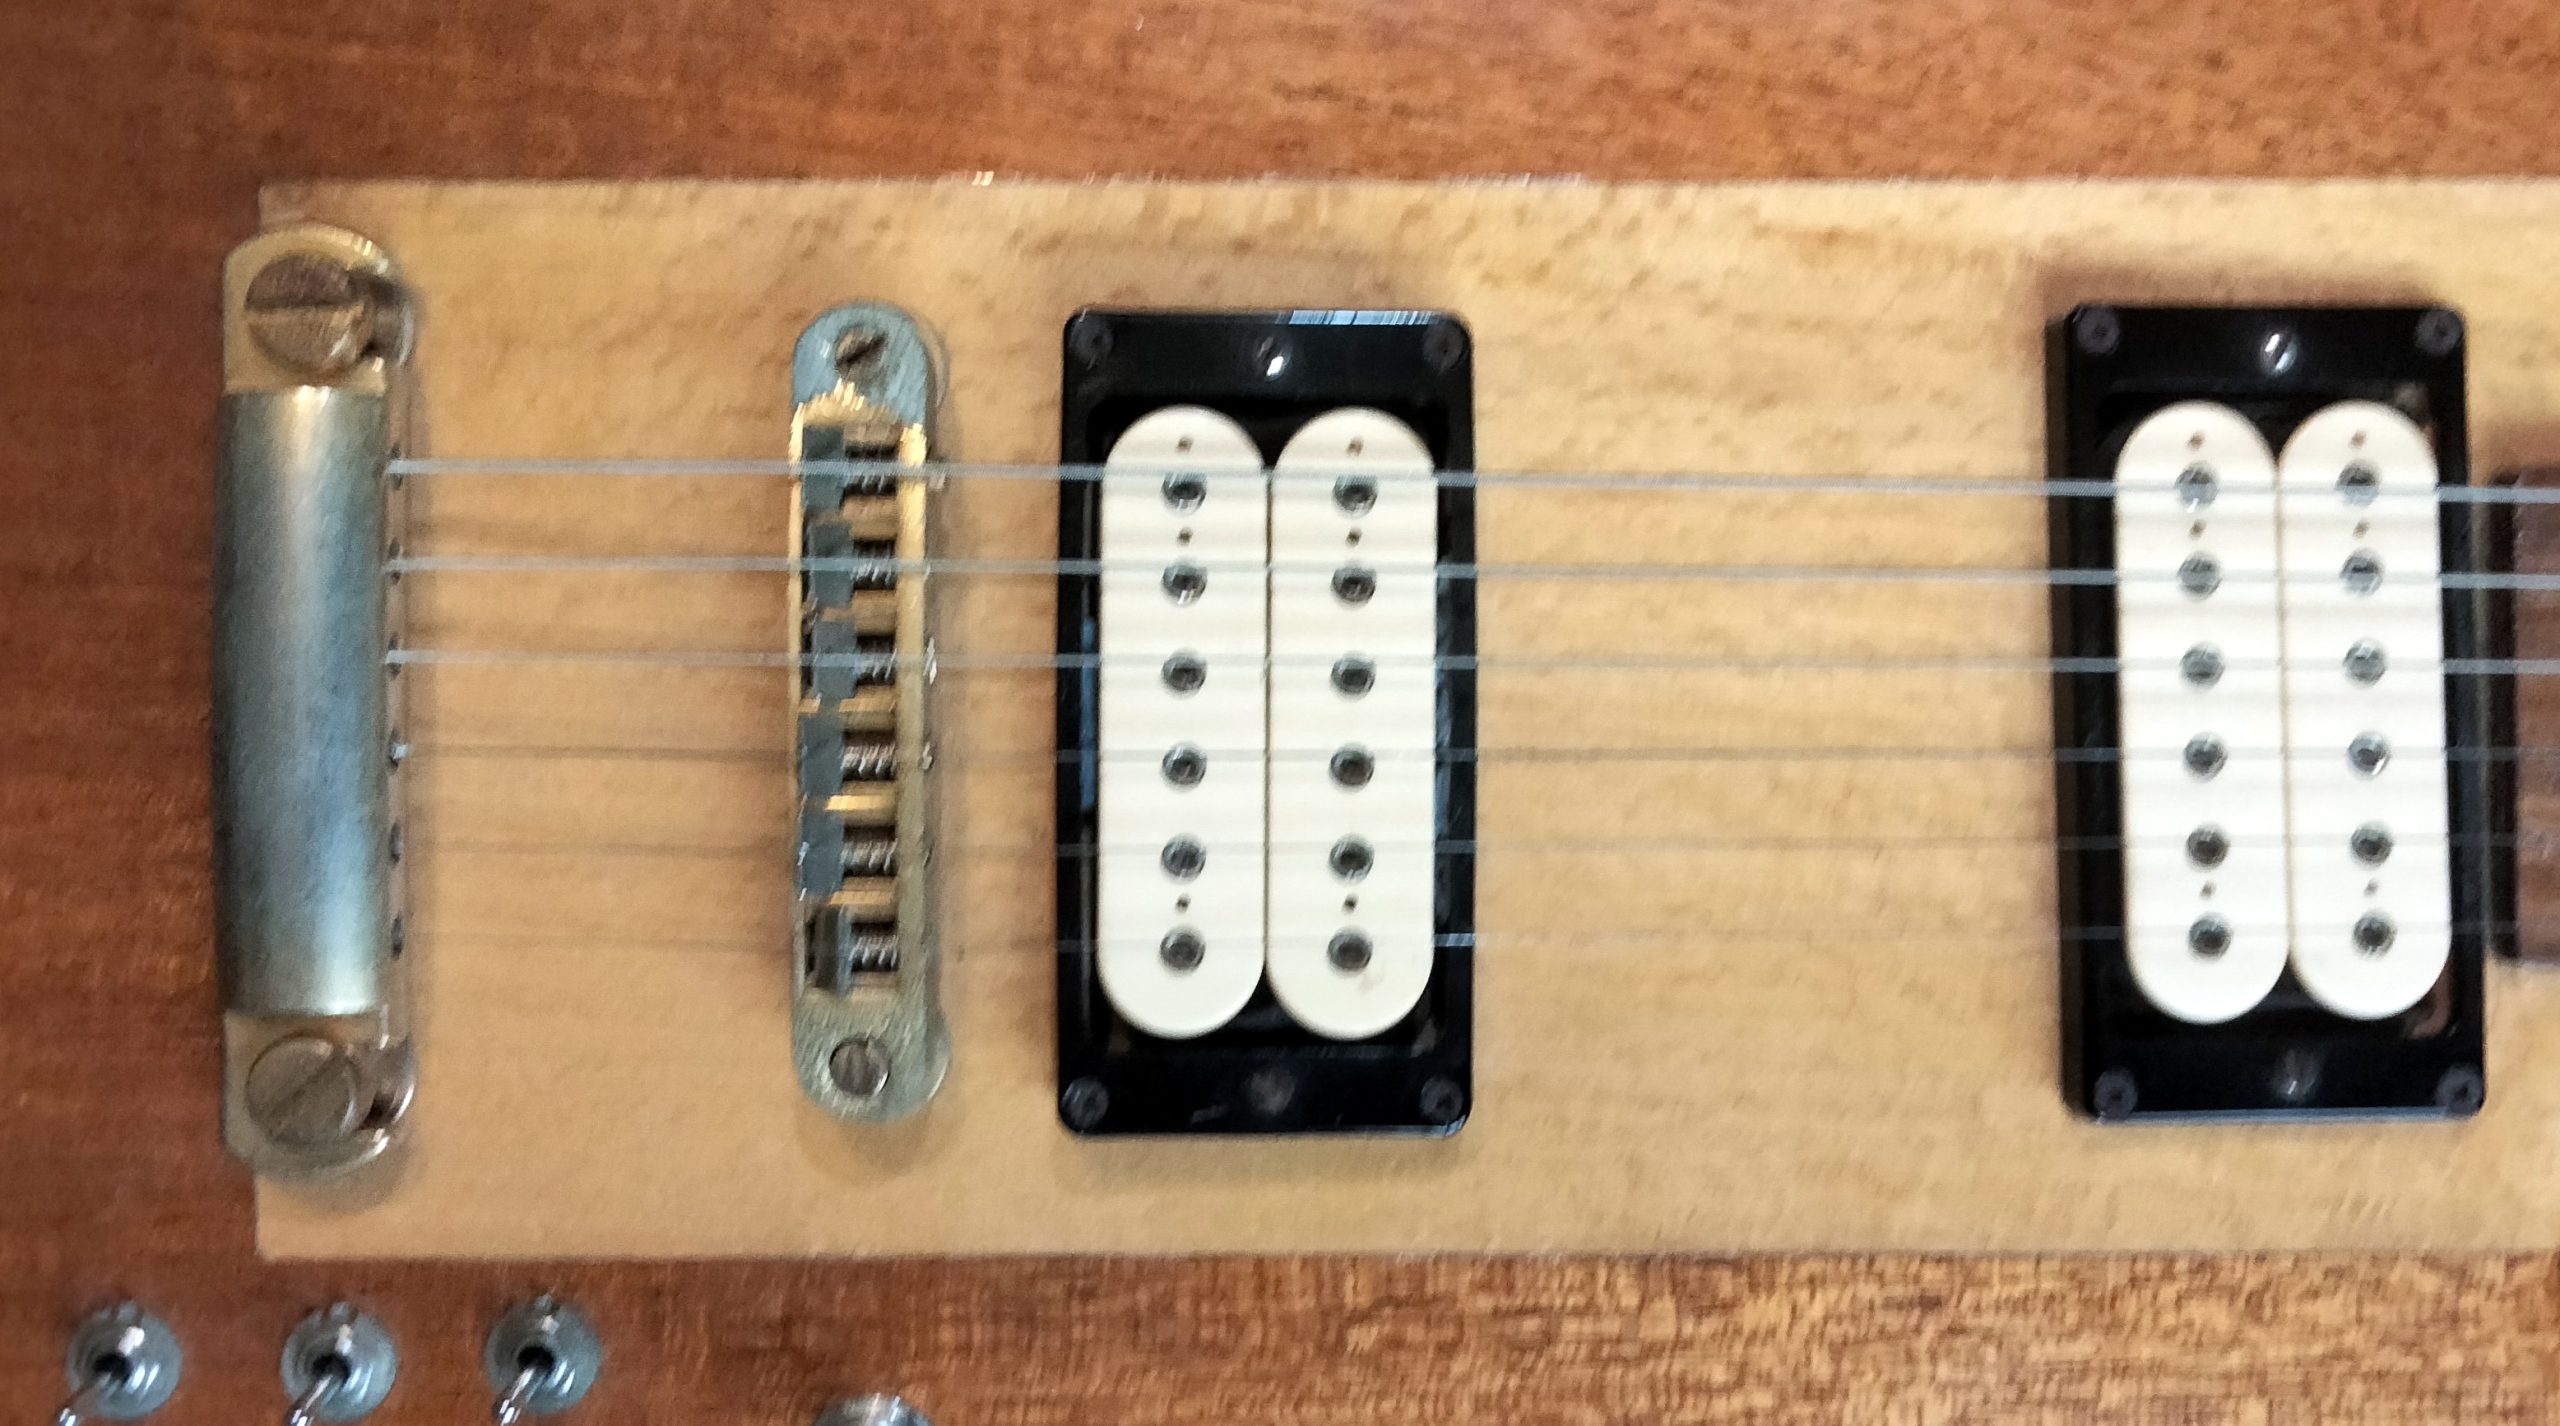
Some experiments established that the new bridge was practical and found the exact position to mount it. Here you see it temporarily mounted on top of a stack of magnum ice cream sticks to bring it to working height. The strings still pass through the old tailpiece to hold everything in place. With this arrangement I was able to tune and play the guitar. After much fettling I achieved a lovely action and excellent intonation. Drilling a hole and putting in just one fixing screw was sufficient to establish a solid position reference.
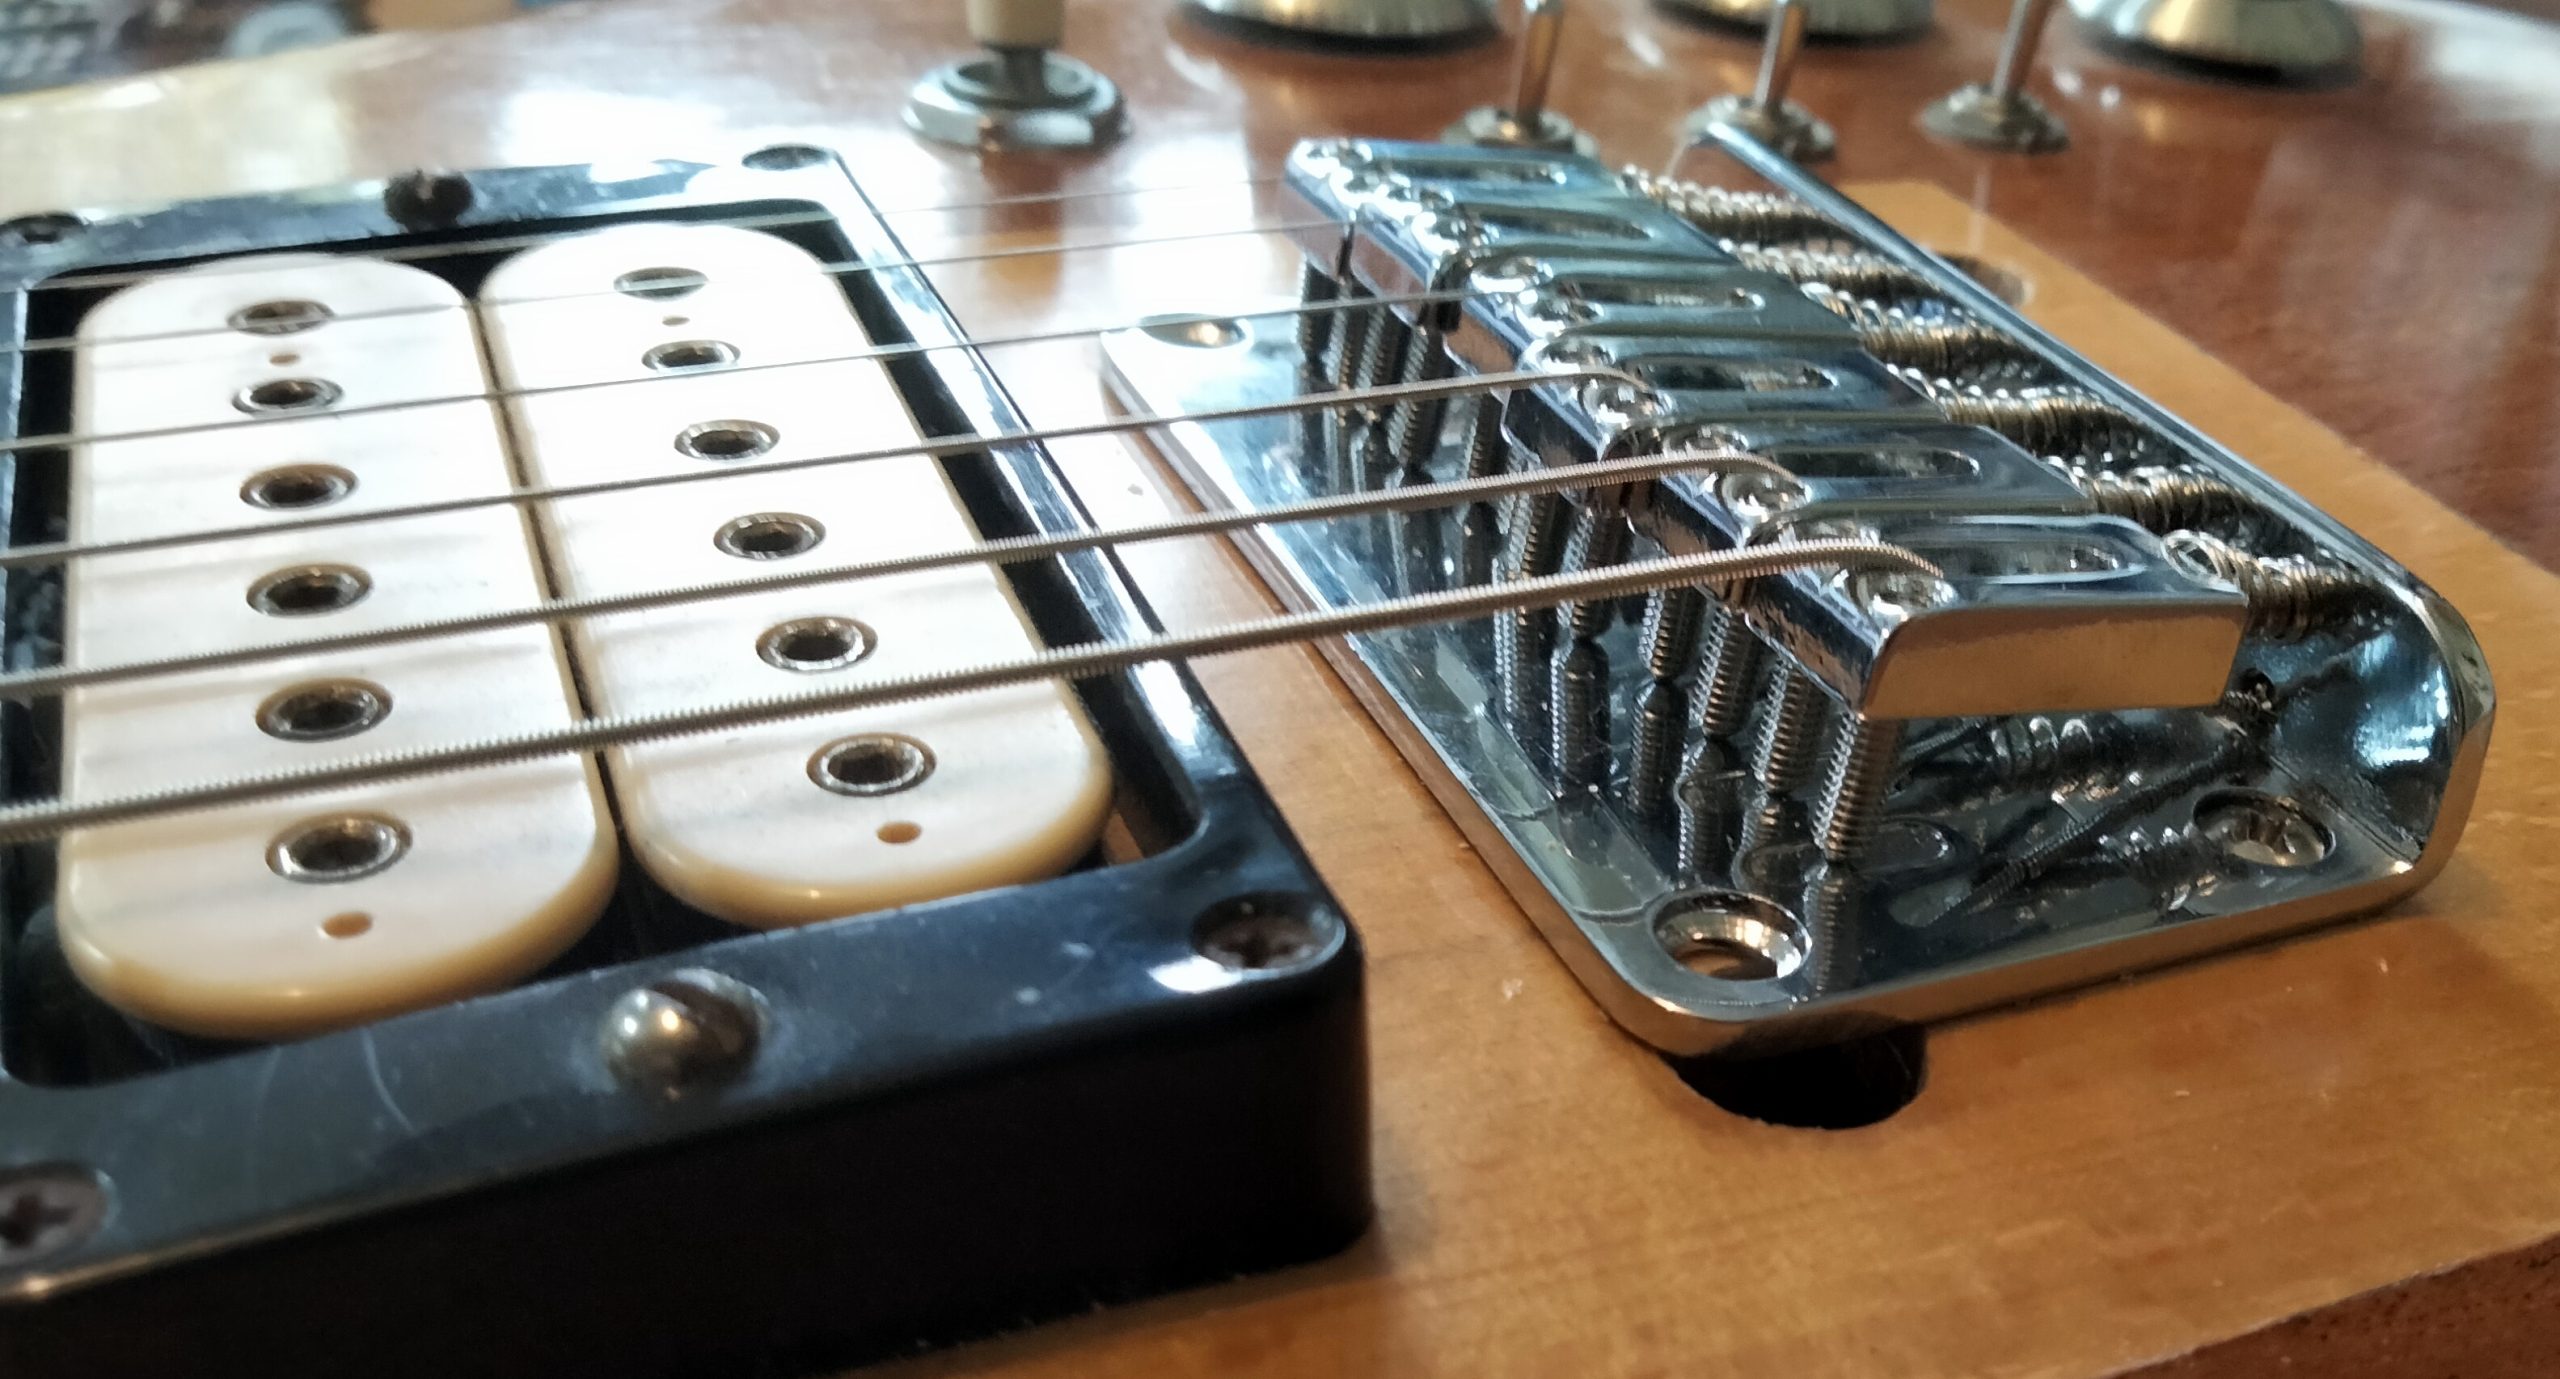
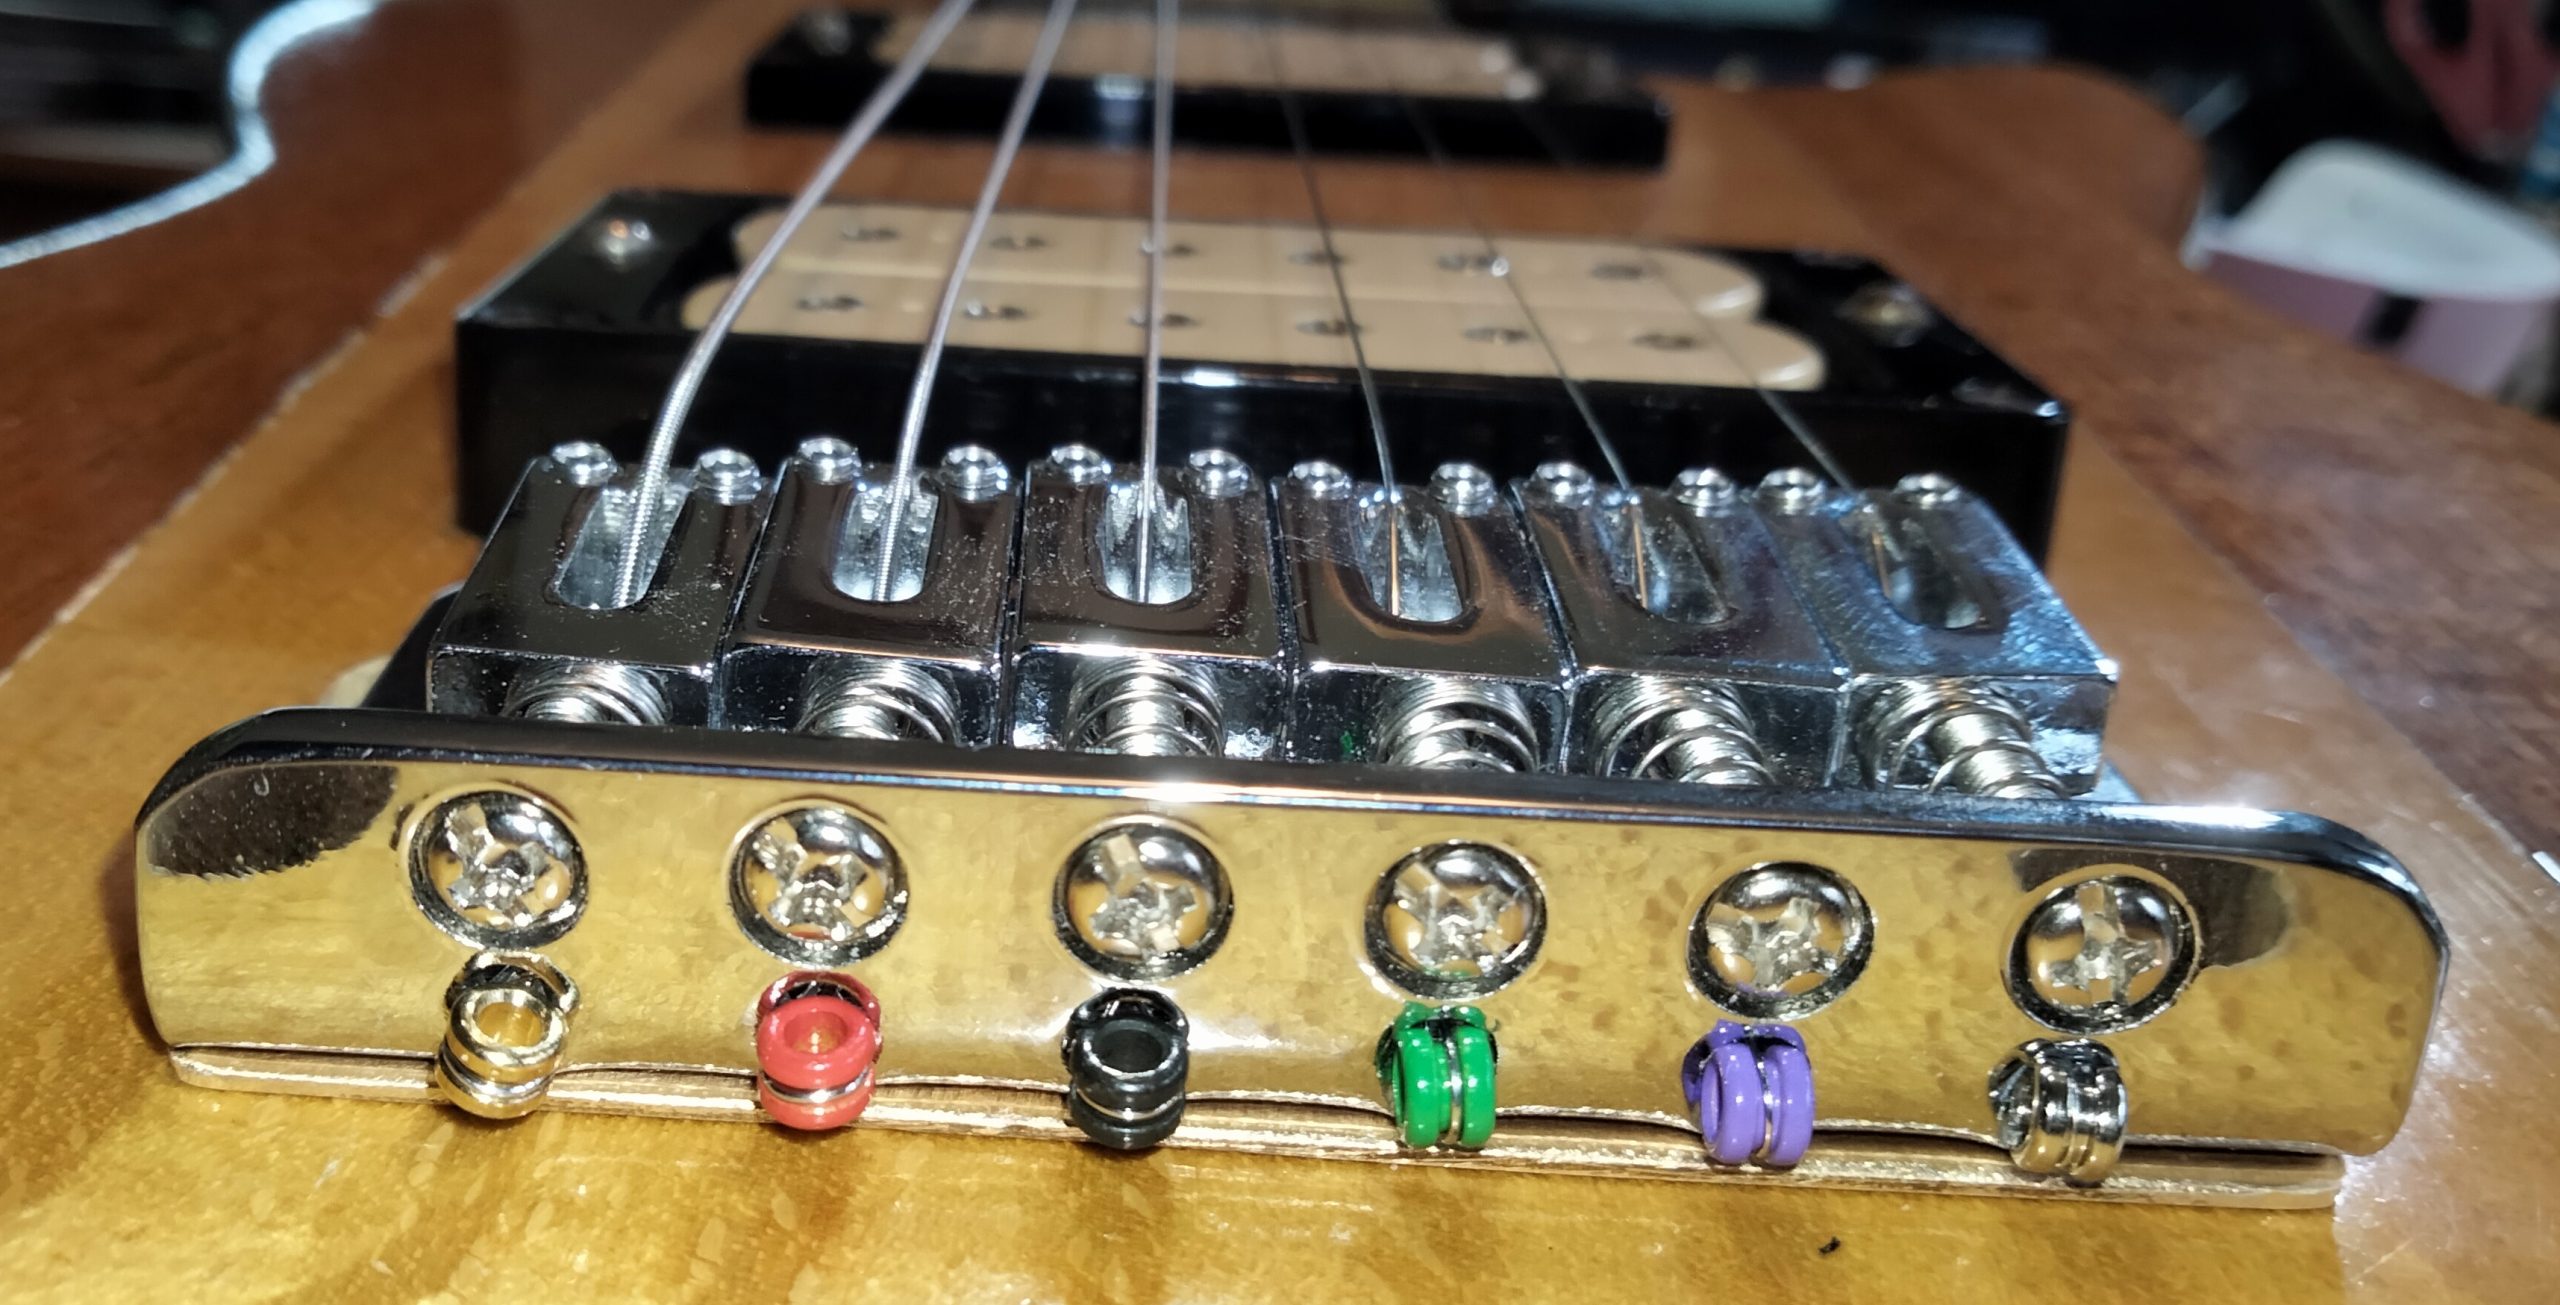
Adding two more screws gave enought strengh to string up properly without relying on the old tailpiece. That was removed using the bolt to extract the studs, like I did for the bridge. Longer grub screws have been put in the saddles to bring them up to the correct height. It works, but doesn’t look right with that saddle angle.
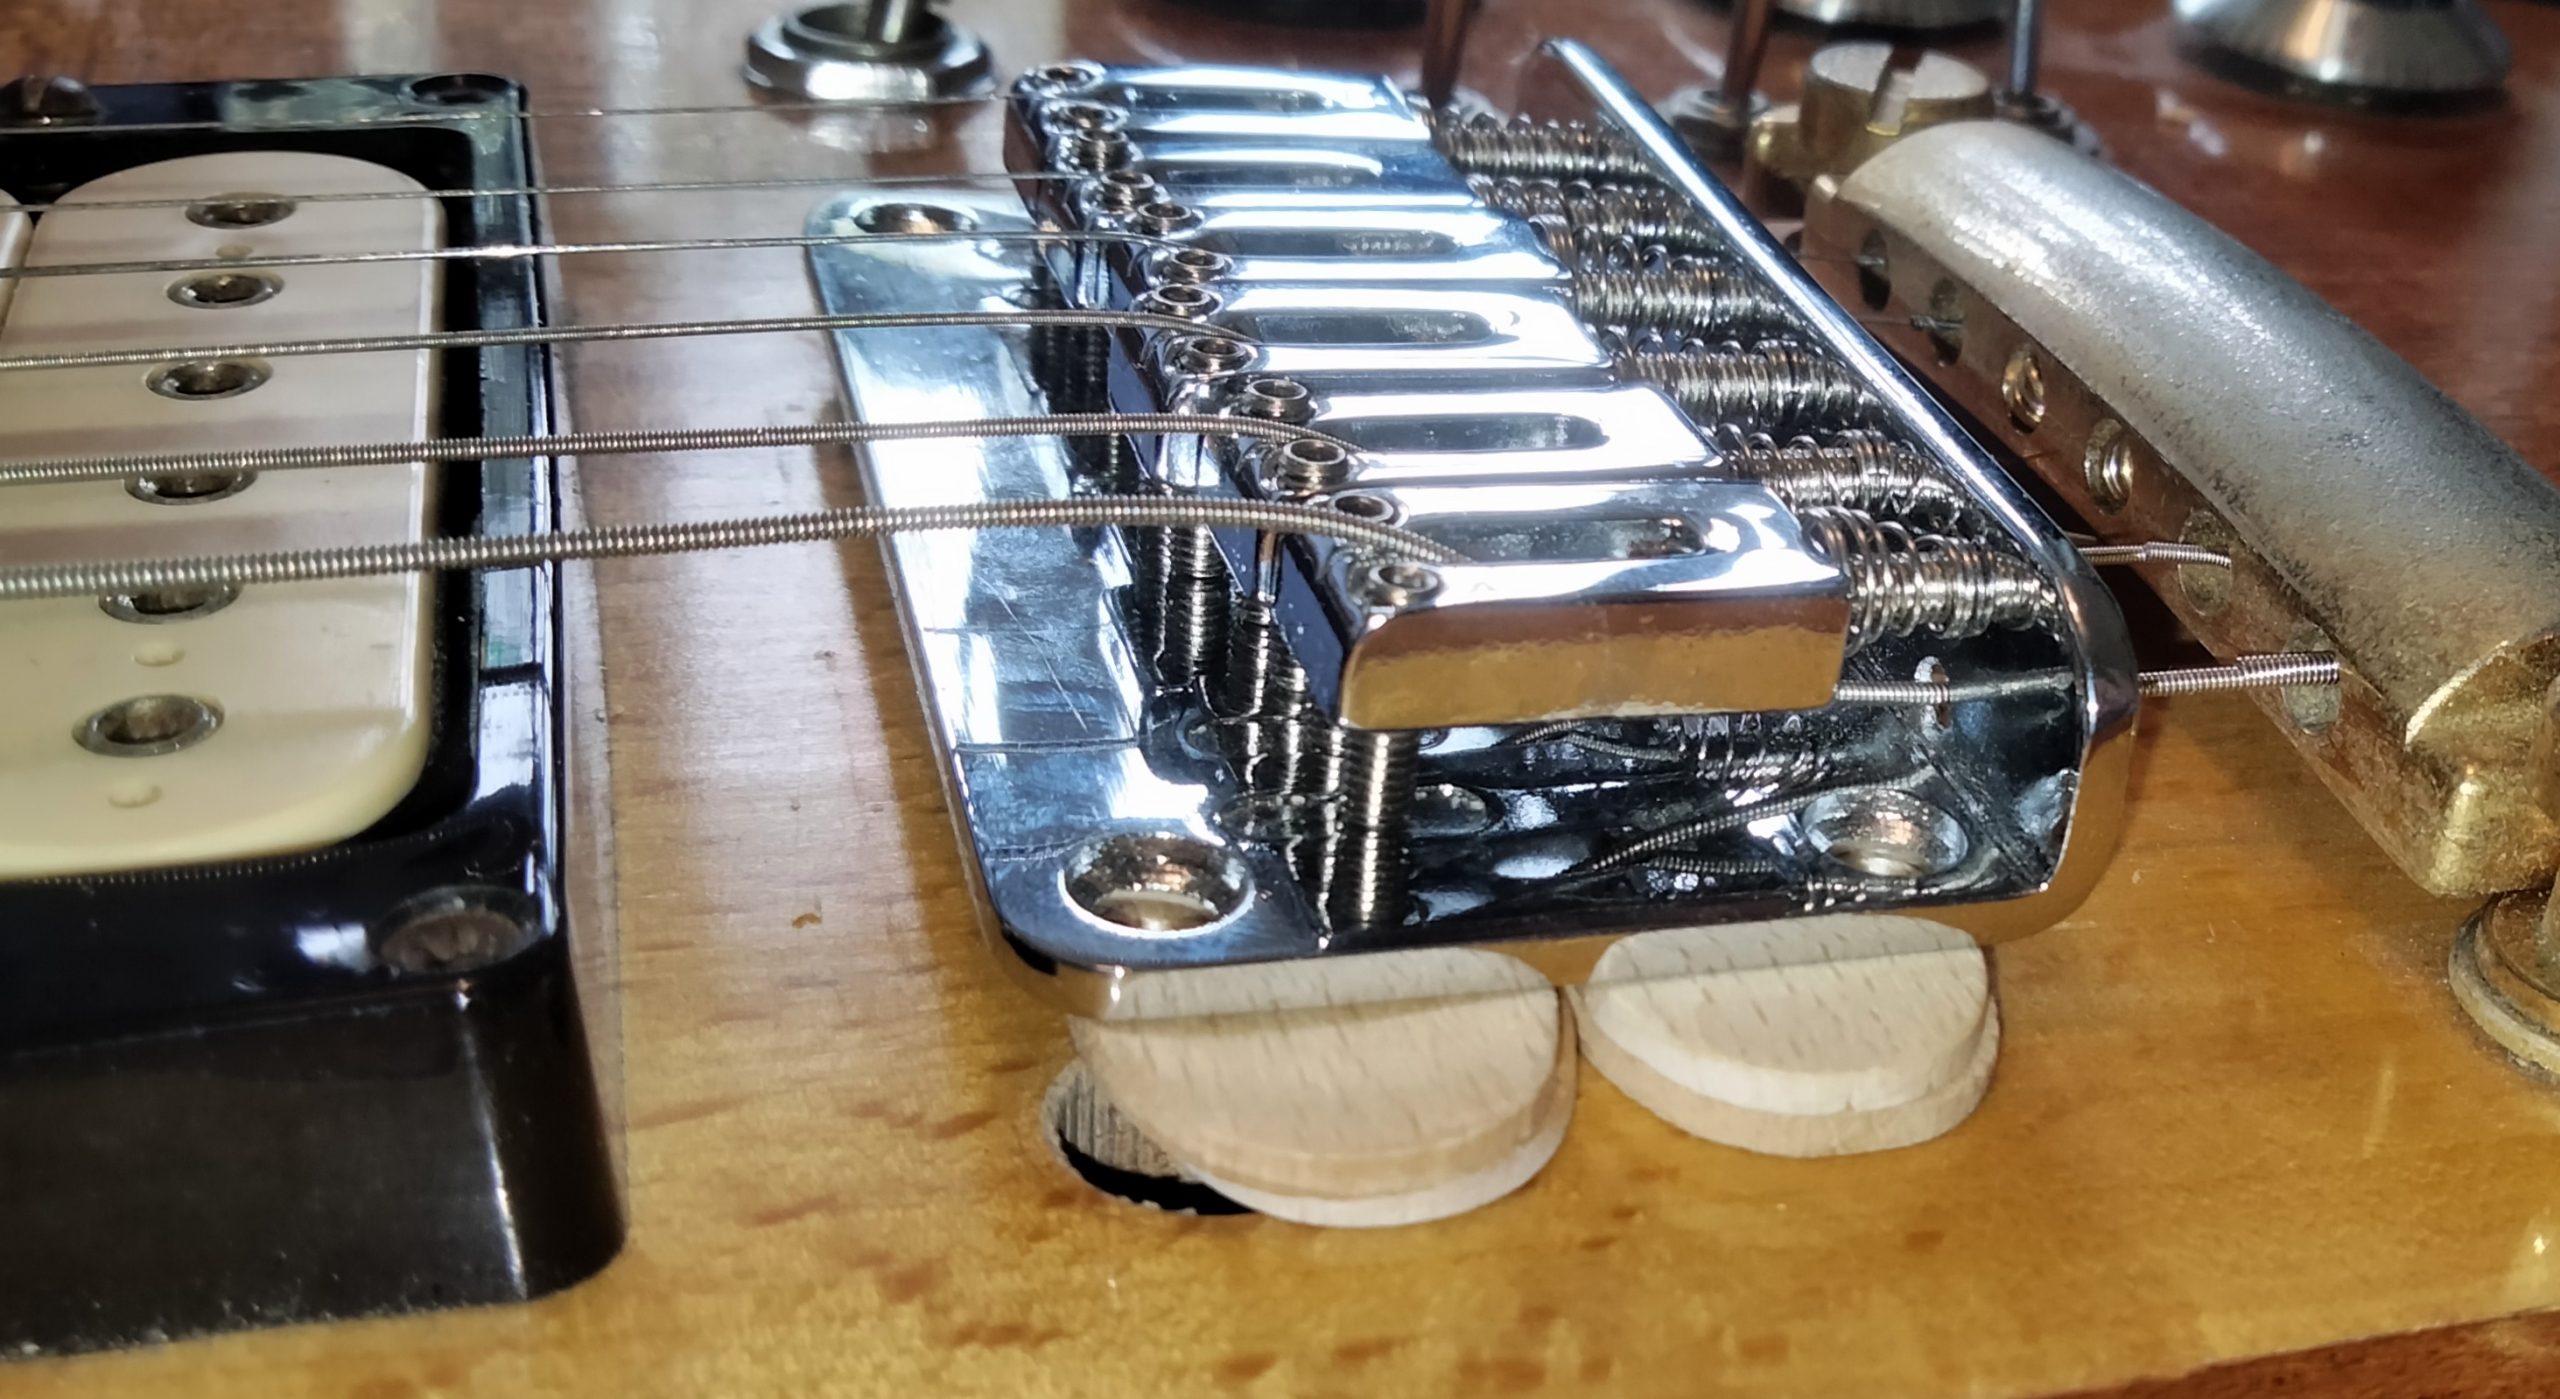
To raise the bridge I cut out this brass plate to fit underneath. Some would argue that this will effect sustain and give sonic benefits. I doubt it myself. For the record, the dimentions are 78mm x 40mm x 1.5mm and it weighs 33g
So here it is installed and adjusted. Intonation and action are spot on. It is playing well and I’m definately feeling the love.
Now that I’m using the guitar again I’m inspired to do the cosmetic work it deserves to look as good as it plays and sounds. Parts have been ordered, so expect to read more about that soon..